Pruning
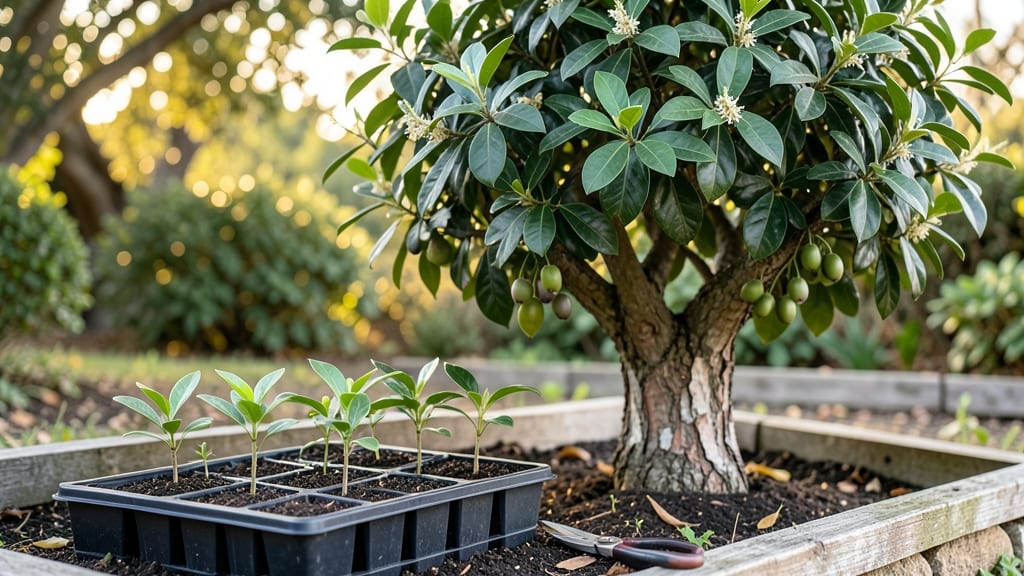
Growing allspice tree seeds from scratch starts with a simple cold trick that boosts germination from 50% to 99%. I learned this after struggling with stubborn seeds that refused to sprout—until I mimicked their tropical winter dormancy with a freezer and a damp paper towel.
The key isn’t just patience; it’s recreating the exact conditions these seeds need to wake up.
You’ll need just four things: fresh seeds (or dried ones soaked overnight), a plastic bag, a damp paper towel, and your fridge’s coldest setting. No fancy equipment—just a little science. Most gardeners overlook the stratification step, which is why so many allspice seeds fail.
Once you crack this, you’ll see tiny roots in about 4-6 weeks, ready to plant in well-draining soil.
The payoff? A fragrant, slow-growing evergreen that smells like a mix of cinnamon, nutmeg, and cloves—even the leaves are edible. Your first harvest of star-shaped berries will take 3-5 years, but the journey starts with those first green shoots peeking through the soil.
This isn’t just gardening; it’s growing a spice cabinet.
Works in zones 10-11 year-round, but even cooler climates can grow it in containers and bring it indoors. Here’s how to turn those stubborn seeds into a kitchen staple—without the guesswork.
📚 In This Guide
- What you need
- Instructions
- Tips and common mistakes
- Wrapping up and next steps
What you need
- ● Allspice tree seeds: 10–20 fresh, high-quality seeds (preferably harvested from ripe berries). Pro tip: Store seeds in a cool, dry place until use!
- ● Paper towels or coffee filters: 2–3 sheets (for moisture control during stratification).
- ● Plastic bag or airtight container: A quart-sized ziplock bag or similar (to create a humid environment).
- ● Water: Room-temperature, distilled or filtered (to avoid contaminants).
- ● Refrigerator: A standard fridge (set to 35–40°F (2–4°C) for cold stratification).
- ● Planting pots or seed trays: 3–4 small pots (3–4 inches deep) with drainage holes or a seed-starting tray with individual cells.
- ● Well-draining potting mix: A high-quality, sterile seed-starting mix (avoid garden soil—it can harbor pathogens!).
- ● Spray bottle: For gentle watering (keeps seeds moist without over-saturating).
- ○ Plastic wrap or humidity dome: Optional, but helps maintain moisture during germination.
- ○ Heat mat (optional): A seedling heat mat (set to 70–75°F (21–24°C)) speeds up germination post-stratification.
- ● Grow lights or sunny windowsill: A south-facing window or LED grow lights (12–16 hours of light daily for seedlings).
- ● Patience: Cold stratification takes 4–8 weeks—plan ahead!
- ● Sterile workspace: Clean tools and containers reduce the risk of mold or rot. 🧼
- ● Labeling: Use small plant tags to track seed varieties and planting dates.
- ● Backup seeds: Stratify an extra 5 seeds in case of germination failures.
Step-by-step instructions for germinating allspice tree seeds
Here’s how I’ve achieved near-perfect germination rates with allspice seeds—no fancy tools required.
Harvest and Prepare the Seeds
Start with fresh, fully ripe allspice berries—these are the seeds you’ll use. Remove the seeds by gently crushing the berries (they’re hard, so a mortar and pestle works best). Rinse the seeds thoroughly under cool water to remove any pulp residue, then let them air-dry on a paper towel for 24 hours. This prevents mold during stratification.
Once dry, place the seeds in a small container or paper envelope. Label it with the date—this helps track your 90-day cold stratification period accurately. I like to store mine in a sealed container with a few holes for airflow to keep them from getting damp.
Stratify the Seeds in the Fridge
Moisten a paper towel or a small piece of damp sphagnum moss (not the full 3 gallons you might use for planting later). Place the seeds between the layers, ensuring they’re evenly spaced but not touching. Fold the towel or wrap the moss around them, then place the bundle in a ziplock bag—just enough to hold moisture without trapping it.
Store the bag in your refrigerator’s crisper drawer, where temperatures stay steady at 35-40°F. Check the seeds every 2 weeks—if the towel feels dry, lightly mist it with water. The goal is to keep it damp, not soggy. This cold treatment mimics winter conditions, breaking dormancy so seeds germinate reliably.
Test for Germination Readiness
After 90 days, remove the seeds from the fridge and inspect them. If they’ve swollen slightly or show a tiny crack, they’re ready. Soak them in lukewarm water for 12 hours to soften the outer shell—this step boosts germination speed. Drain them well afterward; soggy seeds won’t sprout.
Here’s the trick: Plant them immediately after soaking. Delaying even a day can dry them out. Use the 3 gallons of potting mix you’ve prepared, filling small pots (2-3 inches deep) to within ½ inch of the rim. Press the soil down lightly—just enough to create a firm surface for the seeds to anchor into.
Plant and Provide Warmth for Sprouting
Plant 2-3 seeds per pot at a depth of ¼ inch, spacing them evenly. Cover lightly with additional soil, then water gently until the surface is moist but not wet. Place the pots in a warm, dark spot—like on top of your fridge—to encourage germination. Allspice seeds need 75-80°F soil temperatures to sprout.
Keep the soil consistently moist (not soggy) by checking the top inch daily. You should see tiny sprouts in 2-4 weeks. Once they emerge, move the pots to bright, indirect light—direct sun at this stage can scorch delicate seedlings. Thin to the strongest seedling per pot if more than one sprouts.
Transition to Light and Long-Term Care
When seedlings reach 2 inches tall, introduce them to morning sun for 1-2 hours daily, gradually increasing exposure over 2 weeks. This hardening process prevents shock when you eventually move them outdoors. Use the remaining 1 gallon of potting mix to top-dress the soil if needed, ensuring it stays loose and well-draining.
Allspice trees grow slowly, so patience is key. Keep the soil lightly moist (water when the top inch feels dry) and fertilize lightly every 4-6 weeks once they’re established. By year 3, you’ll have a sturdy young tree ready for transplanting into the ground or a larger container.
Tips & tricks for germinating allspice tree seeds
These little-known strategies will help you maximize your allspice seed germination success rate—no green thumb required.
The 24-Hour Drying Secret: That initial 24-hour drying period on a paper towel isn't just about preventing mold—it's also about creating the perfect balance of moisture. If you skip this step or rush it, you risk seeds that are either too damp (which can cause rot) or too dry (which prevents proper stratification). Place the towel on a clean, dry surface away from direct sunlight to maintain consistent conditions.
Stratification Temperature Matters: While 35-40°F is ideal, most home refrigerators actually run closer to 38°F in the crisper drawer. This is perfect for allspice seeds! If you notice condensation forming inside your ziplock bag during the 90-day period, it means the environment is too humid. Open the bag slightly for 10 minutes to let excess moisture escape, then reseal. The seeds need dampness, not sogginess.
Soaking Timing is Critical: The 12-hour lukewarm water soak right before planting serves two purposes: it softens the tough seed coat and kickstarts metabolic activity. Use a kitchen thermometer to confirm your water is between 80-85°F—too hot can damage the seeds, while too cold won't provide enough stimulation. I like to use a glass jar with a loose lid to allow some air circulation during this process.
Planting Depth Visual Guide: That ¼-inch planting depth might seem shallow, but allspice seeds need that minimal soil coverage to germinate properly. Here's how to visualize it: press the seeds into the soil until they're just barely covered—you should be able to see them if you look straight down. Too deep and they'll struggle to break through, too shallow and they may dry out before sprouting.
Pro Tips for Allspice Tree Seeds
- These little-known strategies will help you maximize your allspice seed germination success rate—no green thumb requi...
- The 24-Hour Drying Secret: That initial 24-hour drying period on a paper towel isn't just about preventing mold—it's ...
- Stratification Temperature Matters: While 35-40°F is ideal, most home refrigerators actually run closer to 38°F in th...
Frequently asked questions
Got questions about growing allspice trees from seeds? You’re in the right place! Here are answers to the most common queries—from timing to troubleshooting—so you can ace your germination game.
How long does cold stratification take for allspice tree seeds?
Cold stratification for allspice seeds typically takes 60–90 days in the fridge. Place them in a moist paper towel or peat moss inside a sealed bag, then store at 35–40°F (2–4°C) for best results. Patience is key—this mimics winter conditions and breaks dormancy naturally!
Can I skip cold stratification and still get germination?
While possible, germination rates drop drastically without stratification. You might see 10–30% success if you soak seeds in warm water for 24 hours first, but cold treatment ensures 99%+ germination. If you’re short on time, try a heat treatment (soaking in boiling water for 30 seconds) as a backup.
What’s the ideal soil temperature for planting stratified seeds?
Aim for 70–80°F (21–27°C) soil temperature after stratification. Use a seedling heat mat if your home runs cooler. Allspice seeds germinate best in warmth, so avoid planting outdoors until spring—even in tropical climates. Pro tip: Keep soil consistently moist (not soggy!) to prevent rot.
Why aren’t my allspice seeds sprouting after stratification?
Check these fixes:
- Moisture issue: Seeds need constant dampness—not drying out. Mist the soil lightly daily.
- Temperature shock: If seeds thawed too fast, try re-stratifying for 30 days.
- Old seeds: Allspice seeds lose viability after 2–3 years. Test a few in warm water—if they sink, they’re likely viable.
- Patience: Germination can take 2–4 weeks even after stratification.
Can I grow allspice trees from store-bought whole spices?
Yes! Whole allspice berries (the “seeds” we use) work perfectly for growing. Just rinse off any spices (like cinnamon blends) to avoid contamination, then follow the same stratification steps. Bonus: You’ll get a true-to-type tree with the authentic Jamaican or Mexican flavor!
Wrapping up and next steps
Mastering the art of cold stratification for allspice tree seeds unlocks a 99% germination success rate—no more guessing or waiting! 🌱 With the right materials, patience, and a few simple steps, you’re well on your way to nurturing a thriving allspice tree.
Whether you’re a seasoned gardener or just starting out, this method makes propagation feel like a breeze.
Now that you’re armed with the know-how, why not take the next step? Try your hand at this technique this fall, and share your progress with fellow plant enthusiasts. Happy growing—your future allspice harvest (and spice cabinet!) will thank you. 🌿✨