How To
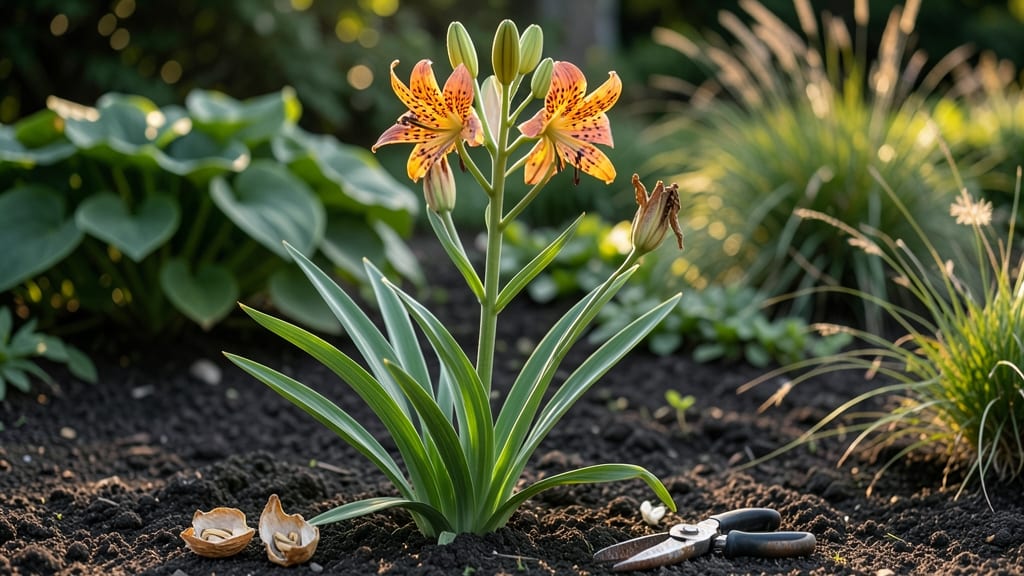
When to harvest tiger lily seeds: identifying the perfect ripeness stage
Harvesting tiger lily seeds at the right time ensures viable seeds for next year’s garden. The key lies in watching for visual cues that signal maturity—typically between late summer and early fall.
Miss this window, and you risk collecting seeds that won’t germinate or are already scattered by wildlife. Understanding these maturity signs transforms a guesswork process into a reliable gardening skill.
Tiger lilies follow a predictable cycle: vibrant blooms give way to seed pods that start green and firm. As they mature, these pods undergo dramatic changes—color shifts from green to brown and texture changes from hard to papery.
Timing is everything, especially in USDA zones 6a-9b, where seasonal shifts dictate when to act. In cooler climates, aim for September harvests, while warmer zones may extend into October.
| Stage | Visual Cues | Action | Best Time |
|---|---|---|---|
| Early Pod Formation | Green, firm pods | Monitor weekly | July-August |
| Maturing Pods | Brown, papery texture | Harvest before splitting | September-October |
| Overripe Pods | Split open, seeds scattered | Too late | Late October+ |
| Seed Viability Test | Dark, plump seeds | Store in cool, dry place | Anytime |
Start by checking for color changes in the seed pods. When they shift from bright green to dry brown, they’re nearing readiness. A simple texture test works too: gently press a pod—if it feels papery and brittle, it’s time to harvest.
This stage typically occurs 6-8 weeks after flowering, so mark your calendar after your lilies bloom to stay ahead.
Listen for another clue: seeds rattling inside the pod. This sound means they’ve fully matured and are ready for collection. If you ignore this cue, pods may split open naturally, releasing seeds onto the soil where they’ll either sprout unpredictably or become food for birds.
Harvesting at this stage maximizes your seed yield and control over next year’s garden layout.
Climate plays a crucial role in timing. In cooler northern zones (6a-7b), aim to harvest by mid-September before early frosts damage pods. Gardeners in warmer southern zones (8b-10a) have until early November to collect seeds.
Always prioritize dry, sunny days for harvesting—wet conditions can promote mold and reduce seed viability.
One common mistake is harvesting too early when pods are still green and firm. These seeds are underdeveloped and won’t germinate. Conversely, waiting too long risks seed dispersal by wildlife or weather.
The ideal window is when pods are fully brown but haven’t split open. This balance ensures you capture seeds at peak viability.
For tropical or subtropical climates, where tiger lilies may bloom later, extend your harvest window into November. Monitor pods closely, as humidity can accelerate their drying process.
If pods start splitting before you’re ready, collect them immediately—even partially mature seeds can be dried and stored for later planting, though germination rates may drop.
Pro tip: Use a small pruning shears to snip pods from the stem, leaving a 1-inch stub to prevent disease. Place harvested pods in a well-ventilated area (like a mesh bag) to dry for 1-2 weeks before extracting seeds.
This step mimics natural drying conditions and preserves seed quality for 6-12 months of storage.
If you’re unsure whether pods are ready, perform a float test: Drop a few seeds in water. Viable seeds sink, while hollow or immature ones float.
This quick check saves time and effort, ensuring you only store high-quality seeds. Combine this test with the visual cues above for foolproof results every time.
Remember, patience pays off with tiger
Step-by-step method for collecting and processing tiger lily seeds
Once you’ve identified your tiger lily seed pods as fully mature, the next step is careful collection and processing to ensure high germination rates. This process requires patience and the right tools to avoid damaging the seeds or introducing mold or pests.
I’ll walk you through every stage—from harvesting to long-term storage—so you can save seeds that’ll grow into next year’s showstopping blooms.
Gather your supplies first: a pair of clean pruning shears, a paper bag for collection, a drying tray, and an envelope or airtight container for storage. Work on a dry, shaded day to prevent moisture from compromising your seeds.
The goal is to mimic nature’s drying process while controlling conditions to avoid premature germination or fungal growth.
How to Harvest Tiger Lily Seeds
-
Step 1: Gently Snip the Seed Pods
Use your pruning shears to cut the brown, dry seed pods from the stem. Leave a small portion of the stem attached to make handling easier. Avoid crushing the pods, as this can damage the seeds inside. -
Step 2: Place Pods in a Paper Bag
Transfer the harvested pods into a paper bag (not plastic) to allow airflow. This prevents moisture buildup and reduces the risk of mold growth. Tie the bag loosely to keep pods contained but still breathable. -
Step 3: Dry for 2-3 Weeks
Store the bag in a cool, dry place (like a garage or shed) for 2-3 weeks. Shake the bag gently every few days to encourage even drying. The pods should feel completely dry and brittle when ready. -
Step 4: Extract the Seeds
Once dry, open the pods and remove the seeds. Discard any that are shriveled or discolored. Healthy seeds will be dark brown and plump. Use your fingers or a small spoon to separate them from the chaff. -
Step 5: Store in a Cool, Dark Place
Place the clean seeds in an airtight envelope or container with a silica gel packet to absorb moisture. Label with the harvest date and store in a refrigerator or cool pantry for up to 2 years.
If you notice white mold or soft seeds during drying, your pods may have been too moist. In this case, spread them out on a screen or mesh tray in a well-ventilated area for an extra week. Avoid using heat sources like ovens, as this can kill the seeds.
For premature germination (sprouting before storage), move seeds to the refrigerator immediately and keep them in a paper towel-lined container until fully dry. This slows metabolic activity and preserves viability. Test a few seeds by planting them in sphagnum moss to check germination rates before storing the rest.
With these steps, you’ll have a reliable supply of tiger lily seeds ready for next spring. The key is patience and precision—rushing the drying process or skipping storage prep can drastically reduce your success rate. Happy harvesting! 🌾