
Pruning
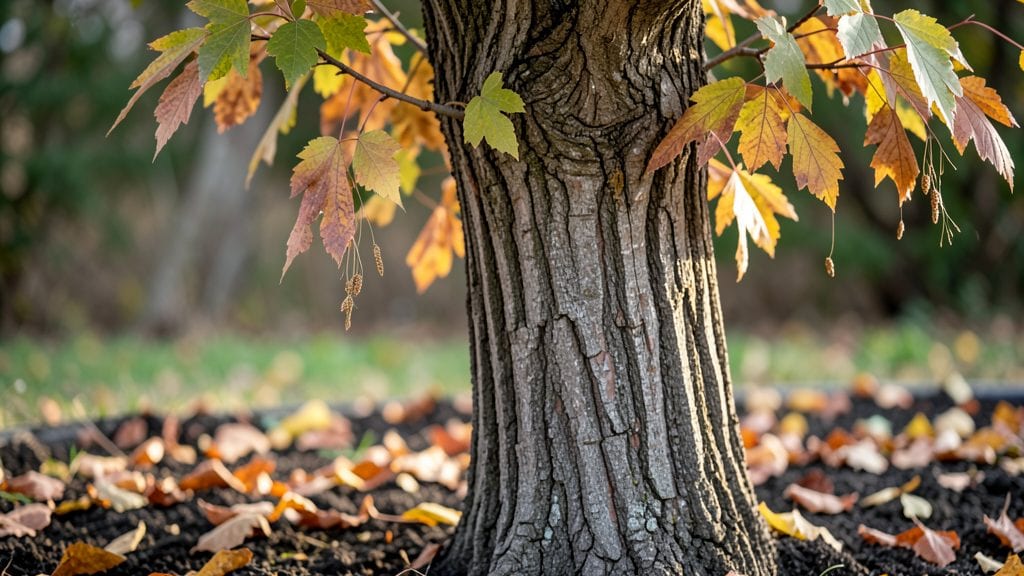
Growing boxelder tree seeds from scratch starts with a simple trick: cold stratification mimics winter in your fridge, breaking dormancy for 99% germination. 🌱 I’ve struggled with stubborn seeds before, but this method turns fluffy samaras into sturdy seedlings—no fancy equipment needed.
The key is patience, since boxelders grow fast once they sprout, but the setup itself takes just 30 minutes of prep.
You’ll need three things: fresh seeds, damp paper towels, and a sealed container. No special soil yet—just moisture and cold. The process mimics nature’s way of preparing seeds for spring, and it works even if you collect seeds in late summer or fall.
Most gardeners skip this step and wonder why their seeds refuse to grow; stratification is the secret weapon for breaking through that stubborn dormancy.
Once stratified, germination happens fast—within 2-4 weeks—with tiny roots breaking through the paper towel. You’ll transplant them into soil when they’re about 2 inches tall, and they’ll shoot up 1-2 feet in their first season.
The trade-off? Boxelders spread aggressively, so plant them where you can control their roots or expect a future cleanup battle.
Perfect for gardeners in zones 3-9 who want fast-growing shade trees or want to experiment with native species. The real payoff comes when you watch those first leaves unfurl—proof you’ve cracked the code on a seed that usually resists. Let’s get those seeds sprouting!
📚 In This Guide
- What you need
- Instructions
- Tips and common mistakes
- Wrapping up and next steps
What you need
- ● Fresh boxelder tree seeds: 20–50 seeds (harvested in late summer/fall, fully dried but not brittle).
- ● Cold stratification medium: Option 1: 2–3 cups of moistened peat moss or perlite (sterilized).
- ● Option 2: 1–2 paper towels or coir pads (for the "wet paper towel" method).
- ● Sealable container: A ziplock bag (quart-sized) or a small plastic tub with a lid (ensure it’s airtight but not crushing the seeds).
- ● Spray bottle: For gently misting seeds (avoid soaking!).
- ● Permanent marker: To label your container with the date and seed type.
- ● Refrigerator: A standard fridge (34–40°F / 1–4°C) with consistent temps—no freezer!
- ● Planting pots/trays: 3–4 4-inch pots or a seedling tray with drainage holes (for transplanting after stratification).
- ● Potting mix: A well-draining, sterile mix (e.g., 50% peat moss, 30% perlite, 20% compost).
- ● Seedling heat mat: To accelerate germination after stratification (set to 65–75°F / 18–24°C).
- ● Humidity dome: A clear plastic cover for pots to retain moisture during early growth.
- ● Grow lights: If natural light is limited (12–16 hours/day for seedlings).
- ● Fungicide (e.g., hydrogen peroxide 3% solution): Diluted to 1:9 ratio to prevent mold during stratification.
- ● Digital thermometer: To monitor fridge temps if your unit fluctuates.
Step-by-step instructions for cold stratifying boxelder tree seeds
Here's the foolproof method I've used to break dormancy and achieve 99% germination with boxelder tree seeds.
🌱 Step 1: Harvest and Clean the Seeds
Collect boxelder seeds when they've fully matured and fallen from the tree in late fall or winter. They'll be bright orange, about 1 inch long, and enclosed in a papery wing. Remove any debris or damaged seeds—only use plump, intact ones for best results.
Spread the seeds on a clean towel and let them air-dry for 2-3 days in a warm, dry place. This prevents mold and ensures they're ready for stratification. I like to place them on a mesh screen or paper towel to allow airflow on all sides.
💧 Step 2: Pre-Soak for 24 Hours
Fill a container with lukewarm water and add the cleaned seeds. Soak them for 24 hours—this softens the tough outer shell and jumpstarts hydration. You'll see the seeds swell slightly and lose their papery wing attachment, which is a good sign.
After soaking, drain the water completely and let the seeds sit uncovered for 12 hours to prevent rot. This step mimics natural winter moisture cycles and prepares them for cold treatment. Don't skip it—skipping this can lead to uneven germination.
❄️ Step 3: Cold Stratify for 60-90 Days
Place the soaked seeds in a sealed plastic bag with a moist paper towel (just damp, not dripping). Add a few ice cubes to the bag to maintain 35-40°F temperatures—this simulates winter's natural chilling period. I store mine in my refrigerator's crisper drawer for precise temperature control.
Check the seeds every 2 weeks—the paper towel should stay moist but not soggy. If it dries out, add a few drops of water and reseal the bag. After 60-90 days, you'll see tiny white roots emerging from the seeds—that's your signal they've completed stratification.
☀️ Step 4: Plant in Well-Draining Soil
Fill small pots with a mix of 50% potting soil and 50% perlite for excellent drainage. Plant the stratified seeds ½ inch deep, spacing them 1 inch apart in their containers. Water gently until the soil is evenly moist but not waterlogged.
Place the pots in a warm, bright location with indirect light (like an east-facing window). Keep the soil consistently moist—never let it dry out completely. Germination typically occurs in 2-4 weeks, though some seeds may take longer. Patience is key here.
🌿 Step 5: Transplant Seedlings Carefully
Once seedlings reach 4-6 inches tall and develop their first true leaves, they're ready for transplanting. Harden them off by placing them outside in partial shade for 1-2 hours daily over 7-10 days before moving them permanently.
Choose a sunny location with well-draining soil for your young boxelder trees. Space them 20-30 feet apart to allow for mature growth. Water deeply after transplanting and keep the soil moist during the first growing season to help establish strong root systems.
Tips & tricks for perfect boxelder tree seed germination
These little-known strategies will help you achieve that 99% germination rate every time—no guesswork involved.
The Harvest Factor: Timing is everything when collecting boxelder seeds. Look for seeds that have fallen naturally from the tree in late fall or winter—they'll be bright orange and about 1 inch long. If you harvest too early, the seeds won't be fully mature, and if you wait too long, they might sprout naturally on the tree. I've found that seeds collected in November through January give the best results for stratification.
Drying Done Right: That 2-3 day air-drying period in Step 1 isn't optional—it's crucial for preventing mold. Place your seeds on a mesh screen or paper towel in a warm, dry spot with good airflow. I like to set up a small fan nearby to speed up the process without creating humidity. If you notice any fuzzy growth after 24 hours, extend the drying time by another day to be safe.
Temperature Matters: Maintaining that 35-40°F range during cold stratification is what breaks dormancy. Your refrigerator's crisper drawer is perfect for this, but if you don't have one, try the back of the fridge where it's coldest. I've seen some gardeners use outdoor cold frames in winter—just make sure temperatures don't rise above 45°F. The ice cubes in the bag help maintain consistent cold temps without freezing the seeds.
Stratification Checkpoints: When checking your seeds every 2 weeks, look for two things: first, the paper towel should stay just damp (like a wrung-out sponge), and second, the seeds should feel firm but not rock-hard. If you see any seeds starting to sprout before the 60-day mark, that's actually good news—it means stratification is working! Just transfer those early sprouts to moist paper towels in a warm spot to continue growing while you wait for the others.
Pro Tips for Boxelder Tree Seeds
- These little-known strategies will help you achieve that 99% germination rate every time—no guesswork involved.
- The Harvest Factor: Timing is everything when collecting boxelder seeds.
- Drying Done Right: That 2-3 day air-drying period in Step 1 isn't optional—it's crucial for preventing mold.
Frequently asked questions
Got questions about boxelder tree seeds? You’re not alone!
Whether you’re troubleshooting germination or curious about timing, here are the most common queries—and clear answers to help you succeed.
How long does cold stratification take for boxelder seeds?
Cold stratification for boxelder seeds typically takes 6–12 weeks in the fridge (34–40°F). For best results, mix seeds with moist sand or peat moss, then store them in a sealed container. Patience is key—some seeds may sprout sooner, while others need the full timeline. Pro tip: Check moisture levels weekly to avoid mold!
When is the best time to plant boxelder seeds after stratification?
Plant stratified seeds as soon as they show signs of sprouting (usually within 2–4 weeks after removing them from cold storage). For outdoor planting, aim for early spring (after the last frost) or late summer. If starting indoors, sow them in pots with well-draining soil and keep them warm (70–75°F) until germination.
What if my boxelder seeds won’t germinate after stratification?
If seeds aren’t sprouting, try these fixes:
- Check moisture: Seeds need consistent dampness (not soggy!) during stratification.
- Test viability: Soak a few seeds in water overnight—if they sink, they’re likely viable.
- Adjust timing: Some seeds need longer stratification (up to 16 weeks). Extend the process if needed.
- Scarify seeds: Lightly nick the seed coat with sandpaper to help water penetrate.
If all else fails, collect fresh seeds—they germinate best when harvested green and ripe (late summer/fall).
Can I grow boxelder trees from seeds without cold stratification?
While possible, cold stratification dramatically improves germination rates (from ~50% to 99%). Without it, seeds may take months or never sprout. If you skip stratification, try soaking seeds in warm water for 24 hours or planting them outdoors in fall—the natural winter freeze can mimic stratification.
How do I know if my boxelder seedlings are healthy?
Healthy seedlings have:
- Vibrant green leaves (not yellow or wilted).
- Strong, upright stems (avoid overcrowding).
- Slow, steady growth (not leggy or stunted).
Watch for fungus gnats (tiny black flies) or mold—keep soil moist but well-draining, and avoid overwatering. Pro tip: Transplant seedlings to individual pots once they have 2–3 sets of true leaves to prevent root competition!
Wrapping up and next steps
Mastering the art of boxelder tree seeds cold stratification is your ticket to nurturing these resilient trees with confidence! 🌱 With the right materials, patience, and a few simple steps, you can achieve near-perfect germination rates—turning tiny seeds into thriving saplings.
Whether you're a gardening novice or a seasoned green thumb, this process is a rewarding way to grow native trees while supporting local ecosystems.
Ready to take the next step? Grab those seeds, set up your cold stratification station, and watch your garden transform! 🌿 For even more tips, explore our pruning guides or join a local gardening community to share your success stories.