
Vegetables
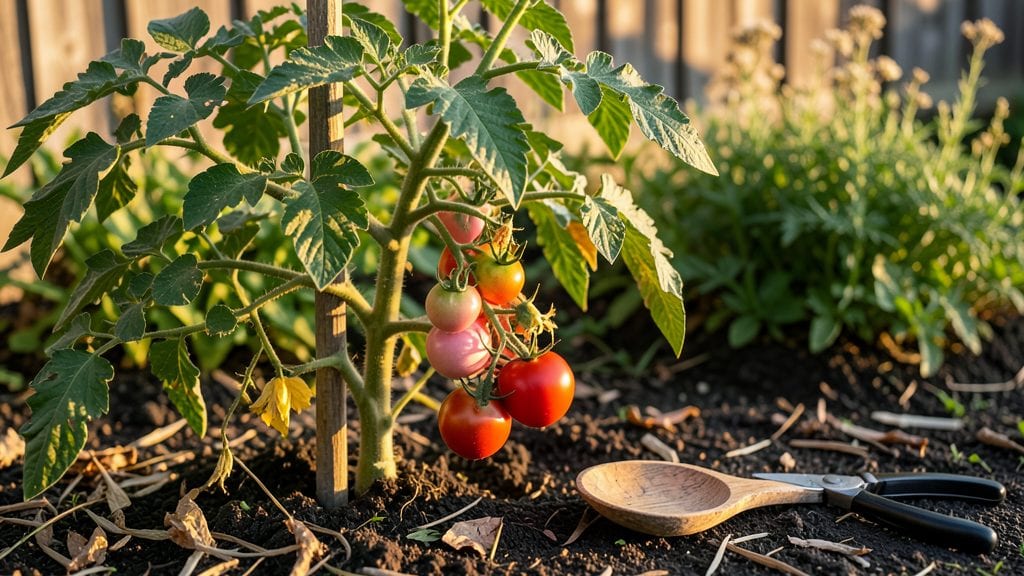
Storing tomato seeds properly means next year's harvest starts with the right foundation. 🌱 I learned the hard way that damp, unfermented seeds from last summer's tomatoes turned to mush when I tried planting them—until I discovered the fermentation trick that separates viable seeds from the duds.
The secret lies in a simple 3-day fermentation process where the good seeds sink while the bad float away. You'll need a jar, some water, and a little patience—no fancy equipment required.
After fermentation, drying the seeds on paper towels for a week ensures they stay viable for years, ready to grow into plants just like their parents.
What you end up with is a collection of seeds that germinate reliably, saving you money and giving you control over heirloom varieties. The first time you watch those tiny seedlings push through the soil, you'll know you've done it right—no more wasted packets or disappointing germination rates.
This method works for any tomato variety, from cherry to beefsteak, and adapts to different climates. Whether you're a seasoned gardener or just starting, these preserved seeds become your garden's legacy—passed down year after year with perfect viability.
📚 In This Guide
- What you need
- Instructions
- Tips and common mistakes
- Wrapping up and next steps
What you need
- ● Mature, healthy tomatoes: Choose heirloom or hybrid varieties (though heirlooms are best for seed-saving). You’ll need at least 3-5 ripe tomatoes per variety for reliable results.
- ● Knife or spoon: A small, sharp knife or spoon for scooping out the gel-like seed sacs.
- ● Small bowl or jar: A clean, shallow container (e.g., a 4-8 oz mason jar or wide bowl) to hold the seed mixture.
- ● Water: Filtered or distilled water (avoid tap water if it’s heavily chlorinated). Use enough to cover the seeds by 1-2 inches.
- ● Fine-mesh strainer or cheesecloth: A ¼-inch mesh strainer or cheesecloth to separate seeds from pulp.
- ● Paper towels or coffee filters: For drying seeds (use 2-3 sheets per batch).
- ● Small envelope or seed packet: Parchment paper or breathable seed envelopes (e.g., 3x5-inch size) for long-term storage.
- ● Permanent marker: To label your seeds with the variety name and date.
- ● Fermentation lid: A small plate or lid to weigh down seeds during fermentation (speeds up the process).
- ● Hydrogen peroxide (3%): A few drops in the water to prevent mold if your seeds look slimy.
- ● Desiccant packets: For sealing envelopes to absorb excess moisture during storage.
- ● Notebook: To track germination rates, varieties, and storage conditions.
- ● Humidity pack: A silica gel packet in your seed stash for extra dryness in humid climates.
Step-by-step instructions for storing tomato seeds using fermentation
Here's the foolproof method I use to save seeds from my best tomato varieties.
🌱 Step 1: Extract Seeds From Ripe Tomatoes
Select fully ripe tomatoes that are soft to the touch and slightly overripe—this ensures maximum seed viability. Cut them open and scoop out the jelly-like seed gel into a clean container. I prefer using a small glass jar or bowl because it makes the next steps easier to monitor.
Don't worry if the gel looks slimy at first—that's normal. The key is to work with fresh seeds, so avoid using tomatoes that have been refrigerated or stored for more than a few days. The fermentation process relies on the natural enzymes in the tomato's flesh, so fresher is always better.
💧 Step 2: Ferment the Seeds for 3-5 Days
Add enough water to the container to fully submerge the seed gel mixture. Stir gently to break up any large clumps. Place the container in a warm spot—around 70-75°F works best—where it can sit undisturbed for 3-5 days. You'll see bubbles forming and a moldy scum developing on the surface within the first 24 hours.
This fermentation process is critical—it helps separate viable seeds from non-viable ones while also softening the seed coats for better germination. The moldy scum is harmless and actually part of the natural breakdown. If you notice any foul odors or excessive mold growth beyond the surface scum, discard the mixture and start fresh with new seeds.
⏰ Step 3: Rinse and Dry the Seeds
After 3-5 days, the viable seeds will sink to the bottom of the container while the non-viable ones float to the top. Pour the mixture through a fine-mesh strainer or cheesecloth, gently rinsing the seeds under cool water until the water runs clear. This removes any remaining gel and fermentation byproducts.
Spread the rinsed seeds on a clean, dry surface—like a paper towel or seed drying tray—to dry completely. I like to place them in a warm, well-ventilated area away from direct sunlight. The seeds are ready when they're completely dry and brittle to the touch, which usually takes 3-5 days depending on humidity levels.
🪴 Step 4: Store the Seeds Properly
Once fully dry, transfer the seeds to a labeled envelope or small paper bag. I always include the tomato variety name, the year harvested, and any notable characteristics (like disease resistance or flavor profile). Store the sealed container in a cool, dark place—like a refrigerator or seed storage box—where the temperature stays consistently between 35-45°F.
Seeds stored this way can remain viable for 4-6 years, though germination rates may decline slightly over time. Check the seeds annually to ensure they haven't absorbed moisture or been exposed to temperature fluctuations. Properly stored seeds will retain their shape and color, with no signs of mold or deterioration.
☀️ Step 5: Test Germination Before Planting
Before committing to planting a batch of stored seeds, conduct a quick germination test. Moisten a paper towel, place 10-15 seeds on it, and fold it in half. Keep the towel in a warm, dark place for 5-7 days, misting it lightly with water every other day. Count how many seeds sprout—aim for at least 70% germination for reliable results.
If germination rates are low, consider treating the seeds with a commercial seed starter or adjusting your storage conditions. This test gives you confidence that your seeds are still viable and ready for the garden. Once you've confirmed strong germination, you're ready to start planting with the knowledge that your seeds will perform well.
Tips & tricks for perfect tomato seed preservation
These fermentation secrets will ensure your tomato seeds stay viable for years—no guesswork involved.
Temperature Matters: Maintain that 70-75°F range during fermentation by placing your container near a warm spot like a sunny windowsill (not direct sunlight) or on top of a refrigerator. If your kitchen runs cooler, consider using a seedling heat mat set to low. The fermentation process slows dramatically below 70°F, which means weaker separation of viable seeds. I've seen batches take nearly double the time when kept in cool basements.
Fermentation Timeline: The 3-5 day window is flexible but critical—don't rush it! After the first 24 hours when you see bubbles and mold scum, check daily. If you're in high humidity (above 60%), aim for the longer end of the spectrum (closer to 5 days) to ensure complete breakdown of the gel. In dry climates, you might hit perfect separation by day 3. The key is watching for the floating seeds to clearly separate from the sinkers.
Drying Strategy: For the 3-5 day drying period, I recommend using a seed drying tray or even a fine-mesh screen over a baking rack. This allows airflow from all sides while preventing direct sunlight exposure. If you notice condensation forming on the container during drying, move to a warmer spot—the seeds need to dry completely to prevent mold during storage. A small fan on low setting can speed up drying in humid conditions without damaging the seeds.
Storage Wisdom: When storing seeds at 35-45°F, I use small glass jars with tight-sealing lids rather than paper envelopes for long-term storage. Glass doesn't absorb moisture like paper can over time. For extra protection, add a small packet of silica gel to the jar—this helps maintain low humidity levels. Label each jar with the variety name, year, and any special notes like "disease-resistant" or "heirloom" to avoid future confusion.
Pro Tips for Storing Tomato Seeds
- These fermentation secrets will ensure your tomato seeds stay viable for years—no guesswork involved.
- Temperature Matters: Maintain that 70-75°F range during fermentation by placing your container near a warm spot like a sunny windowsill (not direct sunlight) or on top of a refrigerator.
- Fermentation Timeline: The 3-5 day window is flexible but critical—don't rush it!
Frequently asked questions
Got questions about storing tomato seeds? You’re not alone! Here are some of the most common queries—and their straightforward answers—to help you master the process like a pro.
How long can I store tomato seeds before they lose viability?
Properly stored tomato seeds can remain viable for 3–5 years, though germination rates may drop after 2 years. Store them in a cool, dry place (like a sealed container in the fridge) to maximize longevity. For best results, use seeds within 1–2 years for optimal germination.
Do I need to ferment seeds right away, or can I save them fresh from the tomato?
Fermenting seeds (soaking in water for 2–5 days) is the gold standard for removing gelatinous pulp and boosting viability. Fresh seeds from ripe tomatoes can be stored dry for short-term use (up to 6 months), but fermentation ensures higher success rates—especially for heirloom varieties.
What’s the best way to dry tomato seeds if I don’t want to ferment them?
If you skip fermentation, rinse seeds gently to remove excess pulp, then pat them dry with a paper towel. Spread them on a clean, breathable surface (like coffee filters or parchment paper) in a single layer. Let them dry for 3–5 days in a warm, dark place (like a sunny windowsill with indirect light) before storing.
Why did my stored seeds mold or smell bad? How can I prevent this?
Mold or foul odors usually mean excess moisture or poor drying. To avoid this, ensure seeds are fully dry (no dampness) before storing. Use an airtight container with a desiccant packet (like silica gel) to absorb humidity. Store in a cool, dark place (not the fridge—unless long-term) to prevent spoilage.
Can I store seeds from hybrid tomatoes, or will they grow true to type?
Hybrid tomato seeds may grow, but the plants won’t produce fruit identical to the parent tomato. For true-to-type seeds, save seeds from heirloom or open-pollinated varieties. If you’re experimenting, hybrids can still yield interesting surprises—just don’t expect consistency!
Wrapping up and next steps
Storing tomato seeds doesn’t have to be complicated—with the right fermentation trick, you can preserve viability and grow thriving plants next season! 🌱 Whether you’re a seasoned gardener or just starting, this method ensures your seeds stay fresh and ready for planting.
Now that you’re equipped with the knowledge, why not ferment a batch today and take the first step toward a bountiful harvest?
Ready to grow your own? Start by selecting your favorite heirloom tomatoes, and let the seed-saving adventure begin! 🌿