Vegetables
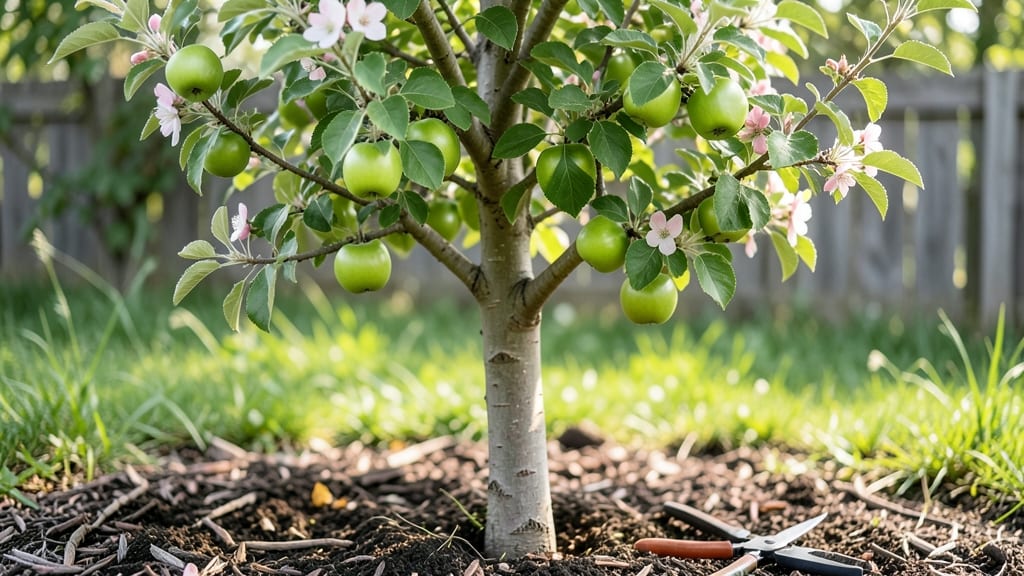
Growing green apple seeds isn't just about planting—it's about unlocking nature's way to grow a tree that might surprise you with fruit unlike the store-bought kind. 🌱 I learned the hard way that skipping cold stratification means waiting months (or never seeing) those first green shoots.
The secret lies in mimicking winter's chill, which breaks dormancy and boosts germination rates to nearly guaranteed success.
You'll need just a few things: fresh seeds from a green apple (the riper, the better), a damp paper towel or peat moss, a sealed plastic bag, and patience—this isn't a weekend project.
The process takes about 6-8 weeks of refrigeration before you even plant, but trust me, that wait pays off when tiny roots peek through the soil in spring.
What you'll end up with is a scrappy young tree that grows slower than grafted varieties but develops roots deeper and stronger. The first leaves might look nothing like the parent tree—apple seeds grow into wild apples, not carbon copies.
Still, watching that first bloom after 5-7 years makes every step worth it.
This method works best if you start seeds in late fall or winter, giving them time to establish before spring planting. Even if you mess up the timing, the tree will adapt—just be ready for a long-term commitment. Here's where the magic begins."
📚 In This Guide
- What you need
- Instructions
- Tips and common mistakes
- Wrapping up and next steps
What you need
- ● Green apple seeds – 5–10 fresh, viable seeds (harvested from a Malus domestica variety like Granny Smith or Fuji). Pro tip: 💡 Avoid hybrid seeds—they may not grow true to fruit!
- ● Paper towels or coffee filters – 2–3 sheets (unbleached, seedling-safe).
- ● Ziplock bag or airtight container – Small enough to hold seeds + moist paper towels snugly.
- ● Water – Room-temperature, filtered if possible (chlorine-free!).
- ○ Spray bottle – 4 oz (120 mL) for gentle misting (optional but helpful).
- ● Refrigerator – Set to 34–40°F (1–4°C) (most home fridges work!).
- ○ Small plastic bag or mesh produce bag – For humidity control (optional).
- ● Seedling trays or small pots – 2–3 inches deep, with drainage holes. 💡 Tip: Use biodegradable peat pots to avoid transplant shock!
- ● Potting mix – Well-draining, seedling-specific blend (e.g., 50% peat moss + 50% perlite).
- ● Grow lights or sunny windowsill – 6+ hours of light daily (south-facing window or LED grow lights).
- ○ Humidity dome or plastic wrap – To retain moisture while seeds germinate (optional).
- ● Seedling heat mat – Keeps soil at 65–75°F (18–24°C) for faster germination.
- ● pH test kit – Ideal soil pH: 6.0–7.0 for apple seeds.
- ● Fertilizer (balanced 10-10-10) – Diluted to half-strength for young seedlings.
Step-by-step instructions for growing green apple seeds
Here’s how to break the dormancy cycle and coax those stubborn apple seeds into life.
🌱 Step 1: Extract and Clean the Seeds
Start by washing a fresh green apple to remove any wax or residue. Cut the fruit in half and scoop out the seeds, placing them in a bowl of cool water. Let them soak for 10-15 minutes—this softens the outer flesh and makes it easier to separate the seeds from the pulp.
After soaking, gently rub the seeds between your fingers under running water to remove any remaining fruit bits. Spread them on a paper towel to dry completely. This step is crucial because leftover pulp can rot the seeds during stratification. Once dry, store them in a sealed container or plastic bag until you’re ready for the next phase.
💧 Step 2: Stratify Seeds for Dormancy Break
Apple seeds require cold stratification to mimic winter conditions and trigger germination. Fill a small container with damp but not soggy potting mix (use the 1 gallon you’ve set aside). Plant the seeds ½ inch deep, spacing them 1 inch apart—this prevents overcrowding later.
Place the container in a sealed plastic bag and refrigerate for 8-12 weeks at 35-45°F. Check the mix every 2 weeks—it should stay lightly moist but never waterlogged. Cold stratification is where the magic happens: the seeds break dormancy and prepare to sprout.
☀️ Step 3: Move to Warmth for Germination
After 8-12 weeks, remove the container from the fridge and place it in a warm, bright spot (65-75°F). Use a grow light if natural light is weak—apple seedlings need 12-14 hours of light daily to avoid leggy growth. Keep the soil consistently moist but not soggy; water gently when the top ¼ inch feels dry.
Germination can take 3-8 weeks, depending on seed vigor and conditions. Watch for the first true leaves (not the initial seed leaves)—this signals the seedling is ready for its next phase. Be patient; some seeds may take longer, but don’t give up after 2 months.
🌿 Step 4: Transplant Seedlings for Growth
Once seedlings have 3-4 true leaves and are 3-4 inches tall, it’s time to transplant them into individual 4-inch pots. Use the remaining 2 gallons of potting mix, filling each pot ¾ full before gently placing the seedling in the center. Firm the soil lightly around the stem to secure it.
Place the pots in a sunny window or under grow lights, ensuring they get full sun for 6+ hours daily. Apple seedlings grow slowly at first, so avoid overwatering—let the top ½ inch of soil dry out between waterings. You’ll know they’re thriving when new leaves emerge every 2-3 weeks.
Tips & tricks for perfect green apple seed germination
Cold stratification is where the real magic happens—and these tricks will help you maximize your success rate.
Soaking Secret: That 10-15 minute soak in Step 1 isn't just about cleaning—it's about breaking down the seed coat just enough to let moisture penetrate. I use room-temperature water because cold water can shock the seeds. After soaking, I give them a final rinse under cool water to wash away any remaining fruit sugars that could feed mold during stratification.
Stratification Temperature: The 35-45°F range is critical—any warmer and the seeds won't break dormancy properly. I place my container on the top shelf of my fridge where it's consistently around 38°F. If your fridge runs hotter, move it to a cooler spot or use a refrigerator thermometer to monitor. The cold helps simulate winter conditions that apple seeds need to germinate.
Moisture Management: During the 8-12 week stratification period, the soil should feel like a wrung-out sponge—never soggy. I check moisture every 2 weeks by sticking my finger about 1 inch deep. If it feels dry, I mist lightly with water. Overwatering here can cause mold, while too little moisture prevents the seeds from absorbing what they need to break dormancy.
Light Timing: Once you move seeds to warmth in Step 3, those 12-14 hours of light are non-negotiable. I use a simple LED grow light on a timer to ensure consistency. If using natural light, place pots on a sunny windowsill where they get morning sun and afternoon shade. Too little light causes leggy seedlings, while too much can stress them before they've established roots.
Pro Tips for Green Apple Seeds
- Cold stratification is where the real magic happens—and these tricks will help you maximize your success rate.
- Soaking Secret: That 10-15 minute soak in Step 1 isn't just about cleaning—it's about breaking down the seed coat jus...
- Stratification Temperature: The 35-45°F range is critical—any warmer and the seeds won't break dormancy properly. I p...
Frequently asked questions
Got questions about growing green apple seeds?
Here are some common ones—plus quick, no-fuss answers to help you avoid pitfalls and maximize your success rate!
Can I grow green apple seeds from store-bought apples?
Yes, but with a big caveat! Store-bought apples are often treated to prevent sprouting. For the best chance, use seeds from a homegrown or organic apple—or try cold stratification (see our guide). If you’re impatient, check out fast-germinating seed alternatives below!
How long does cold stratification take for apple seeds?
Apple seeds need 6–12 weeks of cold stratification (40–50°F) to break dormancy. Place them in a damp paper towel or peat moss in the fridge. Pro tip: Test a few seeds after 6 weeks—if they sprout, skip the extra time!
Why won’t my green apple seeds germinate?
Common culprits:
- Untreated seeds: Store-bought apples may have chemical inhibitors.
- Wrong moisture: Too dry = dormant; too wet = rot. Keep soil damp (not soggy).
- Temperature issues: Seeds need warmth (70–80°F) after stratification.
What’s the fastest way to grow an apple tree from seed?
Cold stratification is the gold standard, but for speed:
- Scarify seeds: Lightly nick the shell with sandpaper to help water penetrate.
- Use a heat mat: After stratification, place pots on a 75°F heat mat.
- Grafting hack: If seeds sprout slowly, buy a rootstock and graft a seedling later—see our tips!
Are green apple seeds safe to eat?
Yes! Raw apple seeds contain amygdalin, a compound that converts to cyanide in large quantities—but you’d need to eat hundreds at once to risk harm. Chewing releases oils, so swallow them whole if you’re worried. Roasted seeds (like sunflower seeds) are a crunchy, nutritious snack!
What’s a better alternative if I want apples fast?
If you’re craving apples now, skip seeds and try:
- Buy a dwarf apple tree: Ready in 1–2 years (vs. 5–10 for seeds).
- Graft a branch: Contact local orchards for scions (young shoots) to graft onto rootstock.
- Grow heirloom varieties: Some, like ‘Granny Smith’, sprout reliably from seed.
Wrapping up and next steps
Growing green apple seeds may seem tricky, but with the right cold stratification techniques and patience, you can nurture a thriving seedling into a fruit-bearing tree! 🌱 Remember, success hinges on proper moisture, temperature control, and timing—so don’t rush the process.
Once your seeds sprout, keep nurturing them with care, and soon, you’ll be rewarded with a beautiful Malus domestica sapling.
Ready to take the next step? Plant your seeds today and watch your green thumb grow—literally! Share your progress with fellow gardeners or explore advanced grafting techniques to speed up fruit production. Happy growing! 🌟