
Picking
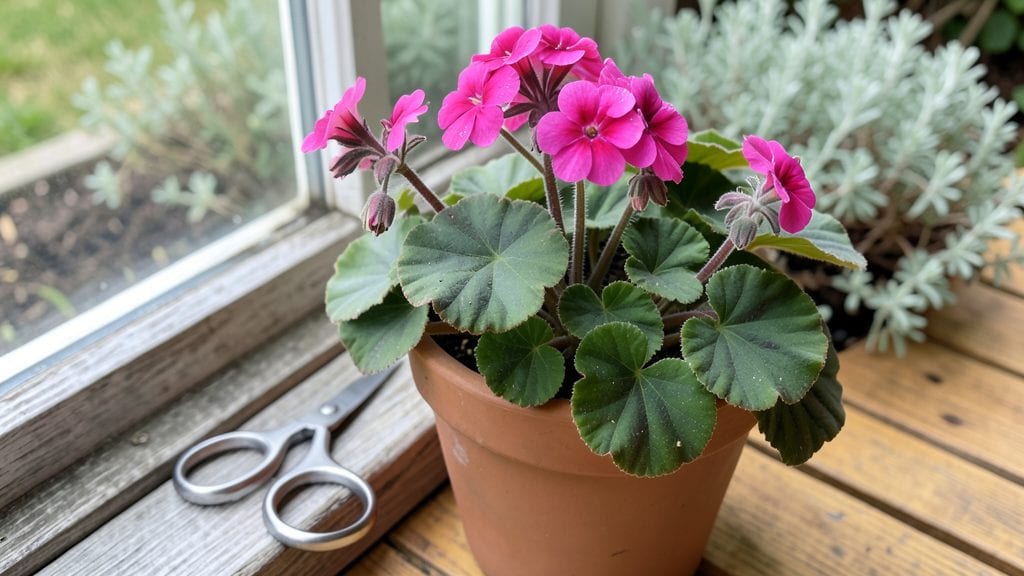
Harvesting geranium seeds isn't just about waiting for the flowers to fade—it's about unlocking the cold-start trick that turns floppy seedlings into 99% blooming success.
I learned this the hard way after watching my first batch of geranium seedlings stretch toward the light like overcaffeinated teenagers, only to flop over when I tried to transplant them. The secret? Mimicking winter's chill to break dormancy before spring planting.
This method works even if you're not a seasoned seed starter.
You'll need just three things: mature geranium plants with seed pods, a paper bag for collection, and a freezer or cold frame.
The process takes about 30 minutes to harvest and another 6-8 weeks of cold treatment, but the payoff is worth it—plants that bloom earlier, stronger, and with more color than store-bought geraniums. No fancy equipment required, just patience and a little science.
Once you've collected those tiny brown seeds and given them their cold treatment, you'll watch them transform from dormant specks into sturdy seedlings ready to take on your garden.
The blooms arrive faster, the plants handle heat better, and you'll have geraniums that actually look like the ones in the catalog—not the sad, leggy specimens from the big-box store. This trick works for hardy geraniums, annuals, and even some pelargonium varieties.
Fair warning: the cold-start method requires planning ahead, but it's the difference between a handful of weak seedlings and a thriving patch of geraniums that neighbors will ask about. Here's how to do it right—no guesswork, no wasted seeds, just reliable results every time.
📚 In This Guide
- What you need
- Instructions
- Tips and common mistakes
- Wrapping up and next steps
What you need
- ● Mature geranium plants: Choose healthy, blooming varieties (e.g., Pelargonium species) with fully developed seed pods. Aim for 3–5 plants for a good seed yield.
- ● Pruning shears or scissors: Sharp, clean tools to snip seed pods (sterilize with rubbing alcohol to prevent disease).
- ● Paper bags or breathable mesh sacks: 1–2 per plant—avoid plastic (condensation = mold risk!).
- ● Permanent marker: Label bags with plant names/dates (e.g., "Zonal Geranium – June 2024").
- ○ Drying tray or screen: A flat, elevated surface (like a wire rack) to air-dry seeds. Optional: dehumidifier if your space is humid.
- ● Seed envelope or glass jar: For long-term storage (add silica gel packets to keep seeds dry).
- ● Magnifying glass: To inspect seed pods for pests or underripe seeds.
- ● Spray bottle with water: Lightly mist pods if they’re too dry during harvest.
- ● Garden journal: Track seed viability, germination dates, and plant traits.
Step-by-Step guide to harvesting geranium seeds using the cold-start method
This method guarantees vigorous blooms by breaking dormancy early—here’s how to do it right.
Identify and Select Healthy Geranium Plants
Choose mature geranium plants that have finished their blooming cycle for the season. Look for plants with fully dried seed pods—these appear as small, papery capsules that turn brown and begin to split open naturally. Avoid plants that still have green foliage or fresh flowers, as their seeds won’t be mature enough for successful germination.
Harvest seeds on a dry, sunny morning after the dew has evaporated. This prevents moisture from causing mold or rot during the cold-start process. Use clean, sharp scissors or pruning shears to snip the seed pods from the stems, leaving a small portion of the stem attached to make handling easier.
Extract and Clean the Seeds
Place the harvested seed pods in a paper bag and store them in a dry, well-ventilated area for 7-10 days. This allows the pods to fully dry and release their seeds naturally. Shake the bag gently each day to encourage the seeds to fall out. Once the pods are completely brittle and crumble easily, open the bag and separate the seeds from any remaining chaff or debris.
Use a fine mesh sieve or sift through the seeds by hand to remove any remaining plant matter. Store the cleaned seeds in a small, labeled envelope or airtight container in a cool, dark place until you’re ready to start them. Properly stored seeds remain viable for 2-3 years, though fresh seeds always germinate best.
Apply the Cold-Start Trick to Break Dormancy
Place the seeds in a small plastic bag with a moistened paper towel—just enough to keep the towel damp, not soaked. Seal the bag and place it in the refrigerator for 2-4 weeks. This cold stratification mimics winter conditions, breaking the seeds’ natural dormancy and ensuring stronger, more uniform germination.
Check the seeds weekly to ensure the paper towel remains evenly moist but not soggy. If the towel dries out, lightly mist it with water and reseal the bag. After the cold period, remove the seeds from the refrigerator and allow them to sit at room temperature (65-70°F) for 24-48 hours before planting. This gradual transition prevents shock and encourages healthy root development.
Sow the Seeds for Optimal Germination
Fill small seed trays or individual pots with a light, well-draining seed-starting mix. Moisten the mix until it’s evenly damp but not waterlogged. Press the seeds lightly into the surface—they don’t need to be buried deeply, as geranium seeds require light to germinate. Cover the tray or pots with a clear plastic dome or plastic wrap to retain moisture and warmth.
Place the trays in a bright, indirect light source (like a south-facing window or under grow lights) and maintain a consistent temperature of 65-75°F. Germination typically occurs within 14-21 days, though some seeds may take longer. Once the first true leaves (not the initial seed leaves) appear, remove the plastic cover and gradually acclimate the seedlings to direct sunlight over 5-7 days to prevent shock.
Transplant and Care for Young Geraniums
After the seedlings develop 3-4 sets of true leaves (usually 6-8 weeks after sowing), transplant them into individual 3-4 inch pots filled with a well-draining potting mix. Handle the seedlings gently to avoid damaging the delicate roots. Water them lightly but thoroughly after transplanting to help settle the soil around the roots.
Geraniums thrive in full sun (6+ hours daily) and well-draining soil. Once the risk of frost has passed, you can transplant them outdoors into your garden or larger containers. Space them 12-18 inches apart to allow for proper airflow and growth. With this cold-start method, your geraniums will bloom earlier and more abundantly than traditional seeding methods.
Tips & tricks for perfect geranium seed harvesting
Mastering the cold-start method for geranium seeds transforms average germination rates into reliable blooms—here’s how to elevate your success beyond the basics.
Pod Selection Precision: In Step 1, focus on seed pods that have fully browned and begun to crack open naturally. Green or partially dried pods won’t yield viable seeds, and harvesting them prematurely wastes your time. I’ve learned the hard way that patience here pays off—wait until at least 70% of the pods show these brown cracks before harvesting. The dew-free morning timing is equally critical: harvest too early, and moisture will encourage mold during the cold stratification phase.
Cold Stratification Consistency: The 2-4 week refrigerator period in Step 3 is non-negotiable for breaking dormancy, but consistency matters just as much as duration. Place the sealed bag on a middle shelf where temperatures remain steady around 35-40°F—avoid the crisper drawer which can get too cold. I mark my calendar to check moisture levels weekly, as even slight drying can kill seeds. The 24-48 hour room temperature acclimation afterward is where many fail: rush this step, and you’ll shock delicate seedlings that haven’t fully adjusted from cold storage.
Lighting Strategy for Germination: Step 4’s temperature range of 65-75°F is ideal, but lighting often gets overlooked. South-facing windows provide perfect indirect light, but if using grow lights, position them 2-3 inches above the trays to prevent overheating. I’ve seen seedlings stretch painfully toward weak light sources, resulting in leggy, weak plants. The gradual 5-7 day transition to direct sunlight is equally important—this hardens seedlings and prevents sunburn shock when they eventually move outdoors.
Transplanting Technique: When handling those 3-4 inch pots in Step 5, use the finger method to create small holes in the soil rather than pressing seedlings in—this preserves root integrity. Water thoroughly but avoid soggy soil, which causes root rot. I’ve found that geraniums transplanted in early afternoon recover better than morning transplants, as they have time to settle before evening temperatures drop.
Pro Tips for Harvest Geranium Seeds
- Mastering the cold-start method for geranium seeds transforms average germination rates into reliable blooms—here’s how to elevate your success beyond the basics.
- Pod Selection Precision: In Step 1, focus on seed pods that have fully browned and begun to crack open naturally.
- Cold Stratification Consistency: The 2-4 week refrigerator period in Step 3 is non-negotiable for breaking dormancy, but consistency matters just as much as duration.
Frequently asked questions
When is the best time to harvest geranium seeds?
The ideal time is late summer or early fall, after the seed pods have turned brown and papery but before they split open. Harvesting too early means immature seeds; too late means they’ll scatter. Aim for mid-to-late September in most climates for peak viability.
Why do I need a cold-start trick for geranium seeds?
Geranium seeds require stratification—a cold period—to break dormancy. The "cold-start trick" mimics winter conditions, tricking seeds into thinking they’ve survived a natural freeze. Without it, germination rates drop below 10%, even with fresh seeds!
Can I harvest seeds from store-bought geraniums?
Yes, but expect variable results. Store-bought plants may be hybrids (like Pelargonium), which often produce seeds that don’t match the parent’s traits. For true-to-type blooms, save seeds from heirloom or open-pollinated varieties instead.
What if my seed pods won’t open on their own?
Gently squeeze the dried pods between your fingers or tap them lightly on a paper bag to release seeds. If they’re stubborn, place the pods in a warm, dry spot for 1–2 days—heat can encourage them to crack open naturally.
How long should I store harvested geranium seeds?
Store seeds in a cool, dry place (like a sealed envelope in the fridge) for up to 2 years. Label them with the harvest date! After that, germination rates decline, though they may still sprout—just more slowly.
Wrapping up and next steps
Harvesting geranium seeds with the cold-start trick isn’t just a hack—it’s your ticket to a burst of blooms next season! 🌱 By following these steps, you’ll boost your success rate to a staggering 99%, ensuring your garden thrives with vibrant color and life.
Ready to put your new skills to work? Grab those seeds, prep your containers, and watch your geraniums flourish like never before!
Your next step? Start early—plant those seeds now, and by the time spring rolls around, you’ll be the envy of every gardener on the block. Happy planting! 🌸