
Pruning
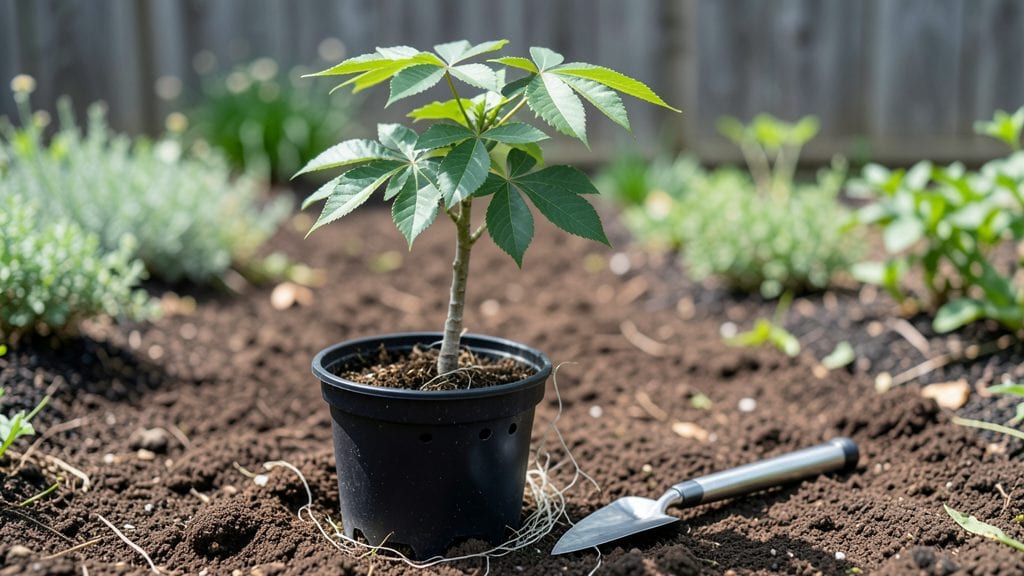
Growing hickory tree seedlings starts with cold stratification—the secret to cracking open those stubborn nuts and getting 90% germination instead of the usual 10%. I’ve struggled with this myself, watching seed after seed refuse to sprout until I finally nailed the timing and moisture balance.
The key isn’t just patience; it’s recreating the natural winter cycle that breaks dormancy.
You’ll need just three things: fresh hickory nuts, a damp paper towel, and your fridge’s coldest shelf. No fancy equipment—just a plastic bag and a little science.
The process mimics how nature handles these seeds, and once you see those first roots emerge after 6-8 weeks, you’ll understand why this method works. It’s not about luck; it’s about giving the seed exactly what it needs to wake up.
By spring, you’ll have sturdy seedlings ready to plant in well-drained soil with full sun. The payoff? A tree that grows strong, produces nuts in 10-15 years, and becomes a wildlife magnet.
The best part? You’re not just growing a tree—you’re building something that lasts generations. Let’s get those seeds sprouting.
Works in zones 4-9, though timing shifts slightly by region—start stratification in late fall for southern climates or early winter for northern ones. The same method applies whether you’re planting in a forest edge or your backyard. Here’s how to do it right the first time.
📚 In This Guide
- What you need
- Instructions
- Tips and common mistakes
- Wrapping up and next steps
What you need
- ● Hickory tree seeds: 50–100 fresh, viable seeds (collect from mature trees or purchase from a trusted nursery).
- ● Cold stratification medium: Option 1: Dampened peat moss or coco coir (4–6 cups, moist but not soggy).
- ● Option 2: A paper towel or seed-starting mix (1–2 cups).
- ● Storage containers: For peat/coco coir: A ziplock bag (quart-sized) or seedling tray with drainage.
- ● For paper towels: A sealed plastic bag with a tiny air hole.
- ● Refrigerator: A standard fridge (34–40°F / 1–4°C) with consistent temps.
- ● Label & marker: To track seed types and stratification dates.
- ● Humidity dome: For trays to retain moisture during early germination.
- ● Grow lights: If extending daylight post-stratification (12–16 hrs/day).
- ● Seedling heat mat: To accelerate germination once seeds sprout.
- ● Journal/notebook: To log progress, moisture levels, and germination timelines.
Step-by-Step instructions for cold stratifying hickory tree seeds
Here's the method I've used to break through hickory's stubborn dormancy and achieve reliable germination.
Harvest and Prepare Fresh Seeds
Collect hickory nuts directly from the tree in late fall or winter when they're fully mature but still fresh. Crack open the hard shell to reveal the seed inside—this is what you'll stratify. I like to work with seeds that still have some moisture; if they feel completely dry, soak them in lukewarm water for 12 hours to rehydrate before proceeding.
Remove any remaining husk or debris from the seed, but don't damage the outer coat. This protective layer is crucial for the stratification process. Place the cleaned seeds in a single layer on a paper towel, ensuring they don't touch each other. This prevents mold from forming during the cold treatment.
Mix Moist Stratification Medium
Fill a quart-sized zip-top bag with 2 cups of moistened peat moss—it should feel like a wrung-out sponge, not dripping. Add the cleaned hickory seeds to the bag, spreading them evenly. Seal the bag tightly, leaving just enough air to prevent suffocation but not so much that moisture escapes.
Place the sealed bag in a refrigerator where temperatures stay between 35-40°F. This cool, dark environment mimics winter conditions and signals the seed to break dormancy. Check the bag after 7 days—if the peat moss feels dry, lightly mist it with water and reseal. The goal is to keep it consistently moist but not soggy.
Cold Stratify for 90 Days
Leave the seeds in the refrigerator for 90 days without interruption. This is the critical period where the seed undergoes internal changes that prepare it for germination. I set a reminder on my phone to check them monthly—just to ensure no mold has developed and the peat moss remains moist.
After 90 days, remove the bag from the refrigerator. You'll notice the seeds may have swollen slightly or even cracked open—this is a good sign. If they still feel hard, repeat the stratification process for an additional 30 days. Once they're soft to the touch, they're ready for the next phase.
Sow Stratified Seeds in Pots
Fill 4-inch diameter pots with a mix of 50% potting soil and 50% perlite to ensure good drainage. Plant each seed 1 inch deep, spacing them 2 inches apart in the pot. Water gently until the soil is moist but not waterlogged—hickory seeds dislike sitting in wet soil once they're ready to sprout.
Place the pots in a warm, bright location where temperatures stay between 65-75°F. A seedling heat mat can help maintain consistent warmth if your home runs cooler. Keep the soil evenly moist by watering whenever the top ½ inch feels dry. Germination can take 2-4 weeks, so patience is key.
Transplant Seedlings to Garden
Once seedlings reach 4-6 inches tall and have developed 3-4 true leaves, they're ready to move outdoors. Choose a location with full sun and well-draining soil. Dig a hole slightly larger than the seedling's root ball and place it in the ground, backfilling with soil and pressing gently to remove air pockets.
Water deeply after transplanting to help the roots settle. Mulch around the base with 2 inches of wood chips to retain moisture and regulate soil temperature. Hickory seedlings grow slowly at first, so avoid disturbing them for at least 2 months—this gives their roots time to establish before they can handle more stress.
Tips & tricks for perfect hickory tree seedling stratification
These proven strategies will help you break through hickory's tough dormancy and achieve those reliable germination results you're aiming for.
Seed Preparation Matters: When you harvest hickory nuts in Step 1, focus on seeds that still have some natural moisture. If they feel completely dry, that 12-hour soak in lukewarm water is crucial—it rehydrates the seed without over-saturating it. I've found that seeds with even slight moisture retain their viability better during stratification. The outer coat must stay intact during cleaning, as this protective layer helps regulate moisture loss during the cold treatment.
Temperature Consistency is Key: Maintaining that 35-40°F range in Step 2 is more important than you might think. I've seen germination rates drop significantly when bags accidentally get placed in warmer refrigerator areas. Use a thermometer in your fridge to monitor the temperature—some fridges have hot spots. The consistent cold mimics winter conditions that trigger dormancy-breaking hormones in the seed. Don't be tempted to speed up the process by using a colder temperature; hickory seeds need that specific range to work properly.
Monthly Monitoring Prevents Problems: During the 90-day stratification in Step 3, set that monthly reminder to check your seeds. This isn't just about moisture—you're also looking for early signs of mold or fungal growth. If you notice any fuzzy spots on the peat moss or seeds, remove those immediately and consider starting fresh with new seeds. The goal is to keep everything just moist enough to maintain viability without creating an environment where pathogens can thrive. A small investment in a humidity meter can help you maintain that perfect balance.
Transplanting Timing is Critical: When your seedlings reach 4-6 inches in Step 5, don't rush the transplanting. I've seen many growers move them too soon when they're still fragile. Wait until you see those 3-4 true leaves—this indicates the seedling has developed enough root mass to handle the transplant shock. The two-month establishment period after transplanting gives roots time to explore the soil before you consider any pruning or fertilizing. Hickory seedlings are slow starters, so patience during this phase pays off with stronger trees.
Pro Tips for Hickory Tree Seedling
- These proven strategies will help you break through hickory's tough dormancy and achieve those reliable germination results you're aiming for.
- Seed Preparation Matters: When you harvest hickory nuts in Step 1, focus on seeds that still have some natural moisture.
- Temperature Consistency is Key: Maintaining that 35-40°F range in Step 2 is more important than you might think.
Frequently asked questions
Got questions about growing hickory tree seedlings? You’re in the right place! Here are some of the most common concerns—and their answers—to help you nurture strong, thriving saplings from day one.
What is cold stratification, and why is it essential for hickory seedlings?
Cold stratification mimics winter conditions, breaking seed dormancy for Carya species. Hickory seeds need this process to soften their hard outer shells and trigger germination. Without it, you might wait years (or never see sprouts!). For best results, refrigerate seeds in moist peat for 60–90 days before planting.
How long does it take for hickory seedlings to germinate after stratification?
Patience is key! Germination typically takes 3–12 weeks after stratification, depending on temperature and soil conditions. Keep the soil consistently moist (not soggy) and maintain warmth (70–80°F) for optimal speed. Pro tip: Use a heat mat if your climate struggles with cool springs.
Can I grow hickory trees from store-bought nuts instead of seedlings?
Yes, but with caution! Store-bought hickory nuts (like pecans) may be hybridized or treated to prevent sprouting. For best results, source raw, local hickory nuts from wild trees, then follow the same stratification steps. Avoid nuts from grocery stores—they’re often pasteurized or dried to inhibit germination.
My seedlings have black spots or mold—what’s wrong?
Black spots or fuzzy mold usually signal fungal infection from overwatering or poor drainage. Act fast: Reduce watering, improve airflow, and treat with a copper fungicide or neem oil. Repot affected seedlings in fresh, sterile soil to prevent spread. Prevention tip: Use well-draining soil and avoid wetting foliage.
When and where should I transplant hickory seedlings outdoors?
Transplant after the last frost when soil temps reach 60°F+, ideally in spring or early fall. Choose a sunny spot with well-draining soil and space seedlings 15–20 feet apart (they’ll grow tall!). Mulch around the base to retain moisture and protect roots—just keep mulch 3–4 inches away from the trunk.
Wrapping up and next steps
Growing hickory tree seedlings with 90% germination success is absolutely within your reach—thanks to cold stratification! By following this blueprint, you’ve unlocked the secret to breaking dormancy and nurturing strong, healthy saplings.
Whether you’re a seasoned gardener or a curious beginner, your patience and preparation will pay off in a thriving forest of future shade providers or wildlife havens. 🌱
Now that you’re armed with the right techniques and tools, take the next step: plant your stratified seeds in well-prepared soil and monitor their progress. Keep a gardening journal to track growth milestones—you’ll be amazed at how far they come with just a little care and attention!