How To
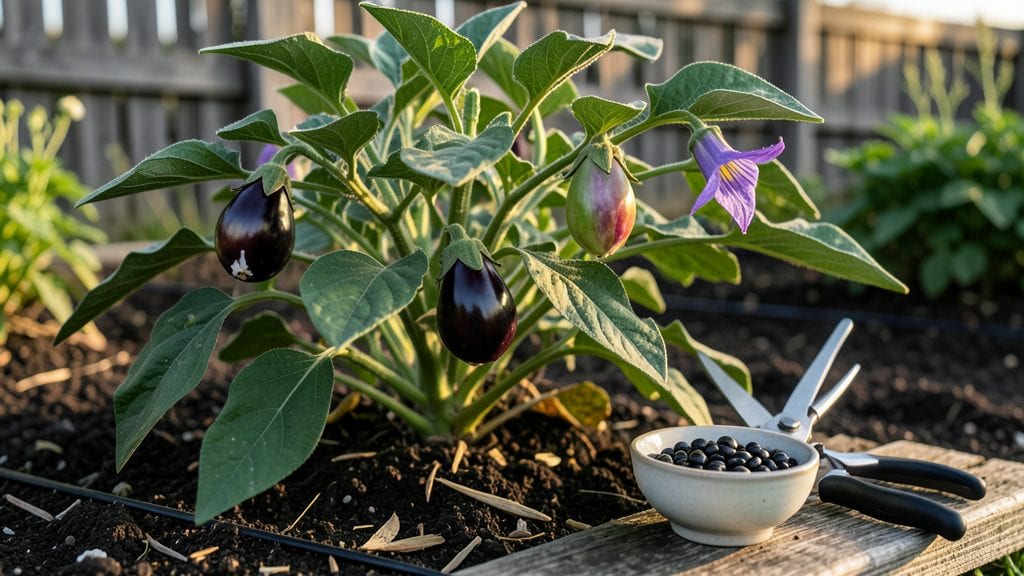
Harvesting eggplant seeds is the easiest way to grow your own 🍆 plants year after year—no seed packet needed.
Did you know saving just a few eggplant seeds can help you grow a thriving garden for years without buying new plants every season? It’s simpler than you’d think, and this guide will walk you through every step to do it right.
From picking the perfect fruit to drying and storing seeds properly, you’ll learn how to avoid common mistakes that ruin seeds. Whether you’re a first-time gardener or a seasoned pro, these tips will ensure your seeds stay viable for next year’s harvest.
Ready to save money and grow your favorite varieties? Let’s get started with the exact steps to harvest, clean, and store eggplant seeds like a pro.
Step-by-step guide to harvesting eggplant seeds from ripe fruit
Saving eggplant seeds is a rewarding way to grow your favorite varieties year after year. The key to success lies in selecting the right fruit, extracting seeds properly, and drying them correctly to prevent mold.
I’ve learned that timing and cleanliness are everything—skip these steps, and your seeds could end up useless. Let’s break down the process so you can harvest high-quality seeds every time.
First, you’ll need to identify fully ripe eggplants from your garden. Look for fruits that are deep in color, firm to the touch, and have reached their mature size (typically 6-10 inches long).
Avoid harvesting seeds from immature or overripe fruit, as they won’t produce viable seeds. Once you’ve picked the perfect eggplants, we’ll move on to the extraction process.
🌱
How to Harvest Eggplant Seeds
-
Step 1: Select Ripe Eggplants
Choose eggplants that are fully colored, firm, and have reached their mature size. Avoid any with soft spots or blemishes. -
Step 2: Cut Open the Fruit
Slice the eggplant in half lengthwise and scoop out the seeds and gel using a spoon. Place the mixture in a clean bowl. -
Step 3: Ferment the Seeds (Optional but Recommended)
Cover the bowl with a cloth or paper towel and let it ferment for 2-3 days in a warm spot. This helps remove the gel and reduces mold risk. -
Step 4: Rinse and Clean the Seeds
After fermentation, rinse the seeds under cool water to remove any remaining gel. Use a fine-mesh strainer to separate seeds from debris. -
Step 5: Dry the Seeds Thoroughly
Spread the seeds on a paper towel or mesh screen in a single layer. Place them in a well-ventilated, dry area (like a sunny windowsill) for 5-7 days until completely dry. -
Step 6: Store the Seeds Properly
Once dry, transfer the seeds to a paper envelope or airtight container. Label with the variety name and date and store in a cool, dark place for up to 3 years.
The fermentation step is crucial because it helps break down the gelatinous pulp surrounding the seeds, which can cause mold if left intact. I’ve found that skipping this step often leads to seed spoilage or poor germination rates.
If you’re short on time, you can skip fermentation but must ensure the seeds are extra dry afterward.
When drying your seeds, avoid using a heat source like an oven or hairdryer, as this can damage their viability. Instead, rely on natural airflow and indirect sunlight. A humidity level below 40% is ideal for drying—too much moisture will encourage mold growth.
If your climate is humid, consider using a dehumidifier or silica gel packets to speed up the process.
One common mistake I’ve seen is storing seeds in plastic bags, which traps moisture and leads to mold. Always opt for paper envelopes or breathable containers to maintain seed quality.
Labeling is also key—mislabeling seeds can lead to confusion when planting next season. Include the variety name, harvest year, and your initials for easy organization.
To test seed viability before planting, perform a simple float test: Place a handful of seeds in a glass of water. Viable seeds will sink to the bottom, while non-viable ones will float.
Aim for a viability rate of 80% or higher for the best germination results. If your seeds fail this test, they may need to be replanted or discarded.
With these steps, you’ll have a reliable supply of eggplant seeds ready for next season’s garden. Not only will you save money, but you’ll also preserve the unique traits of your favorite varieties. Happy seed saving!
🌿
Best eggplant varieties for seed saving and how to store them long-term
Not all eggplants are created equal when it comes to seed saving. Heirloom varieties consistently produce the most reliable seeds because they're open-pollinated, meaning their traits stay true from generation to generation. Hybrid varieties, on the other hand, often produce sterile seeds that won't grow true to type.
For seed saving, I always choose heirloom eggplants like Black Beauty, Ichiban, or Rosa Bianca—these are my top picks for consistent results.
Once you've selected the right variety, proper seed storage is key to maintaining viability. Eggplant seeds can last 3-5 years under ideal conditions, but humidity control and temperature stability are critical. I'll walk you through my exact storage method, including how to test seed viability before planting.
Let's dive into the best varieties and storage techniques to ensure your seeds stay fresh and ready for next season's garden.
Here's how the top eggplant varieties compare for seed saving, along with their unique characteristics and storage requirements:
| Variety | Type | Fruit Color | Seed Viability | Storage Tip |
|---|---|---|---|---|
| Black Beauty | Heirloom | Deep Purple | High (5+ years) | Use silica gel packets |
| Ichiban | Heirloom | White | High (4+ years) | Store in airtight container |
| Rosa Bianca | Heirloom | Pink/White | High (4+ years) | Label with harvest year |
| Fairy Tale | Hybrid | White | Low (1-2 years) | Not recommended |
| Little Fingers | Heirloom | Purple | Medium (3-4 years) | Keep in cool, dark place |
After harvesting seeds from your chosen variety, the next step is testing viability. I always perform a simple paper towel test before storing seeds long-term. Place a few seeds between damp paper towels in a sealed container, then wait 5-7 days for germination.
If 80% or more sprout, your seeds are ready for storage. This quick test saves me from wasting time planting non-viable seeds later.
For long-term storage, I use airtight containers with silica gel packets to control humidity. Store seeds in a cool, dark place—I keep mine in the back of my refrigerator where the temperature stays between 35-40°F.
Always label your containers with the variety name and harvest year to avoid confusion. With proper storage, these heirloom seeds will stay viable for years, giving you a steady supply of plants without repurchasing seeds.
One pro tip I've learned is to ferment eggplant seeds before drying to improve germination rates. Simply mash the pulp and seeds in a jar, cover with water, and let sit for 3-5 days at room temperature.
The fermentation process removes gelatinous coatings that can inhibit germination. After fermenting, rinse the seeds thoroughly, spread them on a paper towel, and let them dry completely before storing.
Remember, seed saving is all about patience and attention to detail. By choosing the right varieties, testing viability, and storing seeds properly, you'll have a reliable source of eggplants for your garden year after year. Happy growing!