Vegetables
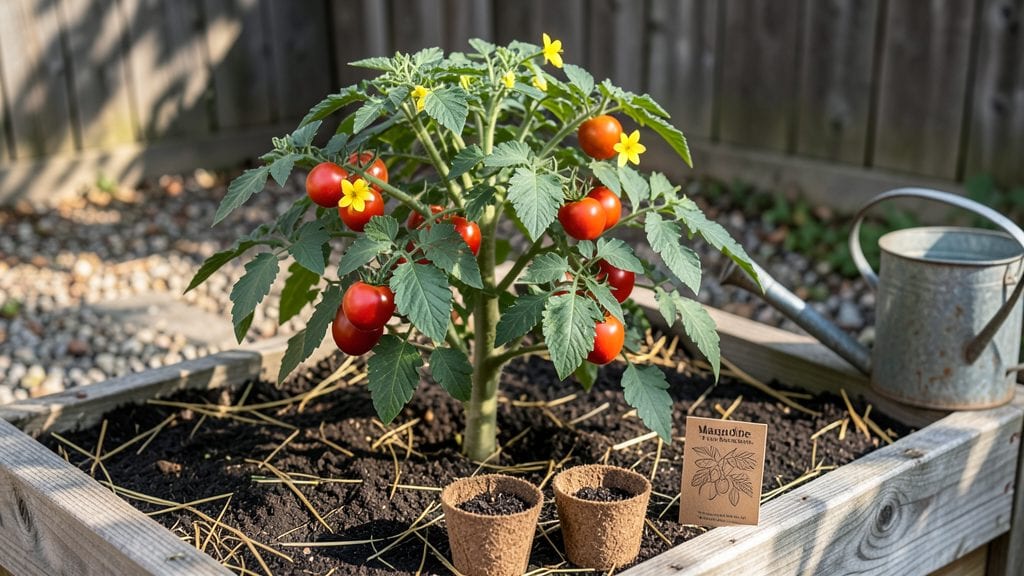
Starting Marglobe tomato seeds opens the door to a garden full of sweet, meaty tomatoes that resist disease like nothing else. I’ll never forget the first time I grew them—the flavor was so rich, it made store-bought tomatoes taste bland.
These heirlooms thrive in containers or beds, and their compact size makes them perfect for small spaces or urban gardens.
The secret to success begins with the right setup: warm soil, consistent moisture, and bright light. Most gardeners struggle with damping-off or slow germination, but I’ve got foolproof methods to keep your seedlings strong from day one.
You’ll need basic supplies—a seed tray, potting mix, and a grow light or sunny windowsill—and you’re ready to go.
By midsummer, you’ll be harvesting tomatoes that burst with flavor, with each plant producing pounds of fruit. The vines stay compact, the leaves resist common diseases, and the taste? Unmatched. These tomatoes are the kind that make neighbors ask, “What’s your secret?”
Whether you’re a beginner or a seasoned gardener, Marglobe tomatoes deliver reliable results with minimal fuss. Let’s get those seeds sprouting and turn your garden into a tomato haven!
📚 In This Guide
- What you need
- Instructions
- Tips and common mistakes
- Wrapping up and next steps
What you need
- ● Marglobe tomato seeds – 5-10 seeds per plant (or 1 packet for multiple plants). Look for heirloom, non-GMO varieties for the best flavor!
- ● Seed-starting mix – 1-2 cubic feet (a 10-quart bag works well). Use a lightweight, sterile mix with perlite or vermiculite.
- ● Containers – 4-6 small pots (4-6 inches deep) or a seed tray with cells. Ensure they have drainage holes to prevent root rot.
- ● Grow lights or sunny window – A full-spectrum LED grow light (12-16 hours/day) or a south-facing window with 6+ hours of sunlight.
- ● Watering can or spray bottle – With a gentle misting nozzle to avoid disturbing seeds.
- ● Fertilizer – A balanced, water-soluble fertilizer (5-5-5 or 10-10-10) or organic options like fish emulsion or compost tea.
- ● Plant labels & marker – To track Marglobe seedlings (and avoid mix-ups!).
- ○ Heat mat (optional) – A seedling heat mat (70-75°F) speeds up germination.
- ● Humidity dome or plastic wrap – Keeps moisture in while seeds sprout (remove once seedlings emerge).
- ● Transplanting pots (3-4 inches) – For hardening off seedlings before moving outdoors.
- ● Tomato cages or stakes – 4-6 feet tall to support vines as they grow.
- ● Mulch (straw or shredded leaves) – Helps retain soil moisture and suppress weeds.
Step-by-step instructions for growing Marglobe tomato seeds
Here’s how I grow these sweet, reliable tomatoes from seed—no shortcuts, just steady progress.
Start Seeds Indoors 8-10 Weeks Before Last Frost
Fill small seedling trays with moistened seed-starting mix, pressing it down gently to remove air pockets. Marglobe seeds need warmth to germinate, so place the tray on a seedling heat mat set to 75-80°F. Plant two seeds per cell, pressing them just below the surface—about ¼ inch deep. Cover lightly with additional mix to keep them in place.
Once planted, mist the surface with water until damp but not soggy. A humidity dome or plastic wrap helps retain moisture while seeds germinate. Keep the tray in a warm, dark spot until you see sprouts—usually in 7-10 days. Real talk: If germination takes longer, don’t overwater; the soil should stay consistently moist but not waterlogged.
Provide Bright Light Immediately After Germination
The moment seedlings emerge, move them to a south-facing window or under grow lights for 14-16 hours of light daily. Marglobe tomatoes grow best with strong, direct light—without it, they’ll stretch toward the sun, becoming weak and leggy. If using grow lights, position them 2-3 inches above the seedlings and adjust as they grow.
Watch for first true leaves (the second set after the initial seed leaves) to appear in 1-2 weeks. This is your signal to start fertilizing lightly with a balanced, water-soluble fertilizer diluted to half strength. Overfertilizing now can burn tender roots, so I always wait until seedlings have at least two sets of true leaves.
Harden Off Seedlings Before Transplanting
About 2 weeks before your last frost date, begin hardening off seedlings by placing them outside in a sheltered spot for 1-2 hours the first day. Gradually increase their outdoor time over 7-10 days, eventually leaving them out all day. This slows their transition and prevents shock.
Marglobe tomatoes thrive in full sun, so by the time you transplant, they should be ready for 6-8 hours of direct sunlight daily. Choose a location with well-draining soil and space them 24-36 inches apart—they grow into sturdy plants. Transplant on an overcast day or in the late afternoon to reduce stress.
Support and Maintain Plants for Year-Round Harvests
Marglobe tomatoes produce heavy fruit, so install cages or stakes at planting time to support their growth. As vines reach 3-4 feet tall, prune suckers (the small shoots that form in the leaf axils) to encourage stronger stem development. This ensures energy goes into fruit production rather than excessive foliage.
Water deeply 1-2 times per week, keeping soil consistently moist but not waterlogged. Mulch around the base to retain moisture and suppress weeds. You’ll know your plants are happy when they produce large, deep-red fruit—Marglobes are known for their sweet, meaty texture, perfect for slicing or sauces. Harvest when fully colored, but don’t wait too long—they ripen quickly once picked.
Tips & tricks for perfect Marglobe tomato seedlings
Growing Marglobe tomatoes from seed is all about patience and precision—here’s how to avoid common pitfalls and get the best start possible.
Heat Mat Matters: The 75-80°F heat mat temperature is non-negotiable for germination. If your home stays cooler, consider using a seedling heat mat with a built-in thermostat to maintain consistent warmth. I’ve seen seeds fail to sprout when kept in cooler environments—don’t skip this step! The warmth mimics outdoor spring conditions and speeds up germination from the usual 7-10 days.
Lighting is Everything: Those 14-16 hours of daily light are critical for preventing leggy seedlings. If your south-facing window isn’t sufficient, invest in affordable LED grow lights. Position them just 2-3 inches above the seedlings—too high and they won’t get enough light, too low and they’ll burn. I’ve had to replace seedlings that stretched toward weak light sources, and it’s heartbreaking to watch them struggle.
Fertilizing Timing: Wait until you see those first true leaves (the second set) before fertilizing—usually around the 1-2 week mark. This is when the seedlings have developed enough root structure to handle nutrients. I always use a balanced, water-soluble fertilizer diluted to half strength to avoid burning tender roots. Overfertilizing at this stage can actually stunt growth rather than help it.
Harden Off Gradually: The 2-week hardening off period before transplanting is your chance to prepare seedlings for outdoor conditions. Start with just 1-2 hours of outdoor exposure the first day, then increase slowly. I’ve seen seedlings shocked by sudden exposure—leaves turn yellow or crispy when moved too quickly. This gradual process helps them develop thicker cell walls and better stress tolerance for their new home in the garden.
Pro Tips for Marglobe Tomato Seeds
- Growing Marglobe tomatoes from seed is all about patience and precision—here’s how to avoid common pitfalls and get the best start possible.
- Heat Mat Matters: The 75-80°F heat mat temperature is non-negotiable for germination.
- Lighting is Everything: Those 14-16 hours of daily light are critical for preventing leggy seedlings.
Frequently asked questions
Got questions about growing Marglobe tomato seeds? You’re not alone! Here are answers to the most common queries—from planting to harvest—so you can enjoy homegrown tomatoes all year long.
When is the best time to plant Marglobe tomato seeds?
For indoor starts, sow seeds 6–8 weeks before your last frost date. If you’re planting directly outdoors (in warm climates), wait until soil temps hit 60°F+ and nighttime temps stay above 55°F. Marglobes thrive in heat, so don’t rush—give them time to sprout strong!
How long does it take for Marglobe tomato seeds to germinate?
Germination usually takes 7–14 days at 70–85°F. Keep soil moist (not soggy!) and use a seedling heat mat if your home runs cool. Pro tip: Cover trays with plastic wrap to retain humidity until sprouts appear. Patience pays off—tiny seeds grow into big plants!
Why aren’t my Marglobe tomato plants producing fruit?
Common culprits include lack of sunlight (6–8+ hours daily), overcrowding (space plants 2–3 ft apart), or nutrient deficiencies. Check for yellow leaves (nitrogen) or purple stems (phosphorus). Boost blooms with a balanced fertilizer (like 10-10-10) and hand-pollinate flowers if rain keeps bees away.
Can Marglobe tomatoes grow in containers?
Choose a 5-gallon+ container with drainage holes and fill with well-draining potting mix. Use a cage or trellis to support vines, and place in full sun. Container-grown Marglobes may yield slightly less but thrive in small spaces—perfect for balconies or patios!
What’s the best way to save Marglobe tomato seeds for next year?
Let a ripe tomato fully ripen on the vine, then scoop out the gel and seeds. Rinse seeds in water, ferment the pulp for 2–3 days (this removes bad seeds), then dry them on a paper towel for 1–2 weeks in a cool, dark place. Store in a paper envelope in the fridge for up to 5 years!
Wrapping up and next steps
Growing Marglobe tomato seeds is your ticket to a bountiful, homegrown harvest—no matter the season! 🌱 With just a little patience and care, these tiny seeds can transform into vibrant, flavorful tomatoes that elevate every meal.
Whether you’re a seasoned gardener or a beginner, the rewards of nurturing your own plants are well worth the effort.
Ready to take the next step? Start small—plant a few seeds in a pot or your garden today—and watch your green thumb grow! Share your progress with fellow gardeners or experiment with recipes featuring your homegrown Marglobe tomatoes. Happy growing! 🌿