Pruning
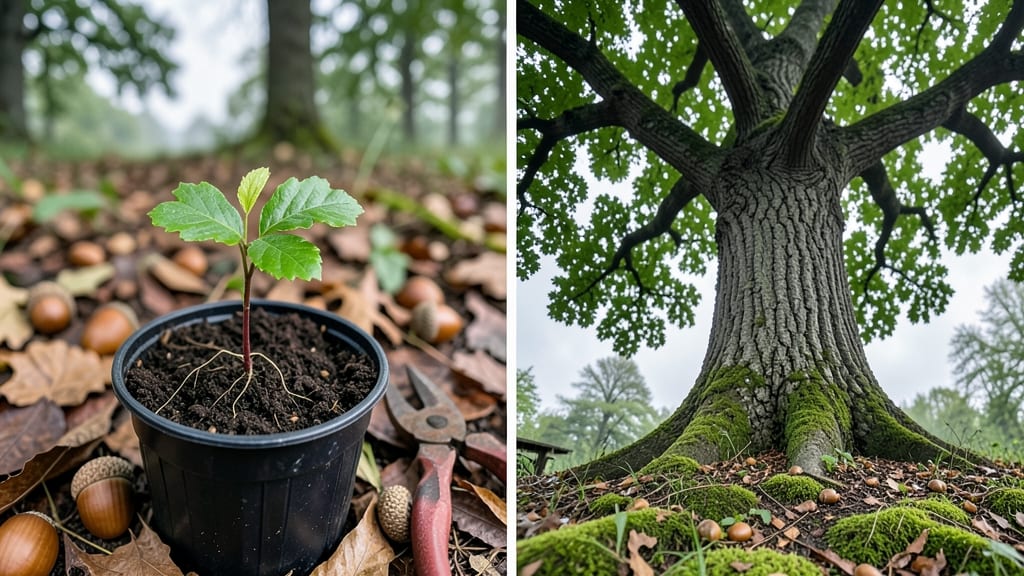
Transforming a fragile seedling into a sturdy tree starts with understanding how roots develop beneath the surface. 🌱 The layered chill method strengthens root systems by mimicking natural seasonal changes, giving your plant the deep, resilient foundation it needs to thrive for years.
My first attempt with a peach tree taught me that patience in these early stages pays off dramatically—skipping this step often leads to weak stems that snap under their own weight or struggle to support future growth.
You’ll need a well-draining soil mix, a container with drainage holes, and a way to control temperature fluctuations—whether through a refrigerator, cold frame, or outdoor exposure. The process begins by gradually exposing seedlings to cooler temperatures over 4-6 weeks, which triggers root development before transplanting.
This method works especially well for fruit trees, shade trees, and even large shrubs, where structural integrity matters most.
What you’ll end up with is a plant that establishes itself 30-50% faster than traditional methods, with roots that spread deeper and wider. You’ll notice thicker stems, better disease resistance, and a plant that handles drought and wind far more effectively.
The key is consistency—don’t rush the chilling process, and avoid transplanting until new root growth is visible through the container’s bottom.
This approach adapts to both container-grown trees and in-ground plantings, making it ideal for urban gardeners with limited space or those preparing for long-term landscape projects.
Once you’ve mastered the layered chill method, you’ll never look back at weak, leggy seedlings again. Let’s get those roots growing strong from day one.
📚 In This Guide
- What you need
- Instructions
- Tips and common mistakes
- Wrapping up and next steps
What you need
- ● Seedlings: 3-5 healthy, disease-free seedlings (choose fast-growing species like willow, poplar, or fruit trees for best results).
- ● Rooting hormone: A high-quality powder or gel (e.g., Clonex or Rootone) to boost root growth.
- ● Well-draining potting mix: 5-10 gallons of a blend like 50% peat moss, 30% perlite, and 20% compost (sterilized to prevent pathogens).
- ● Containers: 2-3 gallon-sized pots with drainage holes (or a layering tray for multiple seedlings).
- ● Clear plastic bags or domes: To create a humid microclimate (e.g., ziplock bags or plastic wrap).
- ● Watering can or spray bottle: For gentle hydration (avoid overwatering!).
- ● Pruning shears: Sharp, sterilized shears (clean with 70% isopropyl alcohol between uses).
- ● Refrigerator or cold frame: A space to chill layered stems at 35–40°F (2–4°C) for 4–6 weeks.
- ● Grow lights or sunny windowsill: 6+ hours of bright, indirect light daily.
- ● pH test kit: To ensure soil pH is 5.5–6.5 (ideal for most seedlings).
- ● Humidity dome: A commercial propagator dome for consistent moisture.
- ○ Heat mat: Optional for faster germination (70–75°F is ideal).
- ● Label markers: To track seedling varieties and layering dates.
- ● Fertilizer: A balanced, water-soluble fertilizer (e.g., 10-10-10) for post-rooting growth.
- ● Mulch: Straw or shredded leaves to retain moisture in outdoor setups.
Step-by-Step instructions for growing trees using the layered chill method
This technique builds resilience from the start—perfect for transforming delicate seedlings into sturdy, self-sufficient trees.
🌱 Step 1: Select and Prepare Seedlings for Layered Chilling
Choose 4 uniform 6-12 inch seedlings with strong stems and vibrant leaves—avoid leggy or weak specimens. Gently remove any damaged foliage and trim roots to 4-6 inches using sterilized scissors. This encourages new root growth while reducing stress.
I like to soak the roots in lukewarm water for 30 minutes before chilling. This hydrates the seedlings and primes them for the cold treatment. Place them in a shaded, well-ventilated area overnight to stabilize before proceeding.
💧 Step 2: Apply the First Chill Layer and Moisture Balance
Fill a large plastic container (like a storage tote) with 3 inches of moistened sphagnum moss—this mimics the damp forest floor where trees naturally harden. Arrange seedlings 2 inches apart in the moss, ensuring roots are fully embedded but stems remain upright.
Cover the container with a breathable fabric (like burlap) and place it in a refrigerator set to 38-42°F for 7 days. Check daily—mist lightly if the moss feels dry to the touch. This controlled cold shock mimics winter conditions and triggers root dormancy.
☀️ Step 3: Gradually Reintroduce Warmth and Light
After 7 days, move the container to a bright, indirect light spot (like an east-facing window) for 3 days. Remove the fabric cover but keep the moss moist. Watch for new root growth at the base—this is your signal the seedlings are adapting.
I raise one corner of the container daily to encourage drainage and prevent waterlogging. By day 5, seedlings should show fresh green growth at the tips. If leaves yellow, they’re getting too much light—move them back under the fabric for another day.
🌿 Step 4: Transition to Soil and Outdoor Conditions
Prepare 4 individual 1-gallon pots with sterile potting mix (no garden soil—it’s too dense). Dig small holes and transplant seedlings, burying them to the first set of true leaves. Firm soil gently around the stems to eliminate air pockets.
Place pots in a sheltered outdoor spot (like a porch) for 2 weeks, gradually increasing sun exposure. Water deeply when the top inch of soil feels dry, but avoid soggy conditions. You’ll see stronger stems and deeper root systems within 3-4 weeks—proof the layered chilling worked.
⏰ Step 5: Harden Off and Plant Outdoors
After 4 weeks, move pots to a partially shaded garden bed for 1 week before full sun exposure. Acclimate seedlings by removing one pot daily for 2-3 hours, increasing time as they adapt. You’ll know they’re ready when leaves stay crisp and vibrant.
Plant in well-draining soil with organic compost mixed into the top 6 inches. Space trees 8-10 feet apart for mature growth. Water deeply at planting, then taper to once weekly—deep roots mean less frequent watering. Mulch with 2 inches of wood chips to retain moisture and regulate soil temperature.
Tips & tricks for perfect seedling-to-tree transformation
Transforming seedlings into hardy trees requires precision at every stage—here's how to maximize success with the layered chill method.
Selection Matters: When choosing your 4 seedlings in Step 1, focus on those with vibrant green leaves and stems that feel firm when gently squeezed. Avoid any with yellowing leaves or soft spots—they won't survive the chilling process. I've learned this the hard way after losing batches of weak seedlings through the entire 4-week process. The 30-minute lukewarm water soak is crucial here—it primes the roots for the cold shock by fully hydrating them before stress.
Temperature Control: Maintaining that 38-42°F range in Step 2 is non-negotiable for proper dormancy induction. Use a refrigerator thermometer to verify your fridge's accuracy—some models fluctuate. If your seedlings show frost damage (brown spots) after 7 days, they've been exposed to temperatures below 38°F. The key is consistency: check the moss daily and mist only when it feels dry to the touch, never when it's still damp. Over-misting creates anaerobic conditions that can suffocate roots.
Light Transition Strategy: The 3-day gradual light introduction in Step 3 is where most people rush and damage their seedlings. Start with just 2 hours of indirect light on day 1, then increase by 1 hour daily. Watch for the fresh green growth at the tips by day 5—this visual cue confirms the seedlings are adapting. If leaves yellow, it's a sign of too much light or heat stress. I've found that east-facing windows provide the perfect balance of gentle morning light without harsh afternoon rays.
Transplanting Technique: When moving to pots in Step 4, bury seedlings to their first set of true leaves—this encourages deeper root development. I use a pencil to gently loosen the roots before placing them in holes, which prevents transplant shock. After 2 weeks in sheltered conditions, you'll notice the stems thicken noticeably—this is your reward for proper layering. The wood chip mulch isn't just decorative; it creates a microclimate that maintains consistent soil temperatures and reduces watering needs by up to 30%.
Pro Tips for Seedling To Tree
- Transforming seedlings into hardy trees requires precision at every stage—here's how to maximize success with the layered chill method.
- Selection Matters: When choosing your 4 seedlings in Step 1, focus on those with vibrant green leaves and stems that feel firm when gently squeezed.
- Temperature Control: Maintaining that 38-42°F range in Step 2 is non-negotiable for proper dormancy induction.
Frequently asked questions
Got questions about transforming a seedling into a sturdy tree using the layered chill method? Here are some of the most common ones—and their answers!
How long does it take for a seedling to develop strong roots using the layered chill method?
The layered chill method typically takes 4–12 weeks, depending on the plant species and environmental conditions. Most seedlings show noticeable root development within 6–8 weeks if kept in a cool, humid environment (around 40–50°F) and monitored closely. Patience is key—rushing can stress delicate roots!
Do I need a special setup for the layered chill method, or can I use household items?
You can absolutely DIY it! While a propagation chamber or humidity dome is ideal, household alternatives like a plastic bag with holes (secured over a container) or even a clear plastic box with a damp paper towel work well. Just ensure airflow and moisture levels stay consistent—no need for fancy equipment!
What are the signs that my seedling’s roots are rotting instead of growing?
Watch for yellowing leaves, a mushy, black base, or a foul smell—these are red flags. Overwatering or poor drainage are usually the culprits. If you spot these, remove the seedling, trim any mushy roots, and repot it in fresh, dry soil. Let it recover in a shady, dry spot for a few days before resuming the chill method.
Can I use this method for all types of seedlings, or are some better suited than others?
The layered chill method works best for woody plants like fruit trees, grapes, or shrubs (e.g., roses, hydrangeas). Herbaceous plants (like basil or tomatoes) or tropical seedlings may not respond as well—they prefer warmth and humidity over cold stratification. Always research your specific plant’s needs first!
What’s the best way to transition my chilled seedling back to normal growing conditions?
Gradually acclimate your seedling over 7–10 days by moving it to a slightly warmer spot each day. Avoid sudden temperature shocks! Once roots are established (test by gently tugging—if resistance is felt, it’s ready), transplant it to a well-draining pot or outdoor bed. Water lightly at first to reduce transplant shock.
Wrapping up and next steps
Growing a seedling into a thriving tree is a journey of patience, care, and strategic love—especially with the layered chill method! 🌱 By mastering root development through cold stratification and consistent moisture, you’re setting your plants up for a lifetime of strength and resilience.
Whether you’re nurturing a delicate herb or a future shade tree, remember: every small step in the soil today shapes tomorrow’s harvest.
Ready to take the next step? Start small—pick one seedling, apply what you’ve learned, and watch it grow! Then, share your progress or ask questions in our community forum—we’re all rooting for you! 🌳