Lawn
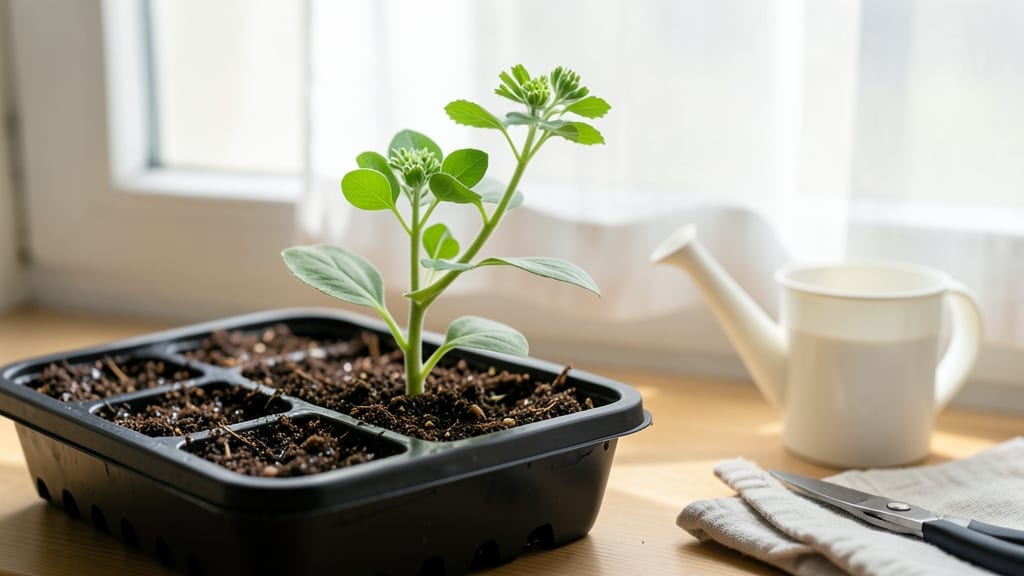
The secret to zinnia seed sprouts that never dry out starts with this layered moisture trick I perfected after losing my first batch to crusty soil. 🌱 The right balance of dampness keeps seeds happy while preventing rot—something most guides skip explaining.
Most people either drown their seeds or let them bake, but this method finds the sweet spot between the two.
You only need three things: a shallow tray, damp paper towels, and a clear plastic lid (or plastic wrap) to trap humidity. No fancy equipment—just what you already have. The key is keeping the towels consistently moist, not soaked, and checking them daily.
This setup works year-round, whether you're starting seeds in January for next spring or planting directly in the garden.
Within five to seven days, you'll see those first bright green sprouts pushing through the soil. They're delicate at first but grow surprisingly fast once they get their bearings. The layered moisture keeps them from drying out while still allowing airflow—no more black, mushy seeds or wilting seedlings.
By the time they're ready to transplant, they'll be sturdy enough to handle the move.
This method also works for cosmos, sunflowers, and other finicky seeds. Once you master it, you'll never buy zinnia seedlings again. The best part? You can start them indoors now and have blooms by early summer, even if your last frost isn't until May. Let's get those seeds sprouting right!
📚 In This Guide
- What you need
- Instructions
- Tips and common mistakes
- Wrapping up and next steps
What you need
- ● Zinnia seeds: 1 packet (50–100 seeds, depending on variety). Opt for heirloom or hybrid types like Benary’s Giant or Profusion for bold blooms.
- ● Seed-starting trays: 1–2 shallow trays (3–4 inches deep) with drainage holes. Clear plastic trays work great for monitoring moisture.
- ● Seed-starting mix: 1–2 quarts of sterile, well-draining potting mix (avoid garden soil—it’s too dense!). Look for a mix labeled for seedlings or vegetables.
- ● Watering can or spray bottle: A fine-mist spray bottle is ideal to avoid disturbing seeds.
- ○ Plastic wrap or clear lid: To create a mini greenhouse effect (optional but highly recommended for humidity!).
- ● Grow lights or sunny windowsill: Zinnia sprouts need 6–8 hours of light daily. A basic LED grow light (~$20–$40) works if natural light is limited.
- ● Small hand trowel or spoon: For gently pressing seeds into the soil.
- ● Ruler or measuring tape: To space seeds ¼ inch apart (or follow packet instructions).
- ● Label markers & plant tags: Trust us, you’ll thank yourself later when seedlings pop up!
- ○ Heat mat (optional): Speeds up germination if your space is chilly (70–75°F is ideal).
- ● Fertilizer: A balanced, water-soluble fertilizer (5-10-5 ratio) for when sprouts hit 2–3 inches tall.
Step-by-Step instructions for germinating zinnia seeds indoors
Here’s how to coax those tiny zinnia seeds into strong sprouts—using a moisture trick that cuts rot risk while keeping roots happy.
🌱 Step 1: Prep Containers and Soil for Perfect Moisture
Fill your 4-inch seed trays with seed-starting mix (not garden soil—it’s too dense). Press it down lightly so the surface is firm but not packed. The goal is a fluffy base that holds moisture without drowning roots. I like to tap the tray gently on the table to settle the mix evenly.
Moisten the soil until it feels like a damp sponge—squeeze a handful, and if water drips out, it’s too wet. You want it moist but not soggy. This layered moisture is key: the bottom stays damp while the top stays just barely damp, preventing both drought and rot.
💧 Step 2: Plant Seeds at the Right Depth and Cover Lightly
Sprinkle 2-3 zinnia seeds per cell (they’re tiny, so I use a toothpick to space them evenly). Press them into the soil just enough to cover them—about ¼ inch deep. Too deep, and they’ll struggle to break through; too shallow, and they’ll dry out. Cover with a thin layer of extra mix, then mist the surface lightly with water until it’s evenly damp.
Here’s the trick: place the tray in a clear plastic bag (like a gallon zip-top) and seal it loosely. This creates a humid microclimate that keeps moisture consistent without overwatering. Check daily for condensation—if the bag fogs up, you’ve got the perfect moisture balance.
☀️ Step 3: Provide Warmth and Light for Germination
Zinnia seeds need warmth to sprout—place the tray on a seedling heat mat set to 70-75°F. Without this, germination can take 2-3 weeks instead of the usual 7-10 days. Keep the bag sealed until you see green sprouts (usually 5-7 days), then remove it immediately to prevent mold.
Move the tray to a bright, south-facing window or under a grow light for 14-16 hours daily. If seedlings stretch toward the light (leggy growth), they need more intensity. Strong sprouts have thick stems and deep green leaves—not pale, weak ones.
🌿 Step 4: Thin Seedlings and Maintain Moisture
Once sprouts have 2 true leaves (not the first tiny seed leaves), thin to the strongest seedling per cell. Snip the extras at the base with scissors—don’t pull, or you’ll disturb the roots. This reduces competition for moisture and nutrients, giving your zinnias room to grow.
Water from the bottom now: place the tray in a shallow dish of ½ inch of water for 10 minutes, then drain excess. This keeps the soil evenly moist without wetting the leaves (which invites disease). You’ll know it’s right when the soil looks damp but not soaked.
⏰ Step 5: Harden Off Before Transplanting
Two weeks before your last frost, start hardening off the seedlings. Move them outside to a shaded, sheltered spot for 1 hour the first day, then gradually increase time by 1 hour daily over 10-14 days. This toughens them up for outdoor life.
Watch for wilting or yellowing leaves—this means they’re not ready yet. Once they’re thriving in full sun, transplant to the garden 2 inches apart. Keep the soil moist (not soggy) for the first week to help them establish roots.
Tips & tricks for perfect zinnia seed sprouts
Here's what I learned after years of trial and error to help your zinnia seeds thrive from the very first sprout.
Layered Moisture Technique: The secret to preventing rot while keeping roots happy is that layered moisture we talked about in Step 1. After planting, gently press the soil around each seed to create tiny air pockets—this prevents waterlogging at the base while keeping the top layer just barely damp. Think of it like a sponge: the bottom should stay consistently moist, while the top stays barely damp to the touch. This balance is what protects those delicate sprouts from both drought and rot.
Timing Secret: Those 14-16 hours of light in Step 3 are critical for strong, sturdy seedlings. If your window light isn't strong enough, supplement with a grow light placed just 4-6 inches above the tray. I've seen seedlings stretch like overgrown noodles when they don't get enough light—keep an eye out for that "leggy" growth and adjust immediately. The goal is thick stems and deep green leaves, not pale, weak ones that'll flop over.
Seedling Heat Mat Hack: The 70-75°F heat mat in Step 3 makes all the difference for germination speed. If you don't have a heat mat, try placing the tray on top of your refrigerator (not inside!) for that gentle warmth. The key is consistent warmth—don't let it get too hot, or you'll cook the seeds. I've seen germination times stretch from 7-10 days to over 3 weeks when seeds were too cold.
Thinning Strategy: When you're thinning in Step 4, use clean scissors to snip at the soil level—not above it. This prevents disturbing the roots of your kept seedlings. I like to do this on a bright, sunny day when the soil is slightly dry, as it's easier to see the strongest seedlings. The goal is to leave the most vigorous sprout in each cell, giving it plenty of room to grow without competing for moisture and nutrients.
Pro Tips for Zinnia Seed Sprouts
- Here's what I learned after years of trial and error to help your zinnia seeds thrive from the very first sprout.
- Layered Moisture Technique: The secret to preventing rot while keeping roots happy is that layered moisture we talked about in Step 1.
- Timing Secret: Those 14-16 hours of light in Step 3 are critical for strong, sturdy seedlings.
Frequently asked questions
Got questions about growing zinnia seed sprouts?
You’re not alone! Here are answers to the most common curiosities—from timing to troubleshooting—so you can nurture those vibrant blooms with confidence.
How long do zinnia seeds take to sprout?
Zinnia seeds typically sprout in 7–14 days after planting, depending on soil warmth and moisture. If your seeds are layered with damp paper towels (as in the layered moisture trick), expect sprouts in 5–10 days. Keep the soil consistently moist but not soggy—patience pays off!
Can I plant zinnia seeds directly outside or should I start indoors?
Both work! For earlier blooms, start seeds indoors 4–6 weeks before your last frost date. If you prefer direct sowing, wait until soil temps reach 60°F+ (spring or after summer heat waves). Zinnias thrive in warmth, so avoid early outdoor planting—they’ll sulk in cold soil!
Why aren’t my zinnia seeds sprouting? Troubleshooting tips.
Check these common culprits:
- Too cold: Zinnias need consistent warmth (70°F+). Use a heat mat or move pots to a sunny windowsill.
- Dry soil: Keep the top inch of soil evenly moist—not drenched. A spray bottle helps for precision.
- Old seeds: Store-bought seeds last 1–2 years. If yours are older, test viability by soaking a few in water—floaters are likely dead.
- Light issues: Seeds need light to germinate. Don’t bury them deep (just press them lightly into soil).
Still stuck? Try the layered moisture trick—it boosts germination rates!
What can I do with zinnia sprouts if I don’t want flowers?
Zinnia sprouts are edible and versatile! Snip young leaves for salads (mild, slightly peppery flavor) or blend them into smoothies. You can also:
- Transplant sprouts into containers for herb gardens.
- Use them as microgreens—harvest when 1–2 inches tall.
- Share with friends! Zinnias are easy to propagate.
Just avoid letting them flower if you’re harvesting leaves—they’ll get tougher.
Can I use the layered moisture trick for other seeds?
This method works best for small, slow-to-germinate seeds like:
- Sunflowers
- Marigolds
- Nasturtiums
- Basil
For fast germinators (like radishes or lettuce), direct sowing is simpler. The trick is ideal for seeds that need consistent moisture and warmth to break dormancy.
Wrapping up and next steps
Growing zinnia seed sprouts with the layered moisture trick is your secret weapon for vibrant blooms next spring! 🌱 By mastering the right soil prep, moisture balance, and warmth, you’ll turn tiny seeds into cheerful, sun-driving flowers that brighten up any garden.
The key? Patience and precision—but trust the process, and you’ll be rewarded with a burst of color!
Ready to take the next step? Start small—plant a few seeds in pots this week to experiment with the technique. Once you’ve nailed the moisture layers, expand your garden with confidence. Happy planting, and may your zinnia sprouts bloom wildly next season! 🌸