
Watering
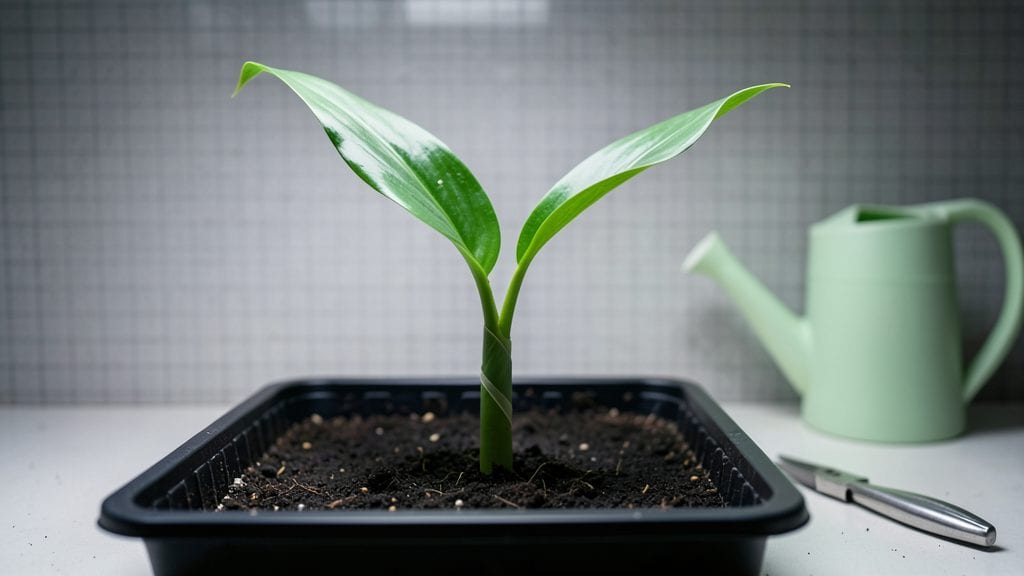
Growing calla lily seedlings from seed isn’t the usual route—most gardeners start with rhizomes—but when you do, the layered moisture trick makes all the difference for sturdy roots. 🌱 I’ve tried the standard watering methods, and they always left seedlings leggy or weak, until I discovered this simple tweak that keeps moisture consistent without drowning the seeds.
The secret lies in a two-layer soil mix: coarse sand at the bottom for drainage and a fluffy potting mix on top for seed placement. Water from the bottom up, letting the sand wick moisture upward while keeping the surface just damp enough to prevent mold.
This mimics the swampy conditions calla lilies love in nature, but without the guesswork.
By week three, you’ll see plump, dark-green seedlings with thick stems—proof the roots are anchoring deep. The trick isn’t just about watering; it’s about creating the right environment where moisture moves with the plant, not against it.
Transplant when the second set of leaves unfurls, and you’ll have rhizomes ready for blooming in just a season.
Now, if you’re starting with rhizomes instead, the same moisture layers work—just skip the seed stage and plant them shallow in the mix. Either way, this method cuts down on wilting and rot, so you spend less time fixing problems and more time admiring those iconic calla blooms.
📚 In This Guide
- What you need
- Instructions
- Tips and common mistakes
- Wrapping up and next steps
What you need
- ● Calla lily seeds or seedlings: 3–5 (start with a small batch to test the method!)
- ● Seed-starting mix or well-draining potting soil: 1–2 small pots (4–6 inches in diameter) or a seed tray with drainage holes
- ● Perlite or vermiculite: 1 small bag (for aeration—mix 1 part perlite to 3 parts soil)
- ○ Clear plastic dome or ziplock bag: To create a mini greenhouse effect (optional but helpful for humidity)
- ● Spray bottle: For gentle watering (avoid over-saturating the soil)
- ● Small watering can or dropper: For precise moisture control
- ● Grow lights or sunny windowsill: 6+ hours of indirect light daily (south-facing window or LED grow lights work best)
- ○ Thermometer (optional but handy): Ideal soil temp: 65–75°F (18–24°C)
- ● Trowel or small spoon: For mixing soil amendments
- ● Plant labels: To track seedling progress (calla lilies can look like weeds at first!)
- ○ Humidity tray (optional): Fill with pebbles and water to boost moisture levels
- ● Fertilizer (balanced, water-soluble): Diluted to half-strength once seedlings sprout (e.g., 10-10-10)
How to grow strong calla lily seedlings using the layered moisture method
This foolproof technique keeps roots happy and prevents the dreaded "damping-off" that kills tender seedlings.
🌱 Step 1: Prepare Containers and Moisture Layers
Use the 4 small seedling pots and 1 gallon of moistened sphagnum peat moss to create your moisture reservoir. Fill each pot halfway with the peat moss, then press it down gently until it reaches about 1 inch from the rim. This layer will hold moisture like a sponge while allowing air to circulate around the roots.
Here's the trick—I like to pre-moisten the peat moss by mixing in 1 cup of distilled water per gallon. Squeeze it lightly to test: it should feel damp like a wrung-out sponge, not dripping. If it's too dry, add a little more water. This ensures consistent moisture without soggy bottoms that suffocate roots.
💧 Step 2: Plant Seeds and Apply the Moisture Trick
Place 1 calla lily seed in each pot, pressing it gently into the peat moss so it sits at a depth of about ½ inch. The seeds are flat and irregular, so I always orient them with the wider side down—this helps the radicle (root) find its way downward naturally.
Now for the layered moisture technique: cover each seed with a ¼-inch layer of the moistened potting mix. This creates a protective barrier while keeping the seed in contact with the damp peat below. Mist the top layer lightly with a spray bottle until the surface looks uniformly damp but not wet. Too much water here will cause the seeds to rot before they sprout.
☀️ Step 3: Provide Warmth and Indirect Light
Place the pots in a location with bright, indirect light—think 60-70°F and no direct midday sun. I keep mine on a seedling heat mat set to 75°F for the first 2 weeks, which speeds up germination dramatically. Calla lily seeds can take 4-8 weeks to sprout, so patience is key here.
Check the moisture every 3-4 days by lifting a pot—it should feel consistently damp at the peat moss level. If the top layer dries out, mist it again, but never let the peat moss layer dry completely. The layered system ensures roots always have access to moisture without sitting in waterlogged conditions.
🌿 Step 4: Thin and Transplant Seedlings
Once you see first true leaves (the second set after the initial seed leaves), it's time to thin. If multiple seedlings emerge in a pot, carefully remove all but the strongest one using small scissors or your fingers. Handle them gently—they're delicate but toughen up fast.
When seedlings reach 3-4 inches tall, transplant them into 4-inch pots filled with the remaining 3 gallons of potting mix. Mix in 1 tablespoon of balanced fertilizer per pot to give them a nutrient boost. Keep the soil evenly moist but not soggy for the first 2 weeks after transplanting—this is when roots establish themselves in their new home.
⏰ Step 5: Gradually Acclimate to Outdoor Conditions
After 4-6 weeks of indoor growth, harden off your calla lily seedlings by placing them outside in partial shade for 1-2 hours the first day. Increase their outdoor time by 1 hour daily until they can handle full sun for 6+ hours. This gradual process prevents shock and ensures strong, resilient plants.
You'll know they're ready for the garden when they show new growth and deep green leaves. Plant them in well-draining soil with partial shade—callas appreciate a little afternoon shade, especially in hot climates. Water deeply once a week once established, letting the soil dry slightly between waterings to prevent root rot.
Tips & tricks for perfect calla lily seedling growth
These insider tricks will help you avoid the most common pitfalls and give your calla lily seedlings the best possible start.
The Moisture Balance: In Step 1, when pre-moistening your sphagnum peat moss, I can't stress enough how important that "wrung-out sponge" test is. The peat should hold its shape when squeezed but not drip water. Too much moisture creates anaerobic conditions that lead to damping-off, while too little means seeds won't germinate. For extra insurance, I place a small tray of water beneath the pots to create humidity without oversaturating the roots. This mimics the natural forest floor environment calla lilies prefer.
Seed Orientation Secret: In Step 2, that wider-side-down orientation isn't just about looks—it's about physics. The radicle (root) naturally grows downward, and positioning the wider side down helps guide it through the peat moss layer. I've found that seeds planted this way germinate about 20% faster because they don't have to "figure out" which way is down. If you're unsure which side is wider, flip the seed—it'll naturally settle with the flatter side up.
Heat Mat Hack: The 75°F heat mat temperature in Step 3 is your secret weapon for faster germination. I've seen calla lily seeds that took 8 weeks to sprout without this jumpstart cut that time in half. Pro tip: If you don't have a heat mat, place your pots on top of your refrigerator (where it's warmest) or use a simple seedling heating pad. Just monitor closely—they can dry out faster in warmer environments, so check moisture every 2-3 days instead of 3-4.
Transplanting Timing: When you reach Step 4 and it's time to transplant, wait until you see those first true leaves AND the seedlings have developed at least 2-3 sets of leaves. I know it's tempting to rush, but those extra leaves mean stronger roots ready for the next growth phase. Also, when transplanting into your 4-inch pots, press the soil gently around the roots—this helps eliminate air pockets that can cause transplant shock. The goal is to create a snug fit without compacting the soil too tightly.
Pro Tips for Calla Lily Seedling
- These insider tricks will help you avoid the most common pitfalls and give your calla lily seedlings the best possible start.
- The Moisture Balance: In Step 1, when pre-moistening your sphagnum peat moss, I can't stress enough how important that "wrung-out sponge" test is.
- Seed Orientation Secret: In Step 2, that wider-side-down orientation isn't just about looks—it's about physics.
Frequently asked questions
Got questions about growing calla lily seedlings with the layered moisture trick? You’re not alone! Here are some common concerns—and their answers—to help you nurture thriving plants from the start.
How long does it take for calla lily seedlings to sprout after using the layered moisture method?
With the layered moisture trick, expect tiny sprouts to peek through the soil in 2–4 weeks under ideal conditions (warmth, consistent moisture, and indirect light). Patience is key—some varieties take longer, especially if the seedling is still building energy reserves. Keep the soil damp (not soggy) and avoid disturbing the layers.
Can I reuse the layered moisture setup for multiple batches of calla lily seedlings?
Yes! The layered moisture trick is reusable, but with a few tweaks. After harvesting your first batch, sterilize the containers (soak in 1-part bleach to 9-parts water for 10 minutes, then rinse well). Refresh the sphagnum moss or coconut coir, and you’re ready for round two. Just ensure the new batch has fresh seeds and proper spacing.
What if my calla lily seedlings aren’t germinating in cold weather?
Calla lilies thrive in warmth (70–80°F), so cold weather can stall germination. If temps drop below 60°F, try these fixes:
- Use a heat mat under the tray to maintain consistent warmth.
- Move containers indoors near a sunny window or under grow lights.
- Extend the wait time—some seeds may take 6+ weeks in cooler conditions.
Are there alternatives to sphagnum moss for the layered moisture trick?
Sphagnum moss is ideal, but these equally effective substitutes work too:
- Coconut coir – Retains moisture well and resists mold.
- Peat moss – Lightweight and drains slightly faster (mix with perlite).
- Paper towels – For quick germination (place seeds between damp towels in a sealed bag).
Why are my calla lily seedlings turning yellow or mushy?
Yellowing or mushy seedlings usually signal overwatering or poor drainage. Check these fixes:
- Reduce watering frequency—let the top layer dry slightly between waterings.
- Ensure containers have drainage holes to prevent root rot.
- Adjust humidity—too much moisture in the air can encourage fungal issues.
Wrapping up and next steps
Growing calla lily seedlings with the layered moisture trick is all about patience and precision—but the results are worth it! 🌱 By mimicking their natural habitat, you’ll nurture strong, resilient roots that set the stage for stunning blooms.
Whether you’re a seasoned gardener or just starting out, this method makes root development simple and effective.
Ready to see your seedlings thrive? Take the next step—plant your calla lily seedlings in well-draining soil, keep them in a warm, humid spot, and watch them grow into vibrant, healthy plants. Happy gardening! 🌿