Light Requirements
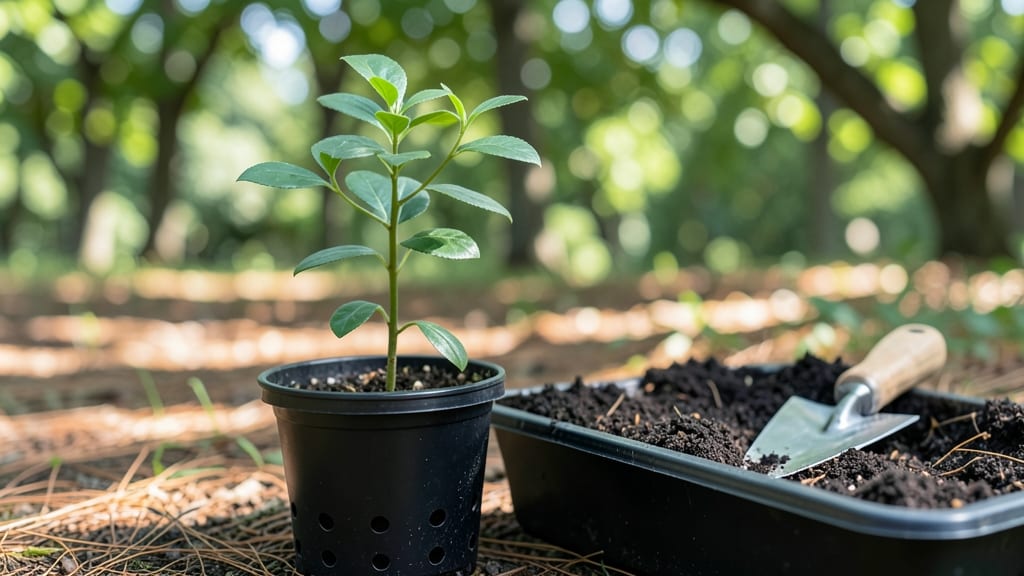
Growing Chinese privet seedlings into a lush, year-round privacy screen is one of the most satisfying gardening projects you’ll ever tackle. 🌿 I’ve turned my backyard from a windy, exposed space into a cozy, green refuge using this fast-growing shrub—all from a handful of tiny seedlings.
The secret lies in mimicking its natural habitat: well-draining soil, bright but indirect light, and consistent moisture without soggy roots.
Most people struggle because they either overwater or plant too deep, but once you nail these basics, the privet grows with shocking speed—expect 3-4 feet of height per year if conditions are right.
By year three, you’ll have a dense, 10-foot-tall screen that blocks noise, wind, and prying eyes while requiring almost no maintenance. The glossy leaves stay vibrant year-round, and the subtle fragrance of its white summer blooms is a bonus. Pruning keeps it tidy, and once established, it’s nearly drought-proof.
Works equally well as a hedge, windbreak, or foundation planting—even in containers for small spaces. The key is patience in the first year, then letting it grow wild. Ready to transform your yard?
📚 In This Guide
- What you need
- Instructions
- Tips and common mistakes
- Wrapping up and next steps
What you need
- ● Chinese privet seedlings (2–5 per 10-foot section for a dense screen; Ligustrum sinense or Ligustrum × vicaryi varieties work best).
- ● Well-draining soil mix (60% topsoil, 30% compost, 10% perlite or coarse sand).
- ● Organic mulch (2–3 inches of shredded bark or pine straw to retain moisture and suppress weeds).
- ● Slow-release fertilizer (10-10-10 or 14-14-14 NPK ratio, 1–2 lbs per 100 sq ft).
- ● Watering can or hose with a gentle spray nozzle (for deep, infrequent watering).
- ● Garden trowel or shovel (for planting and soil prep).
- ● Pruning shears (for shaping and maintaining growth).
- ○ Stakes or garden twine (optional, for young seedlings in windy areas).
- ● Sunlight: Full sun to partial shade (6+ hours of direct light daily for optimal growth).
- ● Spacing: Plant seedlings 3–6 feet apart for a dense hedge (closer spacing = faster privacy!).
- ● pH Level: Slightly acidic to neutral soil (6.0–7.5). Test your soil if unsure!
- ● Water Access: Consistent moisture (especially in the first year).
Step-by-step instructions for establishing Chinese privet seedlings
Here's the method I've used to grow a dense, fast-growing hedge from seedlings—no nursery shortcuts needed.
🌱 Step 1: Prepare the Planting Site for Optimal Growth
Chinese privet thrives in well-draining soil with moderate moisture, so test your site first. Dig a hole twice as wide as the seedling's root ball but only as deep—planting too low invites rot. Amend heavy clay with 2-3 inches of compost mixed into the top 12 inches of soil to improve aeration.
This shrub tolerates a range of soil pH but grows most vigorously between 6.0-7.5. If your soil tests acidic, add 1 pound of dolomitic lime per 100 square feet and work it in 2-3 weeks before planting. Clear all weeds and grass within a 3-foot radius to eliminate competition during establishment.
🪴 Step 2: Plant Seedlings at the Right Depth and Spacing
Position seedlings 6-8 feet apart for a dense hedge—closer spacing encourages faster filling but may require more pruning later. Dig the planting hole and gently loosen the seedling's roots if they're circling. Place the seedling so the top of the root ball sits 1-2 inches below soil level—this prevents stem rot while encouraging strong root growth.
Backfill with native soil mixed with 1 cup of 5-10-5 fertilizer per hole, tamping lightly to remove air pockets. Water immediately with 2 gallons per seedling to settle the soil. You'll see a slight depression around the base—that's normal and ensures proper water penetration.
☀️ Step 3: Provide Consistent Water and Light Conditions
Chinese privet needs full sun to partial shade, with at least 6 hours of direct sunlight daily for best growth. In hot climates, afternoon shade prevents leaf scorch. Water deeply 2-3 times per week for the first 6 weeks until roots establish, then taper to 1 inch of water per week once mature.
Mulch around the base with 2-3 inches of wood chips, keeping mulch 6 inches away from the trunk to prevent rot. The mulch should look slightly damp after watering—that's your signal the soil is retaining moisture properly. Avoid overhead watering after planting to reduce disease risk.
✂️ Step 4: Prune for Shape and Density Beginning Year 2
Wait until spring after the first growing season before pruning—this gives roots time to establish. Cut back any leggy growth to 1/3 of its length to encourage bushier branching. Remove any dead, diseased, or crossing branches first, then shape the hedge by trimming the outer growth to your desired height.
Use clean, sharp pruners and make cuts just above a leaf node at a 45-degree angle. You'll see new growth sprout from the cut nodes within 4-6 weeks. Prune again lightly in mid-summer to maintain shape, but avoid heavy cuts after mid-August as new growth won't harden off before winter.
Tips & tricks for perfect Chinese privet seedling establishment
Here's what I've learned from years of growing lush, fast-maturing Chinese privet hedges—these details make all the difference between a struggling screen and a thriving privacy barrier.
Soil Preparation Secret: The 2-3 inches of compost we mix into the top 12 inches of soil isn't just about drainage—it creates a perfect moisture-retaining zone right where those new roots will establish. I like to add a handful of perlite to this mix for clay soils to prevent compaction. The key is working that compost in thoroughly; don't just layer it on top. For heavy clay, consider a soil test first—amending acidic soil with dolomitic lime 2-3 weeks before planting gives it time to integrate properly.
Planting Depth Technique: That 1-2 inch depth below soil level might seem counterintuitive, but it's crucial for preventing stem rot while encouraging strong root development. I've seen many gardeners plant too shallow, which leads to weak stems that flop over in wind. To check depth, use a level or reference point on your shovel—this ensures consistency across multiple seedlings. The slight depression you see after watering? That's your confirmation the soil settled properly around the roots.
Watering Strategy: The 2-3 times per week watering schedule during the first 6 weeks is non-negotiable for root establishment. I use a rain gauge to measure exactly 1 inch of water per week once established, but during that critical period, I actually water to saturation—until water runs out of the drainage holes if you're using containers. The mulch should stay slightly damp at the edges, not bone dry. For large plantings, consider installing soaker hoses to deliver consistent moisture without overhead watering.
Pruning Timing Insight: Waiting until spring after the first growing season might seem like a long wait, but this gives roots time to establish and store energy for new growth. I've made the mistake of pruning too early, and the plants struggled to recover. When you do prune, look for those leaf nodes—they're your growth points. Making cuts at a 45-degree angle just above a node creates a natural shield that prevents water from sitting on the cut, reducing disease risk. The mid-August cutoff is especially important in colder climates where new growth needs time to harden off before winter.
Pro Tips for Chinese Privet Seedling
- Here's what I've learned from years of growing lush, fast-maturing Chinese privet hedges—these details make all the d...
- Soil Preparation Secret: The 2-3 inches of compost we mix into the top 12 inches of soil isn't just about drainage—it...
- Planting Depth Technique: That 1-2 inch depth below soil level might seem counterintuitive, but it's crucial for prev...
Frequently asked questions
Got questions about growing Chinese privet seedlings? You’re not alone! Here are answers to the most common concerns—from planting timing to troubleshooting—so you can build that lush, year-round privacy screen with confidence.
When is the best time to plant Chinese privet seedlings?
Plant your seedlings in early spring (after the last frost) or fall (4-6 weeks before the first frost). Avoid extreme heat or cold—root establishment is key! Seedlings thrive in 60–70°F soil, so aim for mild weather. Full sun to partial shade works best.
How long does it take for Chinese privet to grow into a privacy screen?
With proper care, Chinese privet grows 3–4 feet per year. A 6–8-foot-tall screen (ideal for privacy) takes about 2–3 years. For faster results, plant seedlings closer together (3–4 feet apart) and prune regularly to encourage bushiness. Patience pays off—thick foliage blocks noise and views!
Can I grow Chinese privet from seed, or should I buy seedlings?
While you can grow from seed, it’s slower and less reliable—seedlings may take 2+ years to mature. Buying 1–2 year-old seedlings (6–12 inches tall) gives you a head start with consistent growth. Pro tip: Look for healthy, bushy seedlings with no yellowing leaves!
What pests or diseases should I watch for with Chinese privet?
Chinese privet is drought-tolerant and pest-resistant, but keep an eye out for:
- Scale insects (sticky residue on leaves) – Treat with neem oil.
- Powdery mildew (white dust) – Improve air circulation and avoid overhead watering.
- Japanese beetles – Handpick or use milky spore for organic control.
What are some fast-growing alternatives to Chinese privet?
If you want even faster privacy, consider these quick-growing shrubs:
- Leyland Cypress – 3–5 ft/year (needs full sun).
- Bamboo (clumping types) – 2–3 ft/year (great for screens).
- Hornbeam – 2–3 ft/year (tolerates shade).
- Russian Olive – 4–6 ft/year (drought-resistant).
Wrapping up and next steps
Growing a Chinese privet seedling into a lush, year-round privacy screen is totally within reach—just follow the right light, soil, and care steps! 🌿 With patience and consistency, you’ll enjoy a dense hedge in just three years, blocking noise and offering beauty.
Now that you’re armed with the best practices, it’s time to roll up your sleeves and plant that seedling with confidence.
Next step: Mark your calendar for spring planting (or adjust for your climate) and gather your supplies. Your future privacy oasis starts with one small seedling today! 🌱