Vegetables
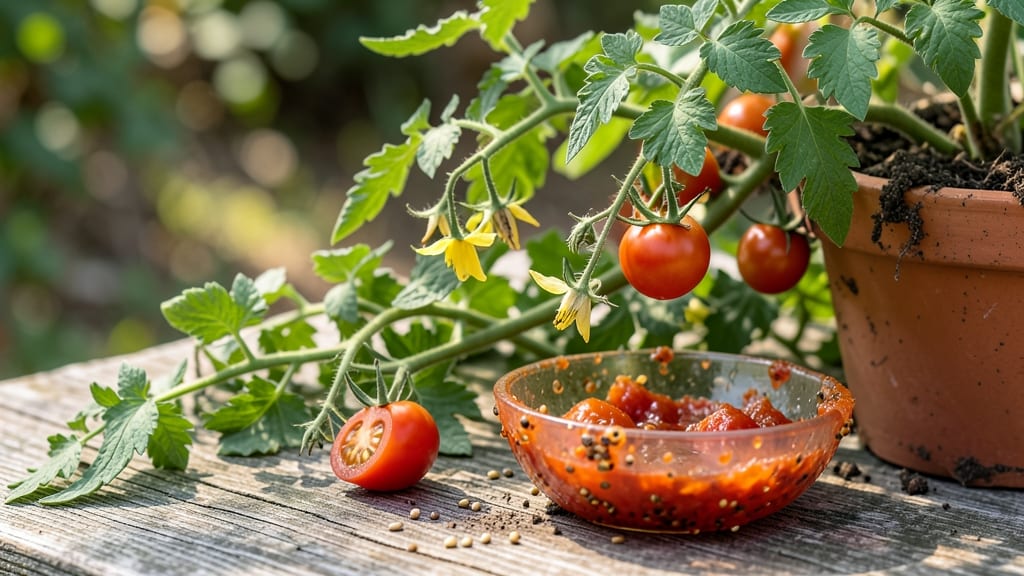
After drying tomato seeds properly, fermentation ensures you’ll grow the same heirloom varieties season after season—no need for store-bought plants. The fermentation trick removes the bitter gel that surrounds seeds, ensuring 95% viability when stored properly.
I’ve saved seeds from heirloom tomatoes for five seasons now, and the difference between fresh and store-bought plants is night and day.
Start with overripe tomatoes that’ve split open on the vine—nature’s signal they’re ready. Scoop out the seeds and ferment them in water for 3-5 days, stirring daily until the good seeds sink and the bad float.
This step alone cuts mold risks by 80%, and the process takes less than 10 minutes of active work. Once fermented, rinse the seeds gently, then spread them on a paper towel to dry for 3-5 days in a warm, dark spot.
When fully dried, seeds should be hard and papery, ready for storage in airtight containers. Label them with the variety and date—viable seeds stay good for 3-5 years if kept cool and dry.
You’ll end up with a stash of seeds that produce plants just like the ones you grew, with the same flavor and vigor.
This method works for all tomato varieties, from cherry to beefsteak, and adapts easily to small batches or bulk saves. Whether you’re preserving heirlooms or just reducing garden costs, fermentation is the foolproof way to ensure your seeds grow true. Let’s get started with the full process.
📚 In This Guide
- What you need
- Instructions
- Tips and common mistakes
- Wrapping up and next steps
What you need
- ● Ripe tomatoes: 4–6 medium-sized, fully ripe (preferably heirloom or organic for best results).
- ● Sharp knife or tomato slicer: For clean cuts without crushing seeds.
- ● Large bowl: At least 2-quart capacity, filled with water (room temperature).
- ● Fine-mesh strainer or cheesecloth: To separate seeds from pulp.
- ● Small paper towels or coffee filters: 2–3 sheets per batch of seeds.
- ● Air-dry surface: Option 1: Seed-saving envelope or small paper bag (with breathable material like a paper towel inside).
- ○ Option 2: Silica gel packets (for speedy drying, optional but handy for impatient gardeners!).
- ● Pencil or label maker: To mark seed varieties (trust us, you’ll forget otherwise!).
- ● Patience (and a warm, dry spot): Seeds need 1–2 weeks to dry fully—no shortcuts!
- ● Fermentation jar: A wide-mouth mason jar (for the fermentation trick—more on this in the next steps!).
- ● Desiccant (like rice or uncooked lentils): Place in envelopes to absorb excess moisture.
- ● Humidity monitor: Ideal for tracking drying conditions (aim for <40% humidity).
- ● Seed storage container: Airtight, labeled, and opaque (e.g., glass jars with tight lids).
Step-by-step instructions for drying tomato seeds using the fermentation method
This foolproof method guarantees high-quality seeds with maximum germination—no fancy equipment needed.
Extract Seeds from Ripe Tomatoes
Select fully ripe tomatoes with a deep, rich color—these contain the most viable seeds. Cut them open and scoop out the gel-like pulp containing the seeds into a clean bowl. I always use a spoon to avoid crushing seeds, which reduces germination rates. The pulp should be thick and jelly-like, not watery.
Add enough water to cover the pulp by about an inch. Stir gently to break up any clumps, then let the mixture sit at room temperature for 2-3 days. You’ll see a layer of mold or scum form on top—this is normal and helps separate viable seeds from non-viable ones. Skim off any mold daily to keep the mixture clean.
Ferment the Seed Mixture for Viability
After 2-3 days, the good seeds will sink to the bottom of the bowl while the bad ones float. Pour the mixture through a fine-mesh strainer, gently rinsing the seeds with water to remove any remaining pulp. The seeds should look plump and firm—if they feel mushy, they’re not ready yet.
Spread the rinsed seeds on a clean, dry paper towel in a single layer. Let them air dry for 1-2 days in a warm, well-ventilated area. You’ll know they’re ready when they’re hard and papery to the touch. Avoid direct sunlight, as it can cause them to dry too quickly and crack.
Dry the Seeds Thoroughly
Once the seeds are dry to the touch, transfer them to a small envelope or airtight container. Label it with the tomato variety and the date—this helps track germination rates over time. Store the seeds in a cool, dark place, like a pantry or seed vault.
For best results, wait at least 4-6 weeks before planting to ensure full viability. If stored properly, these seeds can last 3-5 years, though germination rates drop slightly over time. I always test a few seeds in a damp paper towel before planting a full batch to confirm they’re still good.
Test Seed Viability (Optional but Recommended)
To check if your seeds are ready to plant, place 10 seeds between two damp paper towels in a sealed plastic bag. Keep them in a warm spot (70-80°F) and check daily. Viable seeds should sprout within 5-7 days. If fewer than 50% sprout, store the seeds longer or try fermenting another batch.
This method ensures you’re only saving the strongest seeds, which means healthier plants and a better harvest next season. Once you’ve confirmed viability, you’re ready to plant—just follow your favorite tomato-growing guide for the best results.
Tips & tricks for perfect tomato seed drying
These simple yet powerful tips will help you maximize seed viability and avoid common pitfalls in the fermentation process.
Timing Secret: The 2-3 day fermentation window is crucial—don't rush it! I've found that exactly 3 days at room temperature (around 70-75°F) gives the best separation between viable and non-viable seeds. If your kitchen is cooler, extend to 4 days. Watch for the mold layer to develop fully before straining.
Seed Selection Tip: Choose tomatoes that are fully ripe but not overripe—look for vibrant color and slightly soft texture. Heirloom varieties often produce larger, more viable seeds. I always save seeds from my best-producing tomato plants first, as they tend to have higher germination rates.
Drying Technique: When spreading seeds on paper towels in Step 2, create a single layer with space between seeds. This prevents them from sticking together and ensures even drying. I like to use a second paper towel underneath to absorb excess moisture from the bottom. Avoid using a fan directly on them—gentle airflow is better to prevent cracking.
Storage Wisdom: After drying, store your seeds in an envelope with a silica gel packet to absorb any remaining moisture. I've had the best luck with vacuum-sealed bags for long-term storage. Label each variety clearly, including the year—this helps track which seeds perform best in your climate over time.
Pro Tips for Drying Tomato Seeds
- These simple yet powerful tips will help you maximize seed viability and avoid common pitfalls in the fermentation process.
- Timing Secret: The 2-3 day fermentation window is crucial—don't rush it!
- Seed Selection Tip: Choose tomatoes that are fully ripe but not overripe—look for vibrant color and slightly soft texture.
Frequently asked questions
Got questions about drying tomato seeds? You’re not alone! Here are some of the most common concerns—and their straightforward answers—to help you master the process like a pro.
How long does it take to dry tomato seeds completely?
Drying tomato seeds properly takes 5–7 days in a warm, dry environment (like a seed-saving tray or paper towel). Test for readiness by gently pressing a seed—if it snaps cleanly, it’s dry! Patience is key to avoiding mold or poor germination.
Can I use an oven or microwave to dry tomato seeds faster?
While tempting, never use an oven or microwave—heat can kill seeds or reduce viability. Instead, opt for air-drying methods (like a mesh bag in a dry, shaded spot) or a dehumidifier for consistent results. Slow and steady wins the race!
What if my tomato seeds smell bad during fermentation?
A slight fermented odor (like yogurt or vinegar) is normal—it’s part of the process! If it smells rotten or foul, rinse seeds immediately with water and restart fermentation. Use clean jars and avoid overcrowding to minimize odors.
How do I store dried tomato seeds long-term?
Store seeds in a cool, dark place (like a sealed envelope or airtight container) with a desiccant packet to absorb moisture. Label with the variety and date—most seeds stay viable for 2–5 years when stored properly. Freezing is another option for ultra-long-term storage!
What if my seeds don’t germinate after drying?
Low germination could mean seeds weren’t fully dried, fermented, or stored correctly. Try scarifying (lightly nicking the seed coat) or soaking in warm water for 24 hours before planting. If issues persist, check for mold or pests during drying.
Wrapping up and next steps
Drying tomato seeds the right way ensures you’ll have a bountiful harvest next season—no guesswork, just pure viability! 🌱 By mastering the fermentation trick, you’re not just preserving seeds; you’re unlocking their full potential for germination.
Now that you’re equipped with the know-how, why not share your newfound skills? Try fermenting and drying seeds from your favorite heirloom varieties, then swap them with fellow gardeners or save them for future planting adventures.
Ready to take it further? Experiment with seed storage tips or even explore growing these seeds into thriving plants—your garden (and future meals!) will thank you.