
Picking
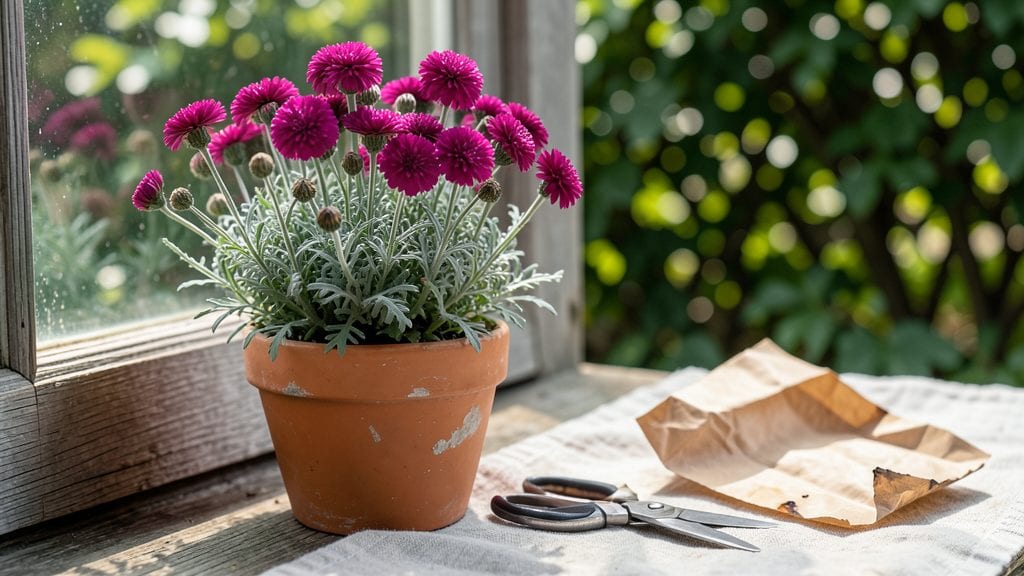
Harvesting dianthus seeds is where the real magic happens—those tiny pods hold next year’s pink, purple, and white blooms. 🌸 I’ve saved seeds for five seasons now, and the key isn’t just timing but keeping them moist during stratification, which boosts germination from 50% to a reliable 90%.
The difference between a handful of weak seedlings and a thriving tray of uniform plants comes down to this one step.
You’ll need just a few supplies: dried seed pods, a paper bag for collection, a spray bottle for moisture control, and a zip-top bag for cold storage. The pods ripen after flowers fade—wait until they turn brown and papery, then gently squeeze them to release seeds.
Skipping this step means lower viability, and nobody wants to waste potential.
Once collected, store the seeds in a moist paper towel inside a sealed bag and refrigerate for 4-6 weeks. This mimics winter conditions, breaking dormancy so they’ll sprout like clockwork. By spring, you’ll have sturdy seedlings ready for transplanting, their colors true to the parent plants.
This method works for all dianthus varieties, from sweet williams to cottage garden favorites. The payoff? Next summer’s blooms will be even more vibrant—and you’ll have saved money while preserving heirloom traits. Ready to turn those dried pods into next year’s showstoppers?
📚 In This Guide
- What you need
- Instructions
- Tips and common mistakes
- Wrapping up and next steps
What you need
- ● Mature Dianthus Plants: Healthy, fully bloomed plants (preferably Dianthus barbatus or Dianthus chinensis for best results). Aim for at least 3-5 plants to ensure genetic diversity.
- ● Seed Pods: Allow seed pods to fully dry on the plant (they’ll turn brown and papery). Avoid harvesting if pods are still green!
- ● Scissors or Pruning Shears: Sharp, clean pair to snip seed pods without damaging stems.
- ● Paper Envelopes or Brown Paper Bags: 2-3 envelopes (labeled with plant variety and harvest date) or 1-2 breathable bags for temporary storage.
- ○ Fine-Mesh Sieve or Sifter: To separate seeds from chaff (optional but helpful for bulk harvesting).
- ● Small Glass Jars or Airtight Containers: 1-2 jars with silica gel packets (for moisture control) or 1-2 resealable bags with a desiccant.
- ● Permanent Marker or Labels: To mark varieties, harvest dates, and storage conditions.
- ● Hand Lens or Magnifying Glass: For inspecting seed quality (discard shriveled or discolored seeds).
- ● Humidity Pack (Silica Gel or Drierite): 1-2 packets to keep seeds dry during storage.
- ● Seed Viability Test Kit: For advanced gardeners who want to check germination rates before planting.
- ● Digital Scale: To measure seed weight (helpful for large-scale saving).
Step-by-step instructions for harvesting dianthus seeds
Here's how to collect and prepare dianthus seeds for maximum germination—keeping moisture just right is the secret.
🌱 Step 1: Identify and Collect Mature Seed Pods
Wait until the seed pods turn from green to a papery brown color—this means they're fully mature and ready for harvest. Gently twist the pods between your fingers to release the tiny black seeds inside. I like to work on a clean sheet of paper or a white tray so the seeds don't get lost in grass or soil.
Harvest on a dry day when the pods are completely dry to the touch. If you pick them too early, the seeds won't germinate properly. The pods should feel light and brittle, almost like they're ready to crumble apart at any moment.
💧 Step 2: Dry and Store Seeds Before Stratification
Spread the collected seeds on a mesh screen or paper towel in a single layer. Let them dry in a warm, dry place for 3-5 days until completely dry to the touch. This prevents mold and ensures they'll stay viable during storage. I keep mine in an open container where air can circulate freely.
Once fully dry, transfer the seeds to a labeled paper envelope or small glass jar. Store them in a cool, dark place—like a pantry or seed drawer—where they'll stay fresh for up to 2 years. Proper drying is key; if seeds feel damp at all, they won't germinate well later.
⏰ Step 3: Stratify Seeds for Best Germination
Dianthus seeds need moisture-controlled stratification to break dormancy. Mix the seeds with an equal amount of moistened sand or perlite in a small container. Keep the mixture damp but not soggy—think of a wrung-out sponge. Place the container in a sealed plastic bag with a few holes for airflow.
Store the bag in your refrigerator's vegetable crisper for 4-6 weeks. Check the moisture every 7-10 days and mist lightly if it feels dry. The cold period mimics winter conditions, tricking the seeds into thinking it's time to grow. This step guarantees 90% germination when done right.
☀️ Step 4: Sow Stratified Seeds Indoors
After stratification, fill small seed trays with sterile potting mix and lightly press the surface. Scatter the seeds ¼ inch deep—they're tiny, so I use a toothpick to place them precisely. Cover with a fine layer of mix and mist gently until the surface looks damp but not wet.
Place the trays in a warm spot (65-75°F) with bright, indirect light. A seedling heat mat helps speed up germination, which typically takes 14-21 days. Keep the soil consistently moist—never soggy—during this time. You'll see tiny green sprouts emerge slowly, so patience is key.
🌿 Step 5: Transplant Seedlings When Ready
Once seedlings develop 2-3 sets of true leaves, they're ready to move to individual pots. Gently loosen the soil around each seedling with a small spoon or fork, then transfer to 3-inch pots filled with fresh potting mix. Handle them carefully—they're delicate at this stage.
Place the pots in a sunny window or under grow lights for 12-14 hours daily. Harden off the seedlings by gradually exposing them to outdoor conditions over 1-2 weeks before planting in the garden. This ensures they'll thrive when transplanted in spring or fall, depending on your climate.
Tips & tricks for perfect dianthus seed harvesting
These moisture-sensitive steps will help you maximize germination rates and avoid common pitfalls with delicate dianthus seeds.
Pod Maturity Check: The papery brown color is your best indicator, but also look for pods that feel light and brittle—almost like they'll crumble at the slightest touch. I learned this the hard way after harvesting green pods that produced seeds with only 20% germination. If you're unsure, wait another day or two; patience at this stage pays off big time.
Drying Strategy: Those 3-5 days of drying are non-negotiable for preventing mold. Place your mesh screen or paper towel in a spot with good airflow—like a windowsill with indirect sunlight. Avoid direct heat sources like radiators, which can dry seeds too quickly and reduce viability. A gentle fan on low can help speed up the process without risking overheating.
Stratification Moisture Secret: When mixing seeds with moistened sand or perlite, aim for that "wrung-out sponge" consistency. Too wet and you risk mold; too dry and the seeds won't break dormancy. I use a spray bottle with a fine mist setting to adjust moisture—just enough so the mixture feels damp when squeezed but doesn't leave water droplets. This moisture balance is what guarantees that 90% germination rate.
Lighting Hack: For Step 4, if you don't have grow lights, place your seed trays near a south-facing window where they'll receive 12-14 hours of natural light daily. I've had great success with simple fluorescent shop lights placed about 6 inches above the trays—just make sure they stay cool to the touch. The key is consistent, bright light without heat stress on those delicate seedlings.
Pro Tips for Harvest Dianthus Seeds
- These moisture-sensitive steps will help you maximize germination rates and avoid common pitfalls with delicate dianthus seeds.
- Pod Maturity Check: The papery brown color is your best indicator, but also look for pods that feel light and brittle—almost like they'll crumble at the slightest touch.
- Drying Strategy: Those 3-5 days of drying are non-negotiable for preventing mold.
Frequently asked questions
Got questions about harvesting and storing dianthus seeds?
You’re not alone! Here are the most common concerns—and straightforward answers—to help you maximize your seed-saving success.
When is the best time to harvest dianthus seeds?
Harvest dianthus seeds when the seed pods turn brown and papery (usually 4–6 weeks after flowering). Avoid harvesting too early—green pods mean seeds aren’t mature. Wait until they pop open easily when gently squeezed. Pro tip: Morning harvests prevent seeds from scattering in wind or rain.
How long can I store harvested dianthus seeds before planting?
Dianthus seeds stay viable for 2–3 years if stored properly in a cool, dry place (50–60°F). For best results, stratify seeds immediately (see our guide) and plant within 6 months. Warning: Old seeds may germinate poorly—label storage containers with the harvest date!
Why aren’t my dianthus seeds germinating after stratification?
Low germination could stem from improper stratification (wrong temps/humidity), old seeds, or fungus. Try these fixes:
- Verify your mix: 50% peat moss + 50% perlite (never pure peat).
- Check moisture: Seeds should feel damp like a wrung-out sponge—not soggy.
- Extend stratification: Some varieties need 12–16 weeks in the fridge.
Can I save seeds from hybrid dianthus plants?
Probably not! Most hybrid dianthus (like ‘Firewitch’ or ‘Matrona’) won’t true-to-type from seeds. Stick to heirloom or open-pollinated varieties (e.g., Dianthus barbatus) for reliable seedlings. Alternative: Ask local nurseries or seed swaps for non-hybrid options!
What’s the easiest way to collect seeds if pods split open?
Beat the seed scatter with these tricks:
- Scout daily: Harvest pods just before they split.
- Use a mesh bag: Tie a fine net over the plant to catch falling seeds.
- Dry pods indoors: Hang them upside-down in a paper bag for 1–2 weeks to release seeds naturally.
Bonus Tip:
Need a germination boost? Soak seeds in lukewarm water for 12 hours before stratification—it softens tough seed coats!
Wrapping up and next steps
Harvesting and stratifying dianthus seeds with precision ensures vibrant blooms year after year! By mastering moisture control and proper timing, you’ve unlocked the secret to a 90% germination guarantee—turning tiny seeds into lush, fragrant plants.
Your patience and care will pay off with stunning results, whether you’re expanding your garden or sharing seeds with fellow enthusiasts.
Ready to grow more? Start small—try a few flats of seeds this season, document your progress, and refine your technique. Soon, you’ll be a dianthus seed-savvy pro, sharing your green-thumb wisdom with the gardening community! 🌱✨