
Pests
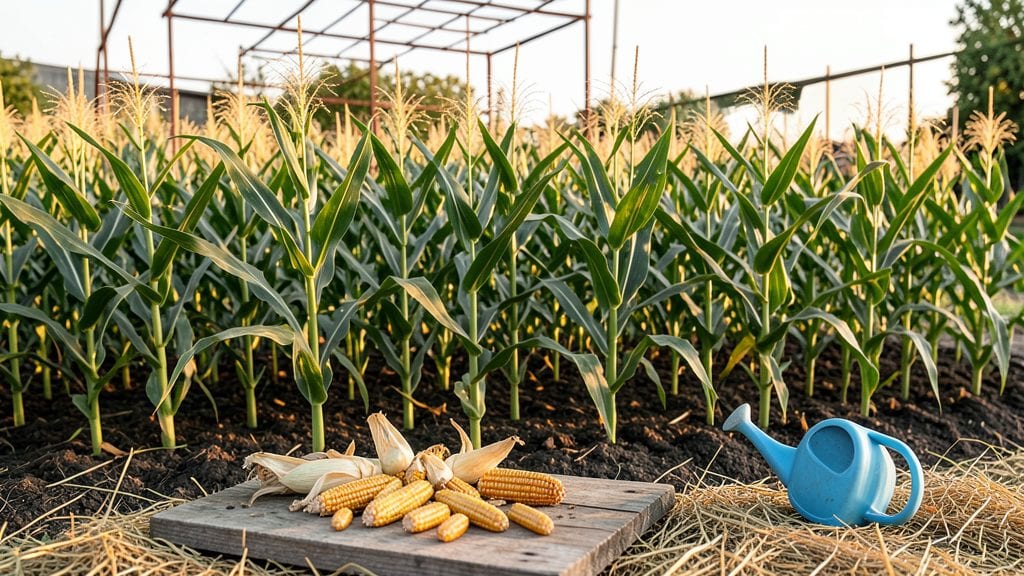
Getting corn seeds doesn't have to mean buying from a catalog every year—my first garden taught me how to save them from my own harvest. 🌽 The key is choosing the right variety and knowing when to collect them at peak freshness, which turns a simple summer crop into a self-sustaining cycle.
Most gardeners overlook this, but saving seeds is easier than you think once you understand the process.
You'll need just three things: mature corn plants with fully dried ears, a dry storage spot, and patience for the seeds to fully mature. Hybrid corn won't produce true-to-type seeds, so stick to heirloom varieties if you want reliable results year after year.
The payoff comes when you watch those same seeds grow into your next harvest, stronger and more adapted to your climate.
Freshly saved seeds keep best if you dry them completely and store them in airtight containers away from moisture. Properly stored, they'll stay viable for 3-5 years, though germination drops after the first year.
This method cuts costs while connecting you directly to the food you grow—nothing beats the satisfaction of planting seeds you saved from last summer's harvest.
For those who want more variety, local seed banks and farmers' markets often carry regional heirlooms that thrive in your area. Always check seed-saving laws in your state, as some hybrids are patented.
Whether you're saving seeds or sourcing them, the goal is the same: growing corn that's perfectly suited to your garden and your table.
📚 In This Guide
- What you need
- Instructions
- Tips and common mistakes
- Wrapping up and next steps
What you need
- ● Mature corn plants (preferably from a variety you want to propagate, like sweet corn, dent corn, or popcorn). Tip: Choose healthy, disease-free plants!
- ● Dry, well-ventilated space (a garage, shed, or even a sunny porch works). Humidity is the enemy of seed storage!
- ● Paper bags or breathable seed envelopes (1 per ear of corn, or reusable fabric seed sacks). Pro tip: Label each bag with the corn variety and harvest date!
- ● Scissors or pruning shears (for cleanly cutting corn husks).
- ○ Small fan or dehumidifier (optional but helpful for speeding up drying).
- ● Fine-mesh sieve or colander (for separating kernels from cobs).
- ● Air-tight containers (glass jars or resealable bags) for long-term seed storage.
- ● Patience: Seeds need 4-6 weeks to dry properly—don’t rush it!
- ● Knowledge of corn varieties: Some corn (like hybrid sweet corn) may not produce viable seeds. Stick to open-pollinated varieties for best results.
- ● Weather check: Harvest seeds on a dry, sunny day to avoid mold.
- ● Seed viability test kit (to check if your seeds are still good to grow).
- ● Humidity monitor (to keep storage conditions ideal, below 10% humidity).
- ● Desiccant packets (for long-term seed storage to absorb moisture).
- ● Notebook or app (to track seed varieties, harvest dates, and germination rates).
How to save and store corn seeds from your garden
Here's the simple way to collect, dry, and store corn seeds for next year's planting.
🌱 Step 1: Select the Best Ears for Seed Saving
Wait until the corn plants are fully mature and the kernels have turned a deep, rich color—usually 2-3 weeks after the tassels have dried. Look for ears that are plump, uniform in size, and free of cracks or insect damage. I like to pick ears from the healthiest plants in the center of the patch, as they tend to be the most vigorous.
Harvest the ears by twisting gently at the base. If you're saving from multiple varieties, label each ear with a permanent marker before bringing them indoors. This prevents mix-ups later when you're ready to plant. Store the ears in a dry, well-ventilated area for 2-3 days to let the kernels dry further on the cob.
✂️ Step 2: Remove Kernels and Dry Thoroughly
Once the kernels are fully dry, carefully shuck the ears by peeling back the husks. Use a sharp knife to slice off the kernels in rows, working from the top of the cob downward. Be gentle—you want to avoid crushing the seeds. I place the kernels in a single layer on a clean, dry baking sheet lined with parchment paper.
Spread the kernels out evenly so they dry completely. Place the tray in a warm, dry spot with good airflow—like a sunny windowsill or a well-ventilated pantry. Stir the kernels every 1-2 days to ensure even drying. They're ready when the kernels are hard and brittle, which usually takes about 1-2 weeks. Test by pressing a kernel between your fingers—if it doesn't crush easily, it's dry enough.
🪴 Step 3: Store Seeds Properly for Long-Term Viability
Once the kernels are fully dry, transfer them to an airtight container. I use small glass jars with tight-sealing lids for seed storage. Label each jar with the corn variety and the year harvested. Store the jars in a cool, dark place—like a basement or pantry—where the temperature stays between 32-41°F.
Under these conditions, corn seeds can remain viable for 3-5 years. Check the seeds annually for signs of moisture or pests. If you notice any issues, transfer the seeds to a new container immediately. Properly stored seeds will keep their germination rate high, giving you a strong start for next year's garden.
⏰ Step 4: Test Seed Viability Before Planting
Before you plant your saved seeds, test their viability to ensure they'll germinate well. Place 10 seeds between two damp paper towels in a sealed plastic bag. Keep the bag in a warm spot, like on top of the refrigerator, and check it daily. Most corn seeds will sprout within 5-7 days if they're still good.
Count the number of seeds that sprout. If 80% or more of the seeds germinate, they're ready to plant. If fewer than 50% sprout, consider buying fresh seeds for better results. This simple test saves you time and frustration in the garden later on.
Tips & tricks for perfect corn seed saving
Saving corn seeds from your garden is easier than you think—these simple tricks ensure you get the best quality seeds for next year.
Selection Tip: In Step 1, when choosing ears to save seeds from, focus on plants that show the most vigor—look for the tallest, healthiest stalks with the fullest ears. I've found that ears from the center of the patch tend to be the most consistent. Avoid ears that show signs of disease or pest damage, as these can compromise seed quality. Remember, the better the parent plant, the better your seeds will be!
Drying Strategy: During Step 2, when drying the kernels, don't rush this process. The 2-3 days of drying on the cob followed by 1-2 weeks of drying on the baking sheet is crucial for preventing mold. I've learned the hard way that damp seeds can develop mold within days, even in cool conditions. Place a small fan nearby to create gentle airflow—this helps speed up drying while preventing moisture buildup. Stirring every 1-2 days is key to ensuring even drying.
Storage Wisdom: For Step 3, when storing your seeds, consider adding a small packet of silica gel to your airtight container. This helps absorb any residual moisture that might cause the seeds to spoil. I store my jars in the back of my refrigerator where it stays consistently around 41°F—this extends their viability beyond the 3-5 year mark. Labeling with the variety and year is a lifesaver when you're ready to plant!
Viability Test: The germination test in Step 4 is your best friend. I always test a batch of seeds before planting, and I've found that keeping the damp paper towels wrapped in plastic helps maintain consistent moisture. Place your test bag in a warm spot—like on top of your fridge—and check daily. If you see sprouts within 5-7 days, you're good to go. This simple test can save you from planting seeds that might not germinate well.
Pro Tips for Get Corn Seeds
- Saving corn seeds from your garden is easier than you think—these simple tricks ensure you get the best quality seeds for next year.
- Selection Tip: In Step 1, when choosing ears to save seeds from, focus on plants that show the most vigor—look for the tallest, healthiest stalks with the fullest ears.
- Drying Strategy: During Step 2, when drying the kernels, don't rush this process.
Frequently asked questions
Got questions about growing your own corn seeds? You’re not alone! Here are answers to the most common queries to help you get started with confidence.
How do I know when corn is ready to harvest seeds?
Corn kernels are ready for seed harvesting when they’re fully dry and hard—about 2-3 weeks after the tassels (top pollen-producing parts) turn brown and die back. If the husks dry out and the kernels dent slightly when pressed, they’re perfect for saving as seeds. Pro tip: Harvest on a dry day to avoid mold!
Can I save seeds from store-bought corn?
Generally, no—most commercial corn is hybridized for uniform traits (like sweetness or disease resistance), meaning seeds won’t grow true to type. For reliable seeds, buy from reputable seed companies or save from heirloom or open-pollinated varieties grown in your garden. Always check seed-saving guidelines for your specific corn type!
How long do corn seeds stay viable for planting?
Corn seeds typically stay viable for 2-3 years if stored properly in a cool, dry place (like a sealed container in the fridge or freezer). For best results, label and date your seeds and test viability by planting a few each year. If germination drops below 50%, it’s time to source fresh seeds!
What’s the best way to store corn seeds for next year?
After harvesting, let seeds dry completely (1-2 weeks in a well-ventilated area), then store them in airtight containers (like glass jars or sealed bags) with a desiccant packet to absorb moisture. Keep them in a dark, cool place (ideal temp: 32–41°F). Avoid humidity—it’s the enemy of seed longevity!
Why did my corn plants get smut or mold? Can I still save seeds?
Fungal issues like corn smut or mold can contaminate seeds, but don’t panic! If only a few kernels are affected, discard those plants and focus on healthy ones. For severe cases, treat seeds with a 10% bleach solution (1 part bleach to 9 parts water) for 10 minutes before drying. Prevention? Rotate crops and practice good garden hygiene!
Wrapping up and next steps
Growing your own corn from seeds is a rewarding journey that connects you to the earth and the joy of fresh, homegrown produce. Whether you’re saving seeds from last year’s harvest or sourcing them from trusted suppliers, the key is patience, preparation, and a little green thumb magic.
Now that you’re armed with the know-how, roll up your sleeves and plant those seeds—your future corn cobb will thank you! 🌽✨
Ready to take the next step? Start small with a few rows, experiment with varieties, and soon you’ll be sharing your harvest with friends and family. Happy gardening!