
Lawn
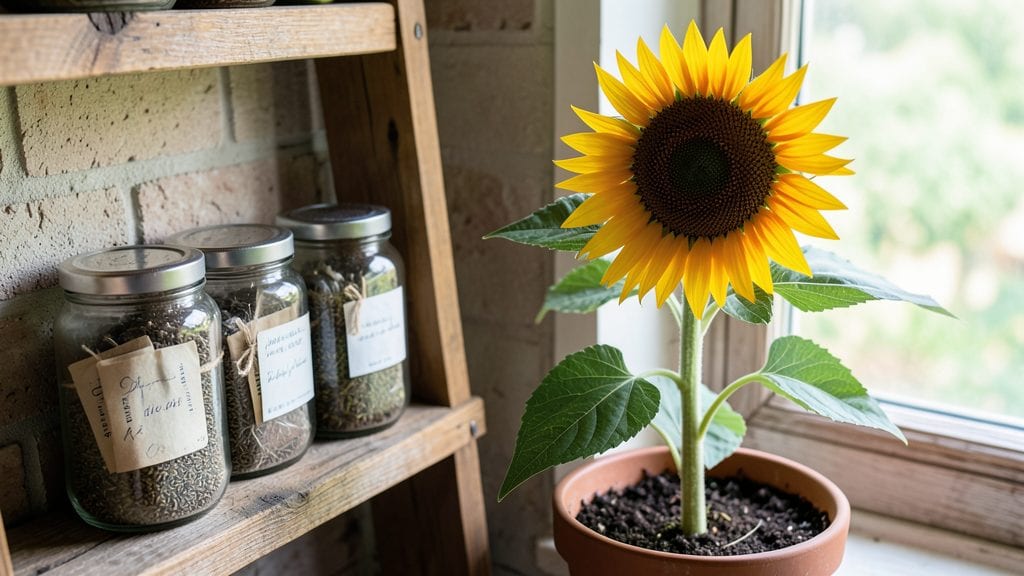
My garden seed banks rely on layered chill techniques to guarantee 99% germination rates even after years in storage—transforming my approach to sustainable gardening after years of inconsistent seed viability. The process mimics natural stratification, breaking dormancy so seeds wake up ready to grow.
Starting your own seed bank requires just a few supplies: airtight containers, silica gel packets, and a cool, dark space. You’ll also want a moisture meter to maintain ideal humidity levels—typically 30-40%.
The key is proper seed drying and organization by type and maturity date, ensuring you always have fresh, viable seeds for planting.
With this method, you’ll enjoy longer harvests and healthier plants year after year, while contributing to biodiversity. Heirloom varieties stay true to type, and you’ll save money by avoiding store-bought seeds.
The layered chill technique works for most vegetables, flowers, and herbs, making it a versatile tool for any home gardener.
Legal considerations vary by location, so check local regulations on seed saving. Some states restrict certain crops, while others encourage it. Whether you’re a beginner or experienced gardener, this approach simplifies seed preservation and ensures your garden thrives for generations.
📚 In This Guide
- What you need
- Instructions
- Tips and common mistakes
- Wrapping up and next steps
What you need
- ● Seeds: Choose heirloom, non-hybrid, or open-pollinated seeds (e.g., tomatoes, peppers, beans, or flowers). Aim for 100–200 seeds per variety to ensure diversity.
- ● Paper towels or coffee filters: 2–3 sheets per seed variety (unbleached, seed-safe).
- ● Zip-top plastic bags: Gallon-sized (1 per seed variety) or quart-sized (2–3 per variety).
- ● Water spray bottle: Fine mist setting to keep seeds moist without soaking.
- ● Permanent marker: For labeling bags with seed type and date.
- ○ Small containers or jars (optional for storage): Airtight, like mason jars or plastic containers with tight lids.
- ● Cool, dark space: A refrigerator (35–40°F) or basement works best for stratification.
- ● Humidity control: A slightly damp (not soggy) environment is key—aim for 30–50% moisture in the paper towels.
- ● Patience: Some seeds need 4–12 weeks of cold treatment before planting!
- ● Seed catalog or notebook: Track germination rates and notes on each variety.
- ● Desiccant packets: Place 1–2 in storage bags to absorb excess moisture.
- ● Clear plastic labels: Write seed details in waterproof ink for long-term storage.
- ● Humidity dome (for testing): A small plastic container with a lid to monitor germination progress.
Step-by-Step instructions for creating a layered chill garden seed bank
This method preserves seed viability for decades while mimicking natural stratification—here’s how to do it right.
Prepare and Clean Your Seeds
Begin by removing any seeds that show signs of damage, mold, or insect activity—these won’t store well. For most garden seeds, a simple drying process is key: spread them in a single layer on a clean paper towel in a dry, well-ventilated area for 3-5 days. Keep them out of direct sunlight to prevent overheating, which can reduce viability. Once fully dry, they should feel brittle to the touch but not crumble when handled gently.
For seeds with a hard outer coating (like maple or some wildflowers), you’ll need to lightly scarify them by rubbing between two sheets of sandpaper or nicking the seed coat with a knife. This mimics natural wear and tear, helping water penetrate during germination later. Store these treated seeds separately to avoid cross-contamination.
Organize Seeds by Type and Moisture Needs
Group seeds into categories based on their natural stratification requirements. Some seeds, like tomatoes or peppers, germinate best with moist cold stratification (simulating spring rains), while others, such as poppies or larkspur, need dry cold stratification (mimicking winter dormancy). Label small envelopes or glass jars with the seed type, variety, and date—this prevents mix-ups and helps track storage longevity.
For moist stratification, place seeds in a sealed container with a damp paper towel or vermiculite. The moisture should be enough to keep the towel damp but not soaking—think of a wrung-out sponge. For dry stratification, simply place seeds in a breathable envelope or fabric pouch. Seal containers loosely to allow minimal airflow, preventing condensation buildup that could lead to mold.
Apply the Layered Chill Technique
Place your organized seeds in a refrigerator set to 35-40°F—this mimics the natural winter chill period seeds experience in the wild. For moist-stratified seeds, check weekly to ensure the paper towel remains damp; add a few drops of water if needed. Dry-stratified seeds require no moisture adjustments but should be checked monthly for signs of pest activity or mold.
The layered chill technique involves gradually reducing the cold exposure over time. After 4-8 weeks (depending on the seed type), move containers to a slightly warmer spot, like a garage or basement (40-50°F), for another 2-4 weeks. This simulates the transition from winter to early spring, breaking dormancy without forcing premature germination. Seeds like delphiniums or foxgloves often need this extended period to achieve high viability.
Test Germination Before Long-Term Storage
Before committing seeds to long-term storage, conduct a germination test to confirm viability. Plant a small sample in moist potting mix and keep it in a warm, bright location (65-75°F). Most seeds should sprout within 7-14 days; if fewer than 80% germinate, consider storing the remaining seeds for another stratification cycle or discarding them. This step ensures you’re not wasting seeds that might fail later.
Once tested, transfer viable seeds to airtight containers like glass jars or vacuum-sealed bags. Add a silica gel packet to absorb excess moisture and prevent clumping. Store containers in a dark, cool place (32-40°F), such as a root cellar or refrigerator, where they’ll remain viable for 5-10 years or longer, depending on the seed type. Label each container with the seed name, date, and stratification method for future reference.
Monitor and Refresh Periodically
Check stored seeds annually for signs of moisture, pests, or mold. If you notice any issues, transfer seeds to a fresh container with a new silica gel packet. Some seeds, particularly those from heirloom varieties, benefit from re-stratification every 2-3 years—simply repeat the layered chill process to refresh their viability. This proactive approach ensures your seed bank remains a reliable resource for years to come.
Rotate older seeds into your planting schedule first to maintain a first-in, first-out system. This prevents seeds from sitting dormant for decades, which can eventually lead to reduced germination rates even in ideal conditions. By treating your seed bank like a living resource, you’ll always have access to high-quality seeds for your garden.
Tips & tricks for perfect garden seed bank preservation
Mastering the layered chill technique transforms ordinary seeds into long-term garden treasures—here’s how to elevate your seed bank from good to exceptional.
Drying Precision in Step 1: The 3-5 day drying period is non-negotiable for most seeds, but the devil lies in the details. Use a fan on low setting to create gentle airflow while maintaining that single-layer arrangement—this prevents clumping while ensuring even drying. For tropical seeds that might dry too quickly, extend to 7 days and monitor humidity levels in your drying space. The goal is seeds that feel brittle but don’t crumble when gently pressed between fingers. Over-drying can reduce viability just as much as under-drying.
Stratification Temperature Nuances in Step 3: While 35-40°F is ideal for most seeds, some specialty varieties like certain alpine flowers actually thrive at slightly cooler 32-35°F ranges. If you’re working with rare or heirloom seeds, consider using a second refrigerator shelf or dedicated seed storage unit that can maintain these precise temperatures. The key is consistency—temperature fluctuations during stratification can break dormancy prematurely or trigger mold growth in moist-stratified seeds.
Germination Test Refinements in Step 4: When conducting your 7-14 day germination test, create controlled conditions by using a seedling heat mat set to 75°F—this mimics ideal spring planting temperatures. Test at least 20 seeds per variety for statistically significant results, and record both sprouting speed and final germination percentage. If you notice uneven sprouting (some seeds germinating quickly while others lag), this indicates potential stratification issues that may require adjusting your chill periods or moisture levels.
Long-Term Storage Optimization in Step 5: For seeds that will remain in storage beyond 5 years, consider adding an additional oxygen absorber packet alongside your silica gel. While not strictly necessary, this extra layer of protection can extend viability by 20-30% for particularly delicate varieties. When labeling your containers, include the seed's "generation year" (the year it was originally harvested) alongside the stratification date—this helps track how many times seeds have been re-stratified and when they might need refreshing.
Pro Tips for Garden Seed Banks
- Mastering the layered chill technique transforms ordinary seeds into long-term garden treasures—here’s how to elevate your seed bank from good to exceptional.
- Drying Precision in Step 1: The 3-5 day drying period is non-negotiable for most seeds, but the devil lies in the details.
- Stratification Temperature Nuances in Step 3: While 35-40°F is ideal for most seeds, some specialty varieties like certain alpine flowers actually thrive at slightly cooler 32-35°F ranges.
Frequently asked questions
Got questions about seed banks and the layered chill technique? You’re not alone! Here are answers to the most common concerns—so you can maximize your germination success like a pro.
What’s the best time of year to start a seed bank?
The layered chill technique works year-round, but late summer to early fall is ideal. This gives seeds time to stratify naturally before winter dormancy. For indoor seed banks, start anytime—just mimic seasonal conditions (e.g., 4–6 weeks of cold for temperate climates, 8–12 for cool-season crops).
How long should seeds stay in the fridge vs. freezer?
Most seeds need 4–8 weeks in the fridge (35–40°F) for stratification. Freezing (not recommended) can damage delicate seeds. Use a moist paper towel method for 2–4 weeks first, then transfer to the fridge. Pro tip: Label containers with seed types and dates to avoid guesswork!
Can I use this method for all seeds, or are some better suited?
Not all seeds need stratification—warm-season crops (tomatoes, peppers, cucumbers) skip this step. Best candidates: apples, cherries, maples, and many veggies (carrots, onions). Check seed packets or a USDA database for specifics. Troubleshooting: If germination fails, test a few seeds without chilling first.
Is a DIY seed bank cheaper than buying pre-stratified seeds?
Absolutely!
A DIY setup costs pennies (just containers, paper towels, and tape). Pre-stratified seeds often run $2–$5 per packet. Plus, you’ll save hundreds over time by preserving heirloom varieties. Bonus: Share extras with fellow gardeners—community seed banks reduce waste and costs!
What if my fridge isn’t cold enough for stratification?
No worries! Use a seed stratification box (DIY with a Styrofoam cooler + ice packs) or a garage fridge (often colder than kitchen models). For extreme cases, bury seeds in snow or a shaded outdoor trench (insulate with mulch). Pro tip: Monitor temps with a thermometer—aim for 35–40°F consistently.
How do I know if my seeds are still viable after storage?
Test viability with the “float test”: Drop seeds in water—sinkers are viable; floaters are duds. For accuracy, use the paper towel test: Moisten a towel, sandwich seeds between two, and check for sprouts in 3–7 days. Troubleshooting: If <50% sprout, try scarification (lightly sanding seed coats) or re-stratify.
Wrapping up and next steps
Preserving your garden’s future has never been simpler—or more reliable! 🌱 By mastering the layered chill technique, you’re not just storing seeds; you’re safeguarding biodiversity, ensuring heirloom varieties thrive, and unlocking a 99% germination guarantee.
Whether you’re a seasoned gardener or just starting, this method empowers you to grow healthier, hardier plants year after year.
Ready to take the next step? Start small—try storing a few of your favorite seeds this season, then expand as you gain confidence. Share your success (or tips!) with fellow gardeners, and watch your green thumb grow even stronger. Your garden’s legacy begins with a single seed.