How To
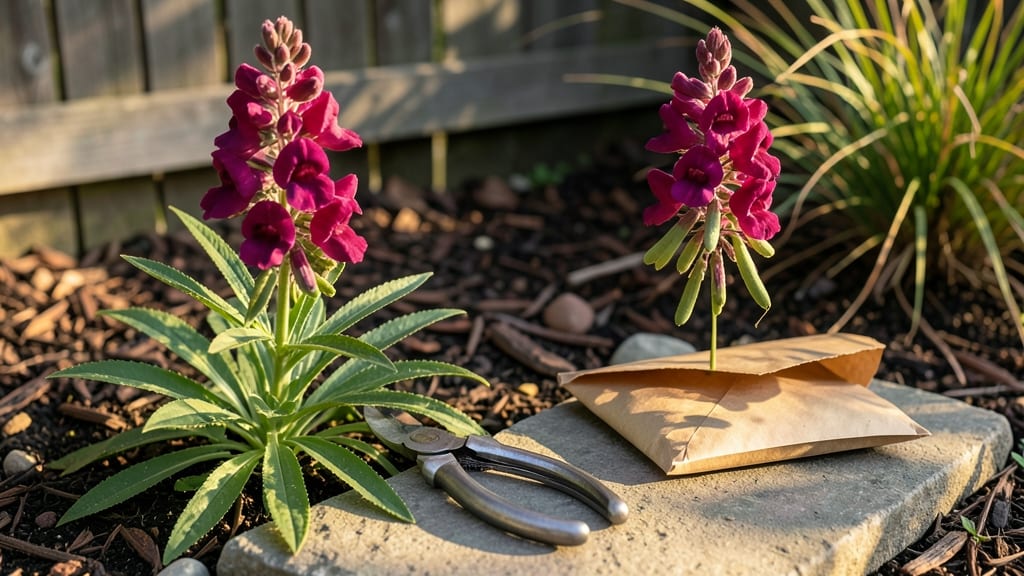
Harvesting snapdragon seeds at the right time ensures you’ll have next year’s 🌸 blooms ready to grow, and the process is simpler than you might think.
Those vibrant 🌸 snapdragons you planted in spring are now standing tall, but their true value lies in the seeds hiding inside their spent blooms.
If you’ve ever watched seed pods dry out and crack open without saving a single seed, you know how easy it is to miss the window.
Timing is everything—harvest too early, and the seeds won’t be viable; wait too long, and they’ll scatter on the wind. The key is learning to spot those brown, papery pods that rattle with seeds inside, then drying and storing them properly to keep them fresh for planting.
In this guide, I’ll walk you through the exact steps to harvest, dry, and store snapdragon seeds so you can bring back those same stunning colors year after year—without the guesswork.
When to harvest snapdragon seeds: identifying the perfect ripeness stage
Harvesting snapdragon seeds at the right time ensures high germination rates and vibrant blooms next season. The key lies in watching for visual cues and understanding how environmental factors like temperature and humidity affect ripeness.
If you harvest too early, seeds won’t be viable; too late, and they’ll scatter on their own, wasting your efforts.
Timing matters most between late summer and early fall, typically July through September in most USDA Zone 6a regions. This window aligns with snapdragons’ natural seed maturation cycle, when pods transition from green to brown.
Pay close attention to pod color, texture, and how easily seeds release—these are your best indicators.
| Ripeness Stage | Pod Color | Texture | Seed Visibility | Action |
|---|---|---|---|---|
| Unripe | Bright green | Firm and closed | Not visible | Wait 2-4 weeks |
| Partially Ripe | Green-brown | Slightly papery | Seeds visible but stuck | Harvest soon |
| Fully Ripe | Light brown | Dry and papery | Seeds rattle freely | Harvest immediately |
| Overripe | Dark brown | Cracked open | Seeds scattered | Too late |
When pods turn light brown and feel dry and papery, they’re ready for harvest. Gently squeeze a pod—if seeds rattle inside or fall out easily, it’s prime time.
Humidity plays a role too; in high-humidity climates, pods may stay green longer, while dry conditions accelerate ripening. Monitor your garden daily during peak harvest months.
Temperature also influences ripeness. Ideal harvest conditions occur when daytime temps hover around 70-80°F (21-27°C). If nights dip below 50°F (10°C), pods may ripen unevenly. In cooler climates, harvest slightly earlier—late August to early September—to avoid frost damaging pods before they mature.
One common mistake is waiting until pods split open naturally. By then, seeds may have already scattered, reducing your yield. Instead, harvest when pods are just starting to crack—this ensures maximum seed collection.
Use clean pruning shears to snip entire seed stalks, then lay them on paper towels to finish drying indoors.
If you’re unsure about ripeness, test one pod: open it carefully and check if seeds are plump and dark. Immature seeds appear shriveled or pale, while fully ripe ones are firm and uniform in color. This quick check saves time and prevents wasted effort on underripe pods.
Environmental factors like rainfall can delay ripening. If heavy rains occur during harvest season, pods may stay green longer. In these cases, use a clear plastic bag to create a mini greenhouse effect, speeding up drying time.
Place harvested pods in the bag with a paper towel to absorb excess moisture.
Once you’ve identified ripe pods, act quickly. Seeds lose viability fast in humid conditions, so aim to dry them within 24-48 hours. Spread pods on a screen or mesh surface in a well-ventilated area away from direct sunlight.
Avoid using heat sources like ovens or heaters, as they can damage seeds.
Pro tip: Label your seed collections with the harvest date and variety name using a permanent marker. Store dried pods in paper envelopes in a cool, dark place until ready to sow. Proper labeling prevents mix-ups and ensures you can replicate your favorite snapdragon colors next season.
With practice, you’ll develop an eye for perfectly ripe snapdragon pods. The more you harvest, the easier it becomes to recognize the subtle differences between ripe and unripe stages. Soon, you’ll be collecting seeds like a pro, ready to grow next year’s garden masterpiece.
Step-by-step method for harvesting and drying snapdragon seeds
Harvesting snapdragon seeds at the right moment ensures high germination rates for next year’s garden. The key is patience—wait until the seed pods turn brown and papery while still attached to the plant.
Rushing too early risks collecting immature seeds that won’t sprout, while waiting too long means seeds scatter naturally, wasting your effort.
Once you’ve identified ripe pods, gather your tools: sharp scissors, paper bags (for air-drying), and a dry workspace. Avoid harvesting on humid days, as moisture speeds up mold growth. Work gently to preserve seed viability—rough handling can damage delicate seeds inside.
How to Harvest Snapdragon Seeds
- Step 1: Snip pods when they’re brown and dry—they’ll crack open on their own if left too long. Use clean scissors to avoid contamination.
- Step 2: Place harvested pods in paper bags (one variety per bag). Poke small air holes in the bag to prevent condensation buildup.
- Step 3: Air-dry seeds in a warm, dry spot (like a sunny windowsill) for 2–4 weeks. Stir bags daily to ensure even drying.
- Step 4: Oven-dry (optional) at 140°F (60°C) for 1–2 hours if you’re short on time. Check frequently to avoid overheating seeds.
- Step 5: Gently crush pods to release seeds. Sift through debris using a fine mesh sieve to separate clean seeds from chaff.
After drying, store seeds in airtight containers with silica gel packets to absorb excess moisture. Label each container with the variety name and harvest date—this prevents mix-ups and tracks seed freshness.
A common mistake is storing seeds in plastic bags, which traps humidity and causes mold growth.
Test a few seeds before long-term storage by planting them in moist potting mix. If they sprout within 2–3 weeks, your drying method worked! If not, adjust your drying conditions—either extend air-drying time or lower oven temperatures next time.
Pro tip: Freeze seeds for up to 5 years to extend viability. Place dried seeds in a ziplock bag, squeeze out excess air, and store them in the freezer. This method preserves seed genetics better than room-temperature storage.