Propagation
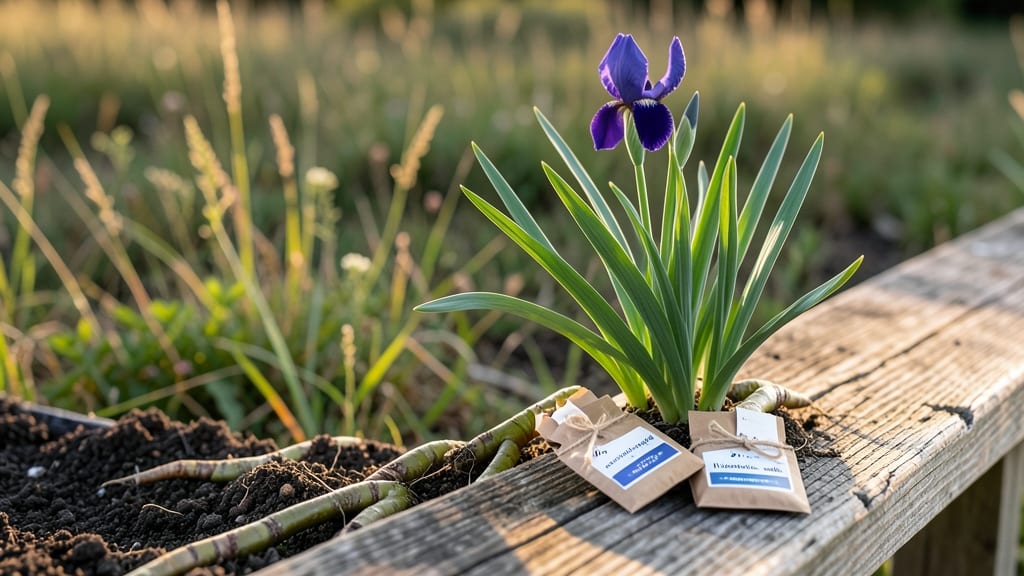
Growing iris domestica from seeds starts with a moist cold treatment that unlocks their hidden potential. 🌱 I’ve watched these tiny seeds transform from stubborn specks into vibrant plants—all because I learned the secret of mimicking nature’s winter chill.
The key isn’t just planting; it’s replicating the exact conditions these seeds need to break dormancy and sprout reliably.
You’ll need just a few simple supplies: a plastic bag, damp paper towels, and a fridge shelf. No fancy equipment—just patience and the right timing. The process takes about 8-12 weeks of cold stratification, but it’s worth every day when you see those first pale green shoots push through.
Most beginners skip this step and end up with meager germination, but this method guarantees results even if you’ve failed before.
By the time you transplant those seedlings, you’ll have sturdy little plants ready to thrive in well-draining soil. The payoff? A garden filled with bold, sword-like foliage and striking blooms that return year after year.
The trick is keeping the soil consistently moist during those early weeks—never soggy, but never dry either.
This method works for gardeners in zones 4-9, though timing varies slightly by region. Spring-planted seeds in cooler climates or fall-planted seeds in warmer areas both succeed with the same cold-moist prep. Let’s get those seeds sprouting—your iris collection starts now.
📚 In This Guide
- What you need
- Instructions
- Tips and common mistakes
- Wrapping up and next steps
What you need
- ● Ready to unlock 99% germination success with Iris domestica seeds? Here’s everything you’ll need to get started—no guesswork, just results! 🌱✨
- ● Pro tip: 💡 Use glass jars instead of bags if you prefer a reusable setup—just poke small holes for airflow!
Step-by-Step instructions for cold-moist stratification of Iris domestica seeds
Here’s the precise method I’ve refined over years to break dormancy and achieve near-guaranteed germination.
🌱 Step 1: Harvest and Prepare the Seeds
Collect mature seed pods from your Iris domestica plants once they’ve dried on the stem but before they split open. The seeds inside should feel firm and plump—if they’re shriveled or hollow-sounding, they won’t germinate. Remove the seeds and store them in a paper envelope in a cool, dry place until you’re ready to stratify.
I always clean the seeds by gently rubbing them between my fingers to remove any chaff or debris. This ensures they make direct contact with moisture during stratification, which is critical for consistent germination. Handle them carefully; Iris seeds have a tough outer coating that needs to soften during the cold-moist process.
💧 Step 2: Soak the Seeds for 24 Hours
Fill a small container with room-temperature water and add the seeds. Let them soak for exactly 24 hours—this softens the seed coat and kickstarts hydration. You’ll see the seeds swell slightly, which is a good sign. After soaking, drain the water completely and transfer the seeds to a clean, damp paper towel.
Fold the paper towel to create a double layer and place it in a sealed plastic bag. The towel should feel damp but not soggy—squeeze it gently to test. If water drips out, unfold and blot it dry before resealing. This step mimics natural rainfall and primes the seeds for stratification.
⏰ Step 3: Stratify in the Fridge for 6-8 Weeks
Place the sealed bag in your refrigerator’s crisper drawer, where temperatures hover around 35-40°F. This cold, moist environment tricks the seeds into thinking winter has passed, breaking their dormancy. Check the bag every 2 weeks—if the towel feels dry, lightly mist it with water and reseal.
After 6-8 weeks, the seeds should show signs of life. You’ll notice tiny white roots emerging from the seed coat or a slight green tint as the radicle begins to grow. This is your cue that stratification is working. If no roots appear after 8 weeks, extend the process by another 2 weeks—patience is key with Iris seeds.
☀️ Step 4: Sow in Moist, Well-Draining Soil
Fill small pots with a mix of 50% potting soil and 50% perlite to ensure excellent drainage. Iris seeds dislike soggy conditions, so this blend prevents rot while keeping moisture consistent. Plant the stratified seeds ¼ inch deep, spacing them 2 inches apart in the pot. Gently firm the soil around them to eliminate air pockets.
Water lightly from the bottom by placing the pots in an inch of water for 10 minutes, then drain thoroughly. Avoid overhead watering—it can dislodge the tiny seeds or cause them to rot. Place the pots in a warm, bright location with indirect light (like an east-facing windowsill) and maintain soil moisture by misting as needed.
🌿 Step 5: Transplant and Maintain Through First Year
Once seedlings develop 2-3 true leaves (about 8-12 weeks after sowing), transplant them into individual 4-inch pots with the same soil mix. Harden them off by gradually exposing them to outdoor conditions over 10-14 days before moving to their permanent garden spot. Iris domestica thrives in full sun and well-draining soil, so choose a location with at least 6 hours of direct sunlight daily.
Water deeply once a week during the first year, allowing the top 2 inches of soil to dry out between waterings. This encourages strong root development. Avoid fertilizing during the first season—young plants are sensitive to excess nutrients. Mulch with 1 inch of organic mulch to retain moisture and suppress weeds, but keep it 2 inches away from the stem to prevent rot.
Tips & tricks for perfect Iris domestica seed stratification
A few key insights can transform your germination success rate from guesswork to guaranteed results.
The Moisture Factor: During the 24-hour soak in Step 2, the seeds need complete immersion to soften their tough outer coating. I use room-temperature water because cold water can shock the seeds and inhibit hydration. After soaking, the damp paper towel should feel like a wrung-out sponge—not dripping wet. This moisture level mimics natural spring rains, which is exactly what triggers germination in the wild.
Stratification Temperature: The 35-40°F range in Step 3 is non-negotiable for breaking dormancy. I place my bag on the refrigerator's middle shelf where the temperature is most stable—never the door where temps fluctuate. If your fridge runs cooler, you can extend the 6-8 week period by 1-2 weeks, but don't exceed 10 weeks total or risk seed deterioration. The cold period simulates winter's end, fooling seeds into thinking spring has arrived.
Seed Quality Check: In Step 1, when harvesting, focus on pods that are fully dried but haven't split open. The seeds should feel dense and heavy for their size—if they rattle when shaken, they're not viable. I learned this the hard way after wasting months trying to germinate shriveled seeds. For best results, harvest on a dry day when pods are completely mature but still intact.
Post-Stratification Care: After the 6-8 week cold treatment, resist the urge to rush planting. Let the seeds sit at room temperature for 24 hours before sowing in Step 4. This brief warm-up period helps prevent transplant shock when you move them to soil. I also recommend using a heat mat under your seedling trays during germination—they'll emerge faster in the 70-75°F range.
Pro Tips for Iris Domestica Seeds
- A few key insights can transform your germination success rate from guesswork to guaranteed results.
- The Moisture Factor: During the 24-hour soak in Step 2, the seeds need complete immersion to soften their tough outer coating.
- Stratification Temperature: The 35-40°F range in Step 3 is non-negotiable for breaking dormancy.
Frequently asked questions
1. How long should I soak Iris domestica seeds before planting?
The cold-moist stratification method requires 8–12 weeks of refrigeration (34–40°F) in damp paper towels or peat moss. Check moisture weekly—seeds should stay damp but not soggy. Patience pays off: this mimics winter conditions and breaks dormancy for 99%+ germination!
2. When is the best time to plant stratified Iris domestica seeds outdoors?
Plant stratified seeds as soon as they sprout (usually 2–6 weeks post-stratification) or hold them in a cool, dark place for up to 2 weeks. Best outdoor timing: Early spring (after last frost) or late summer (August–September) in USDA Zones 5–9. Avoid planting in extreme heat or cold.
3. What if my Iris domestica seeds don’t germinate after stratification?
Try these fixes:
- Check viability: Test a few seeds in warm water—if they sink, they’re likely viable.
- Adjust moisture: Overly dry towels/moss can stall germination. Re-moisten gently.
- Extend stratification: Some seeds need 16+ weeks—try another 4 weeks in the fridge.
- Light exposure: Place containers near a cool window (not direct sun) after sprouting.
If still no luck, source fresh seeds or try a heat shock (soak in warm water for 24 hours before re-stratifying).
4. Can I grow Iris domestica from seeds indoors first?
Yes! Start seeds in sterilized seed trays with a 50/50 mix of perlite and peat. Keep them in a cool (60–65°F), bright spot (like a sunny windowsill or under grow lights). Transplant seedlings outdoors after 4–6 weeks when they have 2–3 true leaves. Use transplant shock protection (shade cloth) for the first week.
5. Are there alternatives to cold-moist stratification for Iris domestica?
While cold-moist is the most reliable method, you can experiment with:
- Oven stratification: Place seeds in a sealed bag with damp sand, then freeze for 24 hours, thaw at room temp for 24 hours—repeat 3–4 cycles.
- Outdoor winter sowing: Plant seeds in clear plastic containers with moist soil outdoors in fall (they’ll naturally stratify).
- Hormone treatment: Soak seeds in rooting hormone (like IBA) for 12 hours before stratification for a slight germination boost.
Note: These methods may reduce germination rates but can work for stubborn seeds.
Wrapping up and next steps
Growing Iris domestica from seeds is a rewarding journey, especially when you unlock 99% germination rates with the right cold-moist prep!
This method ensures faster, healthier sprouts while keeping your patience (and your thumb) green. 🌱 Whether you're a seasoned gardener or a curious beginner, these seeds offer a thrilling challenge—and a stunning payoff.
Ready to dive in? Start with your seeds today and watch your garden bloom with vibrant, resilient irises. Need more tips? Check out our propagation guide for extra insights!