
Lawn
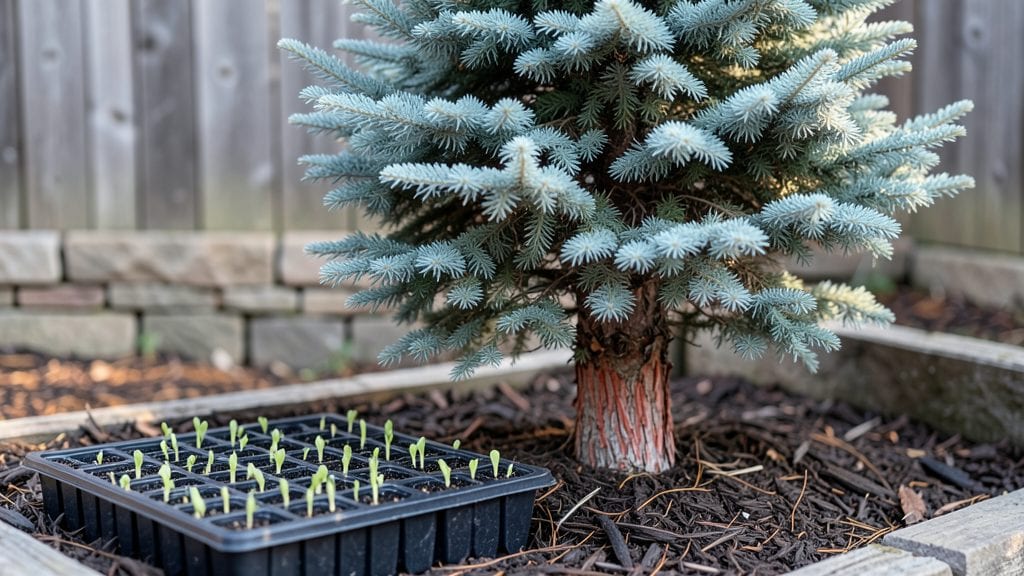
Growing Mexican heather from seed starts with a cold stratification trick that mimics nature’s timing. ✨ I’ve struggled with finicky seeds before, but this method turns tiny, stubborn seeds into lush, fragrant bushes that bloom like clockwork every spring. The secret isn’t complicated—it’s about patience and replicating winter’s chill.
You’ll need just a few supplies: a plastic bag, some damp paper towels, and a refrigerator. No fancy tools or expensive soil mixes required. Most gardeners overlook stratification, but it’s the difference between seeds that sprout in weeks and ones that rot in the packet.
Even beginners can master this—it’s foolproof once you know the steps.
By spring, you’ll have vibrant plants with tiny, tubular flowers that hummingbirds adore. The foliage stays green all season, and the scent? Like a sweet, herbal breeze. These plants thrive in borders, containers, or even as edging along walkways—versatile enough for any sunny spot in your yard.
Here’s the catch: Mexican heather loves heat once established, but it needs that cold period to break dormancy. Skip it, and you’ll wait months for germination—or worse, nothing at all. Let’s get those seeds ready for their big debut!
📚 In This Guide
- What you need
- Instructions
- Tips and common mistakes
- Wrapping up and next steps
What you need
- ● Mexican heather seeds: 1–2 packets (500–1,000 seeds total) for optimal coverage.
- ● Cold stratification medium: Peat moss or coconut coir (2–3 cups)
- ● Perlite or vermiculite (1–2 cups, for aeration)
- ● Growing containers: Seed trays with drainage holes (10–12" x 20")
- ● OR small plastic pots (3–4" diameter) for individual seedlings
- ● Plastic bags or clear lids: To create a humid, cold environment (e.g., gallon-sized Ziploc bags).
- ● Spray bottle: With water for gentle misting.
- ● Potting soil: Well-draining mix (e.g., 60% peat moss, 30% perlite, 10% compost).
- ○ Fertilizer (optional but helpful): Balanced liquid fertilizer (5-5-5 or 10-10-10) for transplanting.
- ● Grow lights or a sunny windowsill (if natural light is limited).
- ● Heat mat (70–75°F) for faster germination after stratification.
- ● Humidity dome or plastic wrap to retain moisture.
- ● Labels and markers to track seedling progress.
- ● Garden twine or clips to secure plastic bags during stratification.
Step-by-step instructions for cold stratifying Mexican heather seed
Cold stratification is the secret to breaking Mexican heather's dormancy—here's how to do it right.
🌱 Step 1: Collect and Prepare the Seeds
Harvest seeds from fully mature Mexican heather pods in late summer or purchase fresh seeds. Spread them on a paper towel in a single layer and place in a sealed container with a damp paper towel. Keep the container in the refrigerator for 7-10 days to prevent mold while maintaining moisture. This initial prep ensures seeds stay viable during stratification.
Check daily for moisture—seeds should feel damp but not soggy. If you notice any fuzzy growth (mold), discard those seeds immediately. Healthy seeds will remain firm and slightly pliable. This step is critical; over-moisture kills seeds before stratification even begins.
❄️ Step 2: Apply Cold Stratification for 6-8 Weeks
Fill a plastic bag with 2 inches of moistened potting mix and place the prepared seeds on top. Seal the bag loosely (allow for slight airflow) and place it in the refrigerator's crisper drawer, where temperatures stay between 35-45°F. This mimics winter conditions and triggers germination.
Every 2 weeks, gently open the bag and check for moisture. If the mix feels dry, mist it lightly with water. You'll see tiny white roots emerging from the seeds after 4-6 weeks—this is your signal that stratification is working. Don’t rush this process; patience ensures strong, healthy seedlings later.
🌿 Step 3: Plant Stratified Seeds in Pots
Fill 4-inch pots with fresh potting mix and plant the stratified seeds ¼ inch deep. Space them 1 inch apart to prevent overcrowding. Gently press the soil around each seed to ensure good contact. Place the pots in a bright, indirect light location—no direct sun yet.
Water lightly from the bottom by placing the pots in ½ inch of water for 10 minutes. This prevents seed displacement and ensures even moisture. Keep the soil consistently moist but never waterlogged. You’ll see the first true leaves (not the initial cotyledons) in 4-6 weeks.
☀️ Step 4: Transition to Outdoor Conditions
Once seedlings have 3-4 sets of true leaves, harden them off by placing them outdoors in partial shade for 2-3 hours daily. Gradually increase exposure over 10-14 days, moving them to full sun by late spring. Mexican heather thrives in full sun to partial shade, so this slow transition prevents shock.
After 2 weeks of full sun tolerance, transplant seedlings into the garden or larger containers. Space them 12-18 inches apart for optimal growth. Mulch with 1 inch of organic material to retain moisture and suppress weeds. Your fragrant blooms will appear in 2-3 years, but the wait is worth it.
Tips & tricks for perfect Mexican heather seed stratification
Cold stratification transforms Mexican heather seeds from dormant to vibrant—here's how to optimize every step for success.
Moisture Management: During the initial 7-10 day refrigerator prep, I use a spray bottle to mist the paper towel instead of soaking it. This gives me better control over moisture levels—seeds should feel damp like a wrung-out sponge, not soggy. Over-moisture is the #1 reason seeds fail before stratification even begins. I check daily and adjust by adding just a tiny mist if needed.
Temperature Consistency: The 35-45°F range in your fridge's crisper drawer is critical, but not all fridges maintain this evenly. I place a thermometer inside the bag during stratification to monitor—some models run cooler, especially near the back. If your fridge runs hotter, consider using a dedicated seed stratification fridge or a cooler with ice packs. Consistency is everything for breaking dormancy.
Root Development Observation: When you see those first tiny white roots after 4-6 weeks, that's your cue that stratification is working. But here's what nobody tells you—some seeds may sprout roots but not leaves yet. Don't be tempted to plant them early! Wait until you see both roots and the first signs of shoot growth before moving to pots. Patience here prevents transplant shock later.
Light Transition Strategy: The 10-minute bottom-watering technique in Step 3 is brilliant, but I've found an even better method: use a clear plastic dome or humidity tent over the pots for the first 2 weeks after planting. This maintains humidity while the seedlings establish roots. Remove the dome gradually over 3-4 days to avoid sudden shock when you finally introduce them to brighter light.
Pro Tips for Mexican Heather Seed
- Cold stratification transforms Mexican heather seeds from dormant to vibrant—here's how to optimize every step for success.
- Moisture Management: During the initial 7-10 day refrigerator prep, I use a spray bottle to mist the paper towel instead of soaking it.
- Temperature Consistency: The 35-45°F range in your fridge's crisper drawer is critical, but not all fridges maintain this evenly.
Frequently asked questions
What is cold stratification, and why do Mexican heather seeds need it?
Cold stratification mimics winter conditions to break seed dormancy. Mexican heather seeds (Cuphea hyssopifolia) require this process because their hard outer coats won’t soften otherwise. Without it, germination rates drop drastically—soak seeds in water for 24 hours first, then refrigerate them in a moist medium for 4–6 weeks. Patience pays off with vibrant blooms!
How long does it take for Mexican heather seeds to germinate after stratification?
After cold stratification, germination typically starts in 2–4 weeks under ideal conditions (warmth, consistent moisture, and indirect light). Keep soil temperatures around 70–75°F (21–24°C) and maintain humidity with a plastic dome or spray bottle. If nothing sprouts after 6 weeks, gently check for mold or rot—discard any suspicious seeds and try again!
Can I grow Mexican heather from seed indoors before transplanting outdoors?
Start seeds indoors 8–10 weeks before your last frost date for a head start. Use small pots with well-draining soil, place them under grow lights (12–14 hours/day), and transplant seedlings outdoors once they’re 3–4 inches tall and night temps stay above 50°F (10°C). Harden them off for 1–2 weeks to avoid shock.
What can I do if my Mexican heather seeds won’t germinate?
Try these troubleshooting steps:
- Check stratification: Ensure seeds spent enough time cold and moist (not dry or frozen).
- Test seed viability: Soak a few seeds in warm water—if they sink, they’re likely viable.
- Adjust conditions: Increase humidity with a humidity tray or bottom heat (75°F).
- Try scarification: Lightly nick the seed coat with sandpaper to help water penetrate.
Are there alternatives to Mexican heather for fragrant, low-maintenance ground cover?
If Mexican heather seems tricky, consider these fragrant, drought-tolerant alternatives:
- Creeping thyme (Thymus serpyllum): Hardy, aromatic, and thrives in poor soil.
- Lavender (Lavandula spp.): Drought-resistant with stunning purple blooms.
- Ice plant (Delosperma spp.): Succulent-like with vibrant flowers and minimal care.
- Dwarf fountain grass (Pennisetum alopecuroides): Ornamental and fragrant when crushed.
Wrapping up and next steps
Growing Mexican heather seed is a rewarding journey that brings fragrant spring blooms to your garden with just a little patience and care! By mastering cold stratification and providing the right conditions, you’ll unlock vibrant, low-maintenance beauty that thrives in sunny landscapes.
Whether you’re a seasoned gardener or a curious beginner, these fragrant flowers are well worth the effort—your future garden will thank you!
Ready to take the next step? Start with a small batch of seeds this fall, follow your stratification timeline, and watch your garden transform next spring. Share your progress or tag us—we’d love to see your blooming success! 🌸