Plants
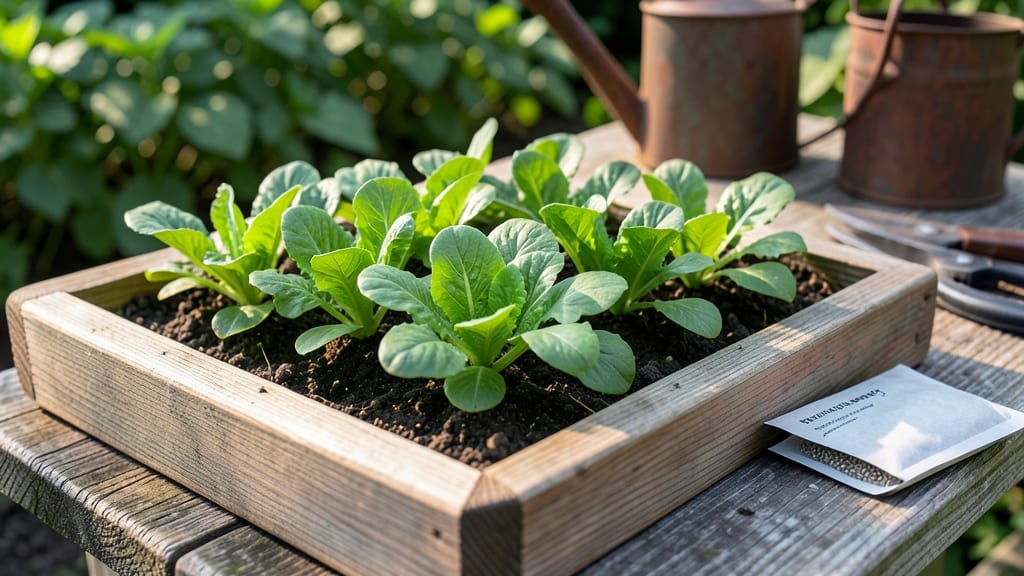
My seeding square template saved my first garden from chaos—turning guesswork into a foolproof layout that actually works. 🌱 Before I discovered this system, my rows were uneven, plants competed for space, and I wasted seeds every season.
The template lets you sketch your garden in perfect squares, ensuring every plant gets the right amount of room and sunlight.
You only need graph paper, a ruler, and a pencil to create one. Start by drawing a grid where each square represents a foot of space—this makes it easy to visualize how many plants fit in your bed.
Then, mark where each variety goes based on its mature size and companion planting needs. For example, tall tomatoes get the north side to avoid shading shorter basil.
Once you’ve plotted your seeds, you’ll see exactly how many plants fit without overcrowding. My zucchini now thrive in their own dedicated squares instead of sprawling into neighboring lettuce, and my herbs grow close together where they belong.
The template even helps with crop rotation by letting you compare last year’s layout to this year’s.
Whether you’re working with a 4x8-foot raised bed or a full backyard plot, this method scales perfectly. It’s especially handy for beginners or anyone tired of wasted space and seeds. Grab a pencil, and let’s turn your garden into a well-organized, high-yielding masterpiece.
📚 In This Guide
- What you need
- Instructions
- Tips and common mistakes
- Wrapping up and next steps
What you need
- ● Garden twine or string – 50–100 ft (for marking rows and squares; biodegradable preferred).
- ● Measuring tape – 10–25 ft (for precision spacing).
- ● Stakes or wooden dowels – 6–12 pieces (6–12" long, for securing twine at corners).
- ● Graph paper or grid ruler – 1 sheet (to sketch your template before transferring to the garden).
- ● Permanent marker or chalk – 1 (for marking soil or stakes).
- ● Notebook & pencil – 1 (to record plant spacing, varieties, and dates).
- ● Seed packets – Varieties of your choice (check spacing requirements on each!).
- ○ Gloves (optional but recommended) – 1 pair (to protect hands from soil and thorns).
- ● Hose with adjustable nozzle – For dampening soil before marking (prevents twine from slipping).
- ● Laser level or transit level – Ensures perfectly straight lines for large gardens.
- ● Staple gun & landscape fabric – To create reusable, durable templates for permanent beds.
- ● Smartphone with grid-drawing app – For digital planning (e.g., Google Drawings or SmartDraw).
- ● Kneeling pad – For comfort during long marking sessions!
- ● Clear, level garden space (remove rocks/debris first!).
- ● Decided on your square foot layout (e.g., 4’x4’ beds with 12” squares).
- ● Knowledge of plant spacing for your chosen crops (check seed packets or a square foot gardening guide).
- ● Sunlight & weather forecast (avoid windy days for twine work!).
Step-by-Step instructions for using a seeding square template
Here's how I plan my garden beds with this simple but powerful layout—no guesswork, just perfect spacing every time.
🪴 Step 1: Choose Your Garden Bed Size and Layout
Start by measuring your garden bed. A 4-foot by 4-foot square is ideal for beginners—it fits neatly in most spaces and lets you grow 16 plants using a standard 12-inch spacing template. Mark the corners with stakes or spray paint for clear boundaries.
If your bed is longer, divide it into 4-foot sections to maintain consistency. I always sketch a quick grid on paper first to visualize how many plants I'll fit. This prevents overcrowding, which leads to weak stems and disease later.
📏 Step 2: Divide the Square Into 16 Equal Sections
Using a tape measure or string, divide each 4-foot side into four equal 1-foot segments. This creates a grid of 16 perfect squares, each measuring 12 inches by 12 inches. The corners of these squares are your planting points.
For larger beds, repeat this grid pattern across the entire area. Real talk: I used to eyeball spacing, but this method ensures every plant gets exactly the room it needs. No more guessing if a tomato plant has enough space to spread.
🌱 Step 3: Assign Plants to Each Square Based on Size
Now, match each plant to its square based on mature size. Place small plants like lettuce, radishes, or carrots in every square—they’ll fill the space perfectly. For medium-sized plants like bush beans or Swiss chard, skip every other square to give them room.
Larger plants like tomatoes, peppers, or cabbage get their own dedicated squares. I always label my grid with a pencil or plant markers to avoid mix-ups. This step is where the magic happens—your garden will look like a well-designed landscape, not a chaotic mess.
✂️ Step 4: Plant Seeds or Transplants Precisely at the Marked Points
Dig a small hole at each marked point—about half the depth of your seed or root ball. For seeds, follow the packet’s depth guidelines (usually twice the seed’s diameter). For transplants, place them so the top of the root ball sits just below soil level—this prevents stem rot.
Fill the hole with soil and press gently to remove air pockets. Water lightly but thoroughly to settle the soil around the roots. I use a spray bottle for seeds to avoid washing them away, while transplants get a gentle stream from a watering can.
💧 Step 5: Maintain Even Spacing as Plants Grow
As your plants mature, resist the urge to add more seedlings. The grid ensures they have the space they need to thrive. If you notice leaves touching, it’s a sign you’ve overcrowded—thin out the weaker plants immediately to give the strongest ones room.
This method also makes weeding a breeze. You’ll see gaps clearly, so you can pull weeds without disturbing your plants. Plus, the uniform spacing means even sunlight exposure, which leads to stronger, healthier harvests. Trust the grid—it’s your secret to a foolproof garden.
Tips & tricks for perfect seeding square layouts
Here's what I've learned after years of using this method—these little details make all the difference between a thriving garden and one that struggles.
Precision Over Guessing: In Step 1, when you're measuring your 4-foot square, I can't stress enough how important it is to be exact. Use a sturdy tape measure and double-check your measurements—even an inch off can throw off your entire planting pattern. I've seen beginners use their arms to estimate, and trust me, that leads to inconsistent spacing. For longer beds, use a string with knots at 4-foot intervals to maintain perfect sections. This ensures every plant gets exactly the 12-inch spacing they need to thrive.
Visualizing Your Layout: Before you even mark your bed in Step 2, sketch your planting plan on paper. This helps you visualize how your plants will grow together and spot any potential issues before you start digging. I like to use graph paper where each square represents one of your 12-inch planting points. Color-code by plant type—this makes it easy to see if you're overcrowding certain areas. You'll notice right away if you've accidentally given your tomatoes too little space or left gaps where you could add more greens.
Labeling System: In Step 3, when you're assigning plants to squares, create a simple labeling system that works for you. I use small wooden stakes with plant names written in pencil—they're visible but won't wash away in rain. For larger gardens, consider using colored flags or even different colored twine tied to stakes. This becomes especially helpful in Step 5 when you're maintaining spacing. If you see leaves touching, you can instantly identify which plants need thinning without having to remember your original plan.
Planting Depth Matters: Step 4 is where many beginners make mistakes with planting depth. For seeds, remember the general rule of thumb: plant them at a depth equal to twice their diameter. But don't just guess—check your seed packets for specific recommendations. For transplants, that slight depression below soil level makes all the difference in preventing stem rot. I've seen beautiful seedlings die just because they were planted too deep. A good trick is to use your finger to make a small hole just deep enough to fit your seed or root ball comfortably.
Pro Tips for Seeding Square Template
- Here's what I've learned after years of using this method—these little details make all the difference between a thriving garden and one that struggles.
- Precision Over Guessing: In Step 1, when you're measuring your 4-foot square, I can't stress enough how important it is to be exact.
- Visualizing Your Layout: Before you even mark your bed in Step 2, sketch your planting plan on paper.
Frequently asked questions
What’s the best time of year to use a seeding square template?
A seeding square template works year-round, but timing depends on your plants. For cool-season crops (like lettuce or spinach), start in early spring or late summer. Warm-season plants (tomatoes, peppers) thrive when soil temps hit 60°F+. Check your last frost date—most templates include planting schedules!
How long does it take to see results after planting?
Germination varies! Fast growers (radishes, arugula) sprout in 3–10 days, while slower ones (carrots, onions) take 2–4 weeks. Your template’s spacing ensures even growth, but sunlight, soil, and moisture play key roles. Patience pays off—consistent care is the secret!
Can I reuse a seeding square template for multiple seasons?
Templates are reusable—just clean them between uses. For hygiene, wipe with a 10% bleach solution (rinse well) or soak in vinegar. Store in a dry place to avoid warping. Pro tip: Label templates by season to streamline planning!
What if my seeds don’t germinate? Troubleshooting steps?
First, check seed viability (test a few in damp paper towels). Ensure your soil is moist but not soggy—overwatering can suffocate seeds. Depth matters: tiny seeds (like basil) need ¼-inch coverage; larger ones (beans) go 1–2 inches deep. If all else fails, your template’s spacing guide helps diagnose crowding or light issues.
Are there free alternatives to buying a seeding square template?
Yes! DIY options include:
- Grid paper: Draw 1-inch squares (adjust for plant size).
- Cardboard templates: Cut squares from cereal boxes.
- Online tools: Free PDFs (like Square Foot Gardening) offer customizable layouts.
For precision, invest in a durable plastic template—it’s a one-time cost with long-term payoffs!
Wrapping up and next steps
Mastering the seeding square template is your golden ticket to a bountiful, organized, and stress-free garden! 🌱 Whether you're a seasoned green thumb or a curious beginner, this method simplifies planting, maximizes space, and ensures your crops thrive.
Now that you’re armed with the right tools, materials, and answers to common questions, it’s time to roll up your sleeves and get planting!
Start small—try a single square foot with your favorite veggies or herbs—and watch your confidence (and harvest!) grow. Ready to transform your garden into a thriving masterpiece? Grab your template, pick your seeds, and let nature do the rest! 🌿✨