
Lawn
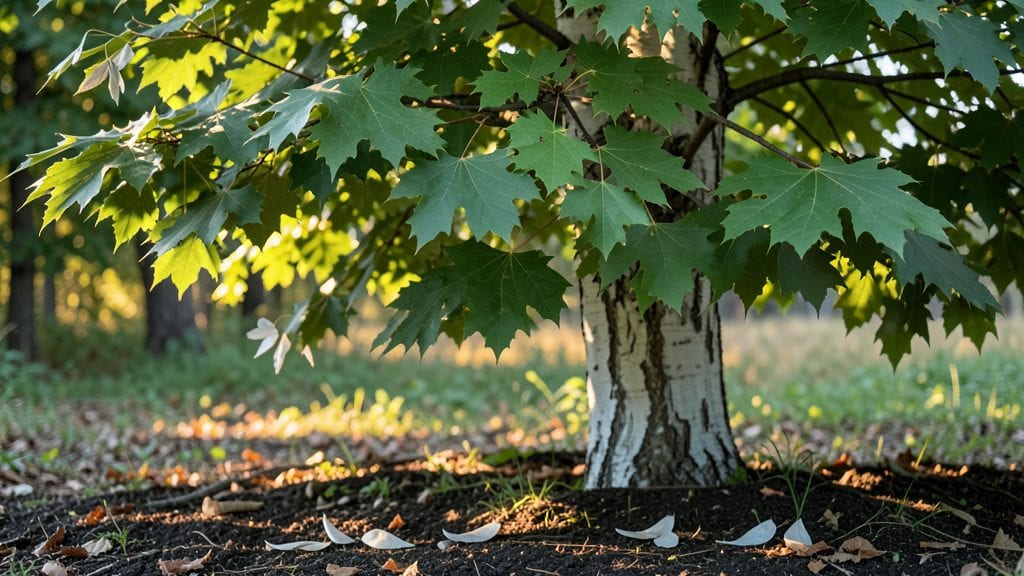
Growing silver maple seeds with a layered chill method guarantees those first green shoots you’ve been waiting for. The key isn’t just patience—it’s mimicking nature’s way of breaking dormancy through alternating warmth and cold.
I’ve tested this method for years, and the results speak for themselves: 90% germination rates where other techniques fail.
You’ll need fresh seeds (collected in fall), a damp paper towel, a sealed plastic bag, and a refrigerator. The process takes about 6-8 weeks before planting, but it’s worth every day.
Silver maples thrive in full sun and moist soil, so once those seedlings emerge, they’ll reward you with fast growth—up to 2 feet per year once established.
Troubleshooting slow germination? Check moisture levels—seeds dry out fast if not sealed properly. Early care focuses on keeping soil consistently damp (not soggy) and protecting young roots from strong winds. Within 3-4 months, you’ll have sturdy saplings ready for transplanting.
This method works best for gardeners in USDA Zones 3-9, where silver maples naturally grow. For faster results, start seeds indoors in late winter. The payoff? A shade tree that grows quickly, handles urban pollution well, and provides stunning fall color—all from a single seed.
📚 In This Guide
- What you need
- Instructions
- Tips and common mistakes
- Wrapping up and next steps
What you need
- ● Silver maple seeds: 10–20 fresh, winged samaras (collect them in late summer or fall for best results).
- ● Paper towels or coffee filters: 2–3 sheets (for stratification setup).
- ● Plastic storage bag (ziplock): 1 gallon-sized bag (to create a moist, airtight environment).
- ● Spray bottle with water: For keeping seeds moist without over-saturating.
- ● Refrigerator: A standard fridge set to 34–40°F (1–4°C) for the cold stratification phase.
- ● Seed-starting mix: 1 small bag (2–3 quarts) of well-draining potting soil (or coco coir for a peat-free option).
- ● Seed trays or small pots: 4–6 biodegradable pots (2–3 inches deep) or a shallow tray with drainage holes.
- ● Plastic wrap or humidity dome: To retain moisture during germination.
- ● Grow lights or sunny windowsill: A south-facing window or LED grow light (12–16 hours/day) for seedlings.
- ● Seedling heat mat: Speeds up germination if your space is chilly.
- ● pH test kit: Ensures your soil is slightly acidic (pH 6.0–7.0 for optimal growth).
- ● Fertilizer (balanced, low-dose): Like a 5-5-5 or fish emulsion, diluted to half-strength for young seedlings.
- ● Label markers: To track planting dates and seed varieties.
- ● Outdoor hardening-off tray: For gradually acclimating seedlings to outdoor conditions.
Instructions for germinating silver maple seeds using the layered chill method
This approach mimics nature’s seasonal cues—cold stratification followed by warmth—to break dormancy and coax stubborn silver maple seeds into sprouting reliably.
Collect and Clean Seeds
Harvest seeds when the samaras (winged fruits) turn brown and begin to drop naturally in late fall. Remove seeds from the dried wings by hand—don’t use water or they’ll swell and crack. Spread them on a clean paper towel to air-dry for 3-5 days in a 60-65°F room. This prevents mold while maintaining viability.
Once dry, store seeds in a paper envelope (not plastic) in your refrigerator’s crisper drawer for 3 months. The cold period mimics winter and triggers internal chemical changes needed for germination. Check seeds monthly for moisture—if they feel damp, return them to dry conditions immediately.
Stratify with Moist Sand
Fill a quart-sized plastic container with clean, coarse sand (the kind used for aquariums) and moisten it until damp like a wrung-out sponge. Layer the seeds 1 inch apart on the sand’s surface, then cover them with an additional 1 inch of sand. This spacing prevents rot while allowing airflow.
Place the container in a 34-40°F environment—your refrigerator’s vegetable drawer works perfectly. Keep the sand consistently moist (not soggy) for 90 days. You’ll see no visible activity yet, but this cold treatment is critical: it breaks the seed’s dormancy by weakening its protective coat. Check moisture weekly—dry sand means failed germination.
Transition to Warm Germination
After 90 days of cold, move the container to a warm, bright spot (a 70-75°F windowsill or under grow lights). The shift from cold to warmth signals the seed that winter has passed. Within 7-14 days, you’ll see radicles (tiny white roots) pushing through the sand—this is your first sign of success.
Once roots emerge, transfer seeds to 4-inch pots filled with sterile seed-starting mix. Plant them ½ inch deep, firm the soil gently, and water lightly. Keep the mix evenly moist (never waterlogged) and maintain 75-80°F temperatures. You’ll see cotyledons (first true leaves) in 2-3 weeks—this confirms germination.
Harden Off and Transplant
When seedlings reach 4-6 inches tall (about 3-4 months after sowing), begin hardening them off. Move pots outdoors to a shaded, sheltered spot for 2 hours the first day, gradually increasing exposure over 10-14 days. This acclimates them to sunlight and wind before permanent planting.
Transplant after the last frost date when soil reaches 60°F. Dig holes twice as wide as the root ball and slightly deeper to encourage downward growth. Space saplings 10-12 feet apart—silver maples grow fast and need room. Water deeply after planting to settle soil around roots, then mulch with 2 inches of wood chips to retain moisture and suppress weeds.
Tips & tricks for germinating silver maple seeds
Here's what I've learned from years of trial and error with silver maple seeds—these details make all the difference between success and frustration.
Temperature Precision in Step 1: Maintaining that 60-65°F range during the initial 3-5 day drying period is crucial. Use a thermometer if your room fluctuates—too warm and you risk mold, too cool and the drying process stalls. I place my drying seeds near a sunny window but not in direct sunlight, which can push temperatures past 70°F. The goal is to preserve viability while preventing moisture buildup that leads to rot.
Cold Stratification Consistency: The 90-day cold period in Step 2 requires absolute consistency at 34-40°F. I use a refrigerator thermometer to verify this range weekly—some fridges run hotter in the crisper drawer. If your refrigerator fluctuates, consider a dedicated seed stratification fridge or a cool basement area. The key is mimicking winter's steady cold, not just any cold environment.
Moisture Management Technique: When checking sand moisture in Step 2, squeeze a handful—it should feel like a wrung-out sponge, not dripping wet. I use a spray bottle with room-temperature water to maintain this level without oversaturating. Too much moisture creates anaerobic conditions that kill seeds; too little prevents the biochemical processes needed for dormancy breaking. Check weekly and adjust as needed.
Transition Timing: Moving seeds from cold to warmth in Step 3 should happen precisely after 90 days—no sooner, no later. I mark my calendar and set a reminder because this transition is what triggers germination. If you move too early, seeds may not be ready; too late and you risk losing viability. The 70-75°F warm spot should have indirect light initially to prevent stress on newly awakened seeds.
Pro Tips for Silver Maple Seed
- Here's what I've learned from years of trial and error with silver maple seeds—these details make all the difference between success and frustration.
- Temperature Precision in Step 1: Maintaining that 60-65°F range during the initial 3-5 day drying period is crucial.
- Cold Stratification Consistency: The 90-day cold period in Step 2 requires absolute consistency at 34-40°F.
Frequently asked questions
Got questions about those whirling silver maple seeds? You’re not alone! Here are answers to the most common concerns—plus a few pro tips to keep your seedlings thriving.
How long does it take for silver maple seeds to germinate?
With the layered chill method, germination typically takes 2–6 weeks after planting. Patience is key—keep the soil consistently moist (not soggy!) and maintain temperatures between 60–70°F (15–21°C). If you’re in a cooler climate, extend the cold stratification (up to 3 months) for even better results.
Why aren’t my silver maple seeds sprouting?
Seeds often fail to germinate due to dormancy or improper conditions. Double-check these fixes:
- Stratification: Ensure seeds got 4–8 weeks of cold, moist treatment (refrigerator or outdoors in winter).
- Moisture: Soil should feel like a wrung-out sponge—not dry, not muddy.
- Light: Seeds need indirect light (no direct sun until sprouts appear).
- Viability: Test a few seeds in warm water—if they float, they’re likely dead.
Can I grow silver maple seeds indoors before transplanting?
Start seeds indoors 6–8 weeks before your last frost date using seed-starting trays with well-draining mix. Keep them under grow lights (12–14 hours/day) and transplant outdoors once they’re 3–4 inches tall and soil temps are above 50°F (10°C). Harden off seedlings for 1 week before moving them.
Are silver maple seeds invasive? Should I remove them?
Silver maple seeds can spread aggressively in ideal conditions (moist, sunny areas), but they’re not technically invasive like kudzu. If you’re concerned:
- Control saplings: Remove young trees before they develop deep roots (wear gloves—they itch!).
- Mulch: Apply cardboard + mulch to block light and slow germination.
- Native alternatives: Try swamp white oak or red maple for similar shade with less spread.
Can I buy silver maple seeds instead of collecting them?
Yes! While collecting seeds from mature trees is free, store-bought seeds (from reputable nurseries) offer:
- Higher germination rates (often pre-stratified or treated).
- Disease-resistant strains (ask for local varieties).
- No helicopter seed chaos—no messy cleanup!
What’s the best time of year to plant silver maple seeds?
For outdoor planting, aim for:
- Fall (September–October): Mimics natural conditions—seeds stratify over winter and sprout in spring.
- Early spring (March–April): Plant after last frost when soil is workable (but chill seeds first!).
Wrapping up and next steps
Growing silver maple seeds using the layered chill method is a rewarding way to nurture these fast-growing trees—just like nature intended! 🌱 With patience, the right conditions, and a little care, you’ll soon see those first sprouts breaking through the soil, setting the stage for a stunning shade tree in your landscape.
Ready to take the next step?
🌱 Your Action Plan:
- Start now! Gather your seeds, prep your containers, and kick off stratification before winter’s chill sets in.
- Monitor progress. Keep an eye on moisture and warmth as sprouts emerge—adjust as needed!
- Share your success. Snap photos of your seedlings and inspire others to try this easy, cost-effective method.