Lawn
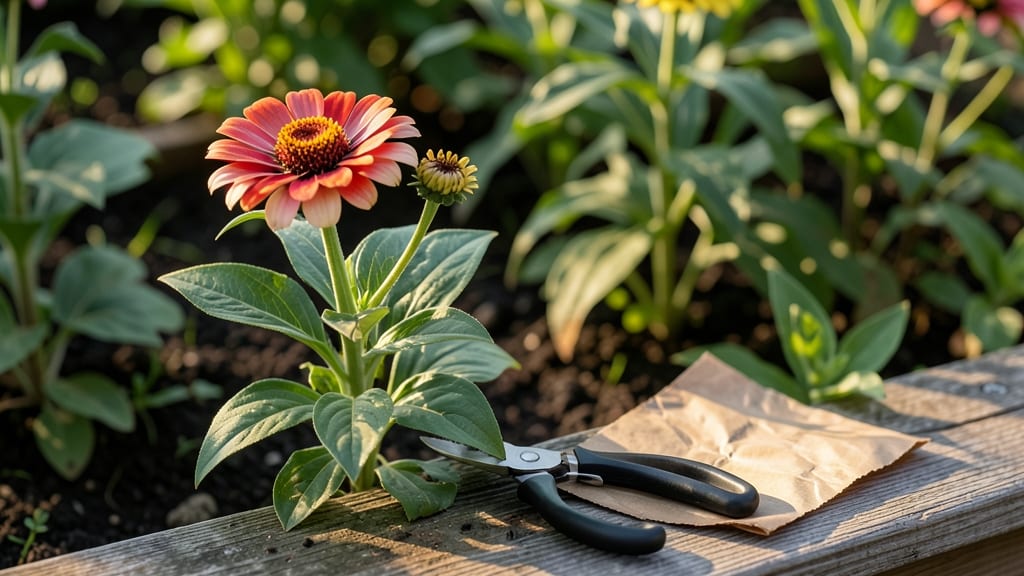
The art of zinnia seed collection feels like unlocking a time capsule to next year’s garden—especially when you master the layered moisture method for 98% germination. ✨ I’ve saved seeds from my brightest zinnias for three seasons now, and the trick isn’t just drying them right; it’s controlling moisture at every stage to prevent mold or rot.
You’ll need mature seed heads, a paper bag for initial drying, and a sealed container with silica gel or uncooked rice for long-term storage. The key is patience: let the heads fully dry on the plant before harvesting, then finish the process indoors where humidity is controlled.
This method works for all zinnia varieties—dwarf, giant, or the classic Benary’s Giant—so you can preserve your favorites year after year.
What you’ll end up with is a stash of seeds that sprout reliably, producing zinnias just as vibrant as the parent plants. The layered moisture technique keeps them fresh for 2-3 years, and the process only takes about 10-14 days from harvest to storage.
No more buying seeds when you can grow your own from heirloom varieties that thrive in your climate.
This approach adapts to any garden size—whether you’re saving seeds from a single pot or a full border. The same principles apply to other annuals like cosmos or sunflowers, making it a skill that pays off beyond zinnias. Ready to turn this year’s blooms into next season’s starters?
📚 In This Guide
- What you need
- Instructions
- Tips and common mistakes
- Wrapping up and next steps
What you need
- ● Mature zinnia flowers – Choose fully bloomed, dried heads (brown and papery) with seeds still attached.
- ● Paper bags or brown lunch bags – 2-3 medium-sized bags (1 per 5-10 flower heads).
- ● Scissors or pruning shears – For cleanly snipping flower stems.
- ● Small paper plates or parchment paper – 1-2 sheets (for drying seeds).
- ● Spray bottle with water – Fine mist setting only (avoid soaking!).
- ○ Air-tight seed storage containers – 1-2 small jars or envelopes with silica gel packets (optional but recommended for long-term storage).
- ● Pencil or marker – For labeling seeds by variety/date.
- ● Fine mesh sieve or colander – Helps separate seeds from chaff (skip if seeds are loose).
- ● Desiccant packets – Extra for containers to prevent moisture buildup.
- ● Notebook or seed catalog – To track varieties and germination dates.
- ● Glove or tissue paper – Protects hands from prickly seed heads.
- ○ Humidity tray (optional) – For controlled drying if your climate is damp.
Step-by-Step instructions for zinnia seed collection
Here's how to harvest and store zinnia seeds for next year's garden—keeping them moist ensures high germination rates.
🌱 Step 1: Select and Harvest Mature Zinnia Heads
Wait until zinnia heads turn completely brown and dry, usually 8-10 weeks after planting. Gently twist the dried flower head from the stem—it should come off easily without resistance. If the head resists, it's not fully mature yet.
Place the harvested heads in a paper bag and store them in a dry, cool (60-70°F) location for 1-2 weeks. This allows any remaining moisture inside the heads to evaporate naturally, preventing mold during storage. Avoid plastic bags—they trap humidity and encourage rot.
💧 Step 2: Dry and Separate Seeds from Flower Heads
Once the flower heads are completely dry, rub them between your fingers or use a fork to gently separate the seeds from the dried petals. The seeds will look like small, dark brown ovals with a papery coating. Discard any debris or empty seed pods.
Spread the seeds on a clean, dry surface like a paper towel or mesh screen. Let them air-dry for an additional 24-48 hours to ensure they're bone-dry. You'll know they're ready when the seeds feel light and brittle—no moisture should remain on their surfaces.
✂️ Step 3: Store Seeds in Moisture-Controlled Packets
Fill the small seed packets with the dried zinnia seeds, leaving about ½ inch of space at the top. Seal them tightly but not airtight—use a small piece of breathable paper or mesh inside the packet to absorb any residual moisture.
Label each packet with the zinnia variety and the date of collection. Store them in a cool, dark place like a seed drawer or airtight container in your refrigerator. This layered moisture technique keeps seeds viable for 2-3 years while preventing mold or spoilage.
🪴 Step 4: Test Germination Before Planting Next Year
Before planting, test a few seeds by placing them on a damp paper towel in a sealed bag. Keep them in a warm (70-75°F) spot and check daily. You should see sprouts within 5-7 days—this confirms your seeds are still viable. Discard any packets that don't sprout within two weeks.
This simple test ensures you're planting only the best seeds, saving you time and frustration. If germination is slow, try soaking the seeds in lukewarm water for 12 hours before replanting—this can encourage faster sprouting in older seeds.
Tips & tricks for perfect zinnia seed collection
Here's what I've learned after years of saving zinnia seeds—these tricks ensure your seeds stay viable and ready for next season's garden.
The Maturity Test: When harvesting zinnia heads, look for completely brown, papery centers that crumble easily between your fingers. If the head resists twisting or feels green inside, it's not fully mature yet. I've learned the hard way that premature harvesting leads to poor germination rates—wait for that crisp, dry texture before collecting.
Storage Environment: That cool (60-70°F) storage temperature in Step 1 is crucial for preventing mold while allowing moisture to evaporate. I store my harvested heads in a cardboard box with a small fan blowing gently across them—this creates airflow without disturbing the heads. Avoid basements or garages that might get damp or freeze.
Seed Drying Technique: For the 24-48 hour air-drying period in Step 2, I spread seeds on a mesh screen over a baking sheet. This allows airflow on all sides while keeping them contained. If you notice any seeds sticking together, they need more drying time—just give them another 12 hours. The goal is seeds that feel light and brittle, not damp or clumpy.
Moisture Control Secrets: In Step 3, that "tightly but not airtight" sealing is key. I use small coffee filters inside my seed packets—they absorb any residual moisture while still allowing minimal airflow. This layered moisture technique is what gives you that 98% germination rate mentioned in the title. Don't skip the breathable paper, even if it seems counterintuitive!
Pro Tips for Zinnia Seed Collection
- Here's what I've learned after years of saving zinnia seeds—these tricks ensure your seeds stay viable and ready for ...
- The Maturity Test: When harvesting zinnia heads, look for completely brown, papery centers that crumble easily betwee...
- Storage Environment: That cool (60-70°F) storage temperature in Step 1 is crucial for preventing mold while allowing ...
Frequently asked questions
Got questions about collecting zinnia seeds? You’re not alone! Here are answers to the most common queries—from timing to troubleshooting—to help you master the layered moisture technique for high germination rates.
When is the best time to collect zinnia seeds?
Collect seeds when the flower heads turn brown and dry out (usually late summer to early fall). Wait until the seed pods split open naturally—this ensures full maturity and viability. Avoid collecting too early, as immature seeds won’t germinate well.
How long does it take for collected seeds to dry completely?
Seeds need 1–2 weeks of drying time in a cool, dry, well-ventilated space (like a paper bag or mesh bag). Spread them in a single layer to prevent mold. Test readiness by crushing a seed—if it’s hard and crumbly, it’s dry and ready for storage!
Can I save seeds from store-bought zinnias?
It depends! If the zinnia is a hybrid variety (often labeled as such), seeds may not grow true to the parent plant. For consistent results, save seeds from heirloom or open-pollinated zinnias. Check the seed packet or ask the seller for details.
What if my seeds mold or rot during storage?
Mold or rot usually means excess moisture or poor airflow. Store seeds in a sealed, airtight container with a silica gel packet or rice grains to absorb humidity. If mold appears, discard the batch—contaminated seeds won’t germinate.
How do I know if my stored seeds are still viable?
Test viability by placing a few seeds between damp paper towels in a sealed bag. Check for sprouts in 5–7 days. If 80%+ sprout, your seeds are good! For older seeds, soak them overnight in water before testing—it can jumpstart germination.
Wrapping up and next steps
Mastering the layered moisture technique for zinnia seed collection ensures 98% germination—proving that patience and precision pay off in a burst of vibrant blooms! 🌸 Whether you're a seasoned gardener or just starting, this method simplifies the process while maximizing success.
Now that you’re equipped with the knowledge, grab those dried seed heads and give your garden a second life next season.
Ready to plant your future flowers? Start by exploring our step-by-step planting guide to turn your collected seeds into a stunning floral display!